
 |
|
|
#1511
|
||||
|
||||
|
Many thanks for all the replies.
 I will go into it with a bit more detail with the windscreen install.
__________________
Marcus aka. Gojeep Victoria, Australia http://willyshotrod.com Invention is a combination of brains and materials. The more brains you use, the less materials you need. |
|
#1512
|
||||
|
||||
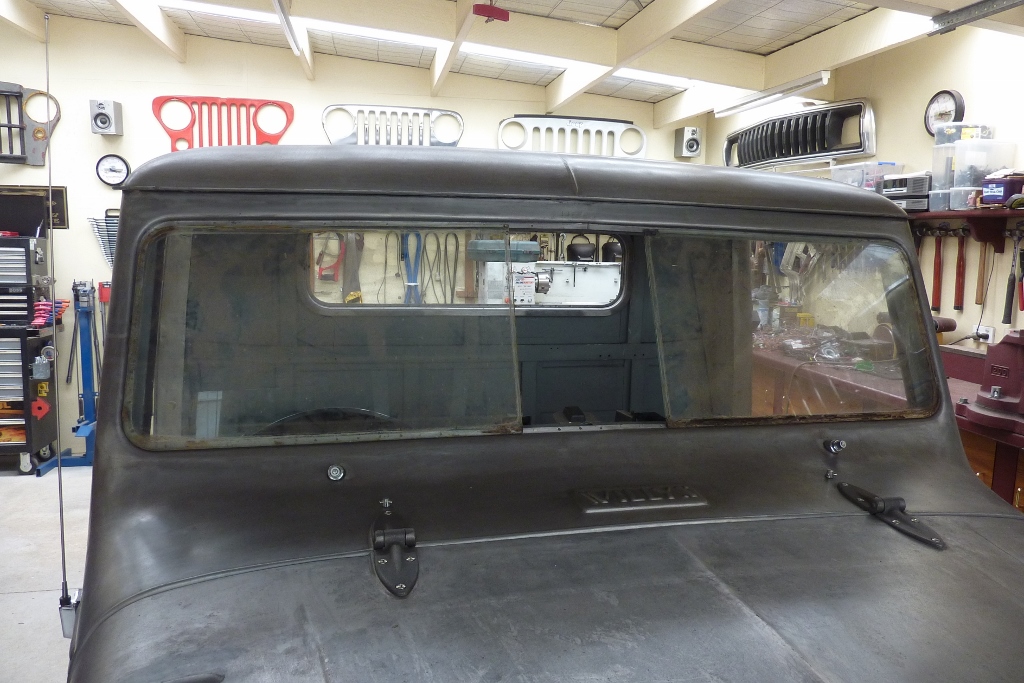 With the 9" wider cab, I have to make the windscreen wider to suit  I checked again to make sure the flanges were nice and straight and flat against the glass so there was no pressure points on the glass to cause cracking or leaks. 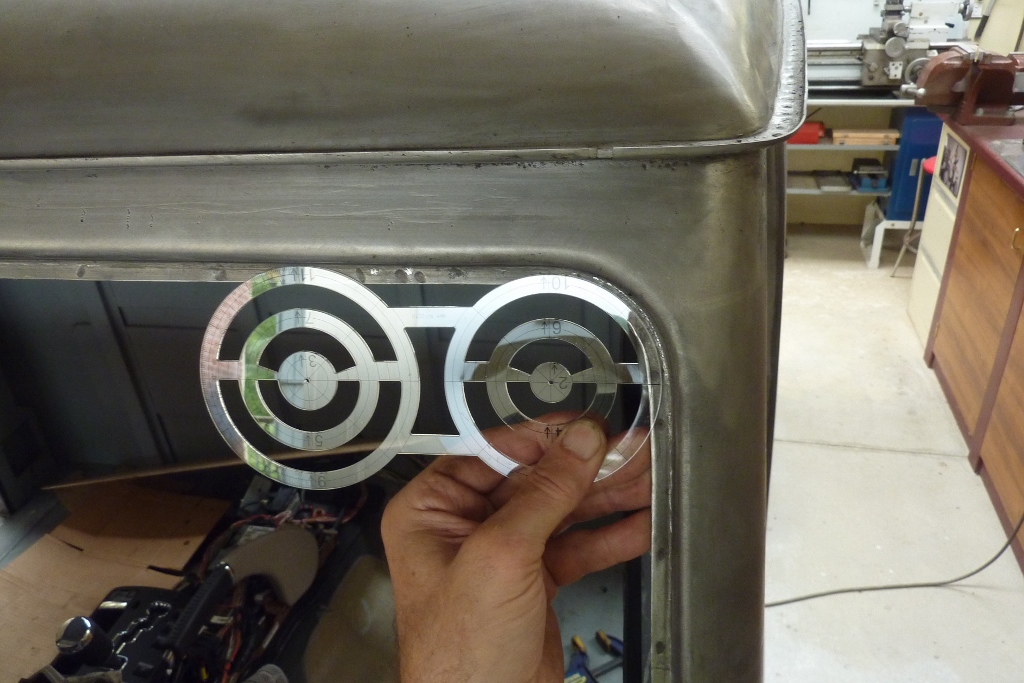 I am using here a tailors template to select a matching radius for the template corners. It is being held away from the edge the thickness of the bottom of the window channel in the rubber gasket/seal. 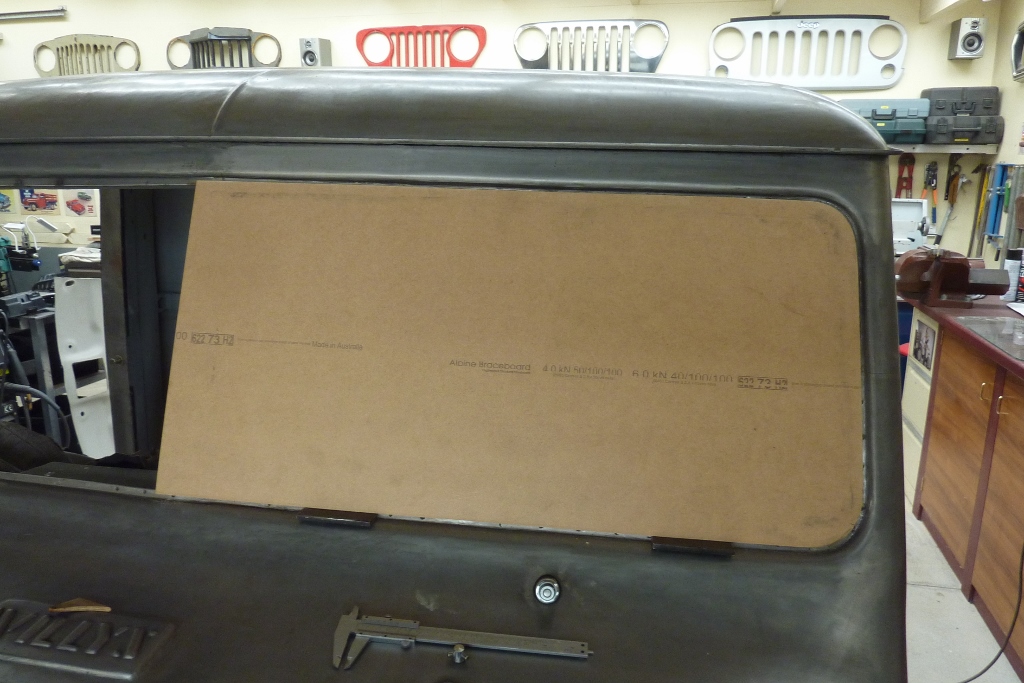 I used packers the thickness of the bottom of the glass channel to check fitment. I left about a 1 mm clearance around the template inside the rubber to give some room to fit it and make sure any movement in the cab wouldn't directly impact on the glass. Took a lot of care in the corners to make sure the seal would sit right to the edge of them. 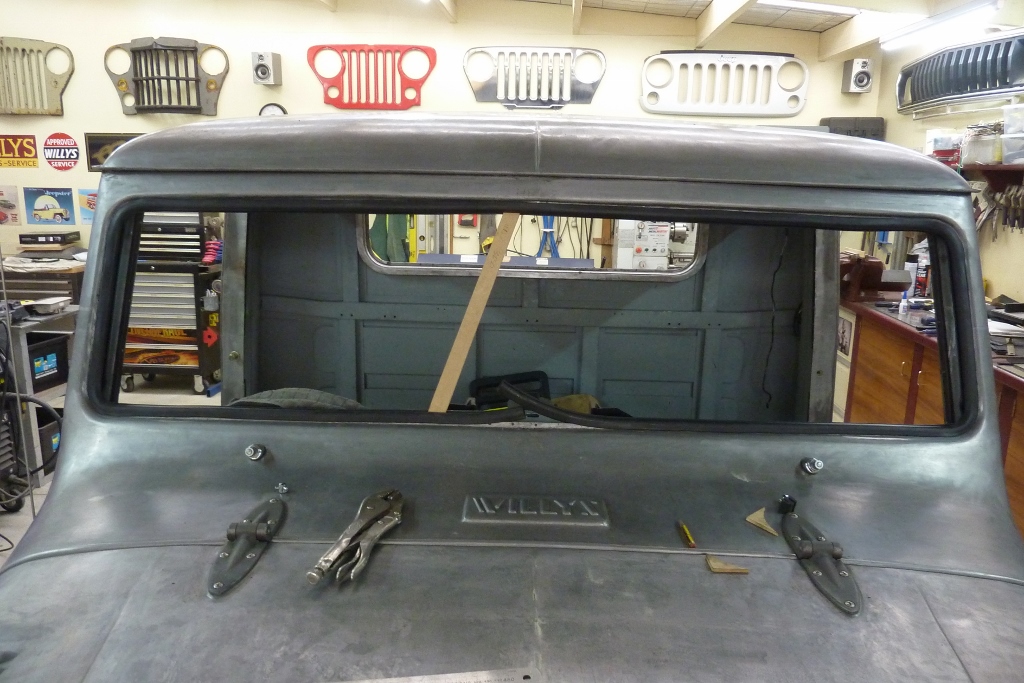 To get an idea on the length of the gasket/seal, I used a tailors or dress makers tape to measure around the inside perimeter of the window opening that the seal sits against. 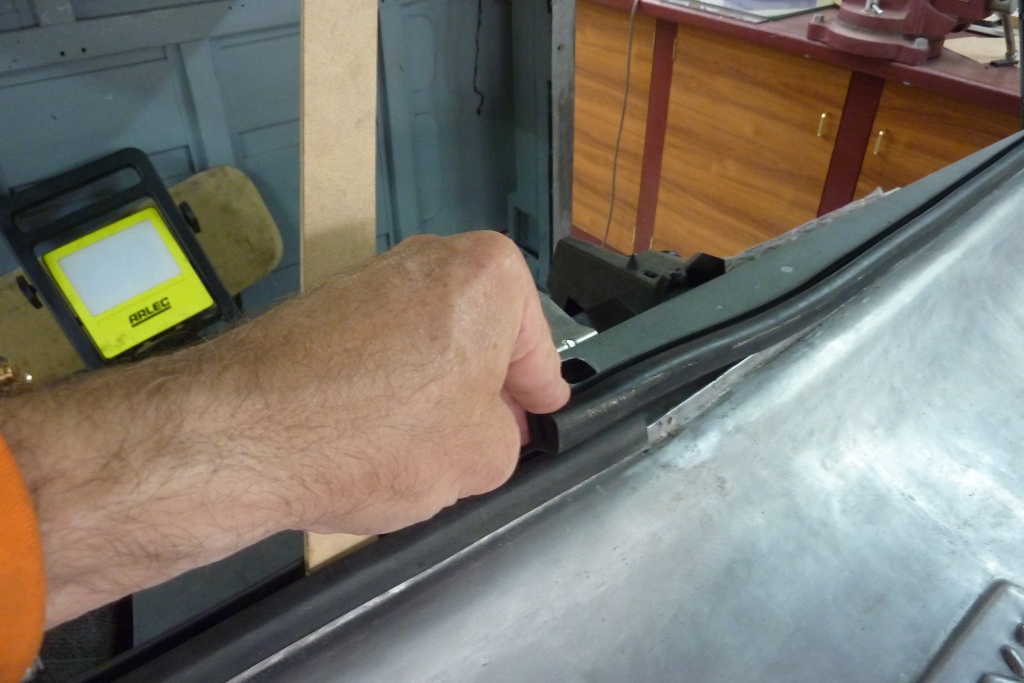 I knew this would still be too long as the seal will compress and stretch around the corners. I pushed the ends apart as much as I could before marking it as better to have the seal as long as you can as it shrinks over time. Also looks very unprofessional when it pulls in at the corners from being too short. 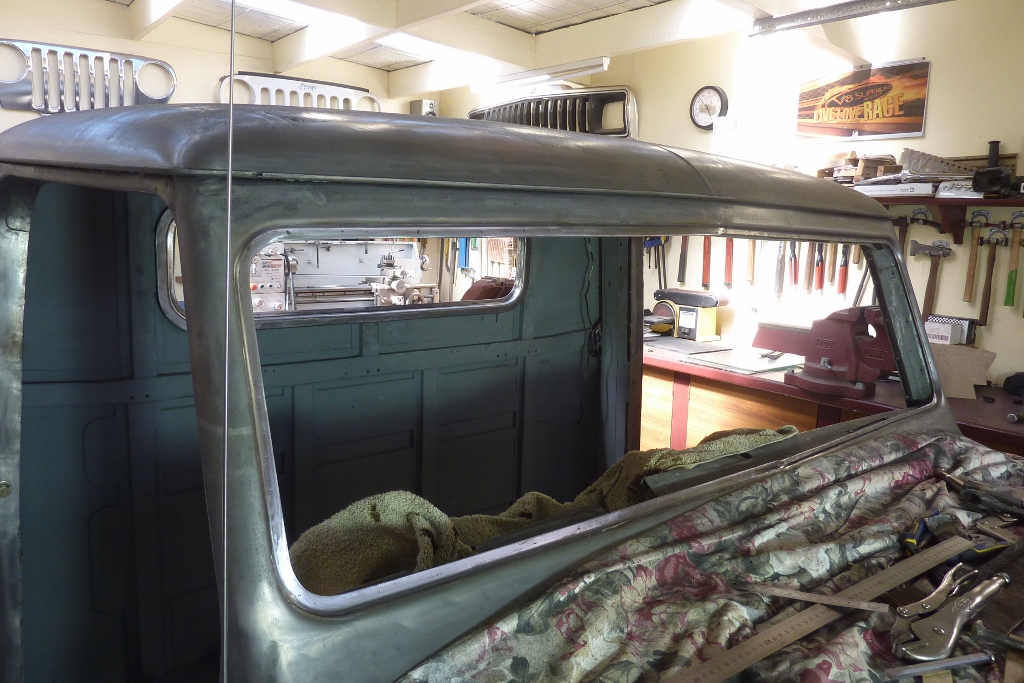 I unfortunately had to weld all around the flange here too as had already prepared it for the useless rubber. 12 meters, 39 feet, of weld was added to the front and rear window openings and ground down. Spent the whole week on it! Then had to make sure the whole flange width was flat, all in the same plane, and straight against the glass again. 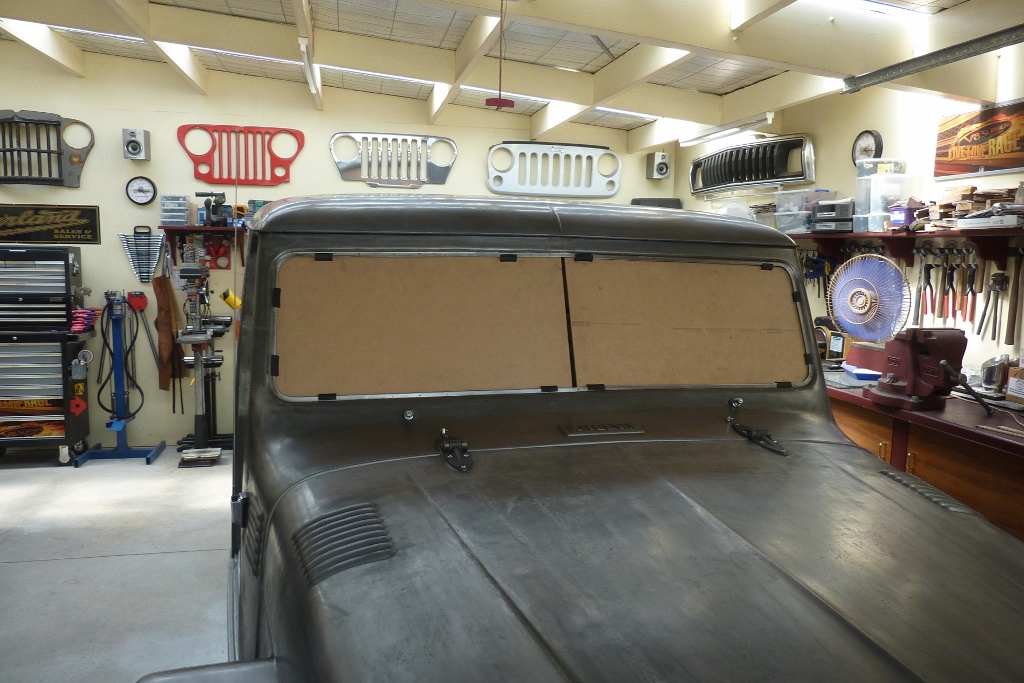 Both templates made and made sure the centre gap was parallel and square to the body and lining up exactly in the middle. Using offcuts of the seal to hold it into place and make sure there was an even gap all the way around on the inside with an extra millimetre for clearance. 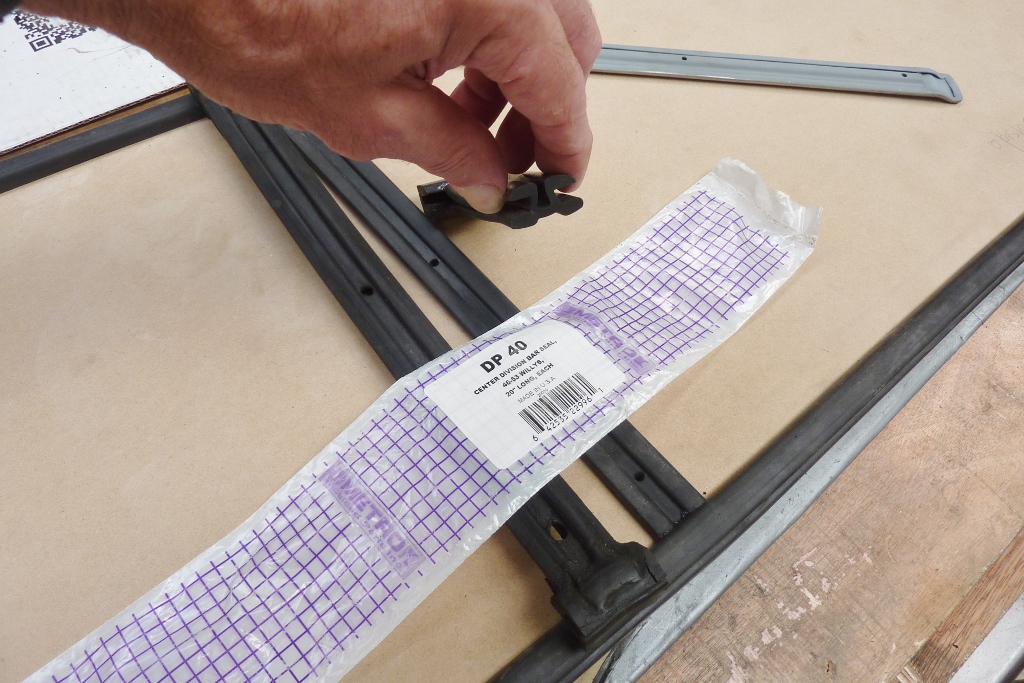 The centre divider seal also came from Metro Mouldings and made specifically for the Willys! I was lucky that a forum member reading my build found it listed for me. I also slide this over the template and compressed the seal as much as I could before cutting it too length. Ended up 6mm-1/4" longer than the height uncompressed. That will keep the seal sitting nice and straight and have pressure on the joint keeping it together. 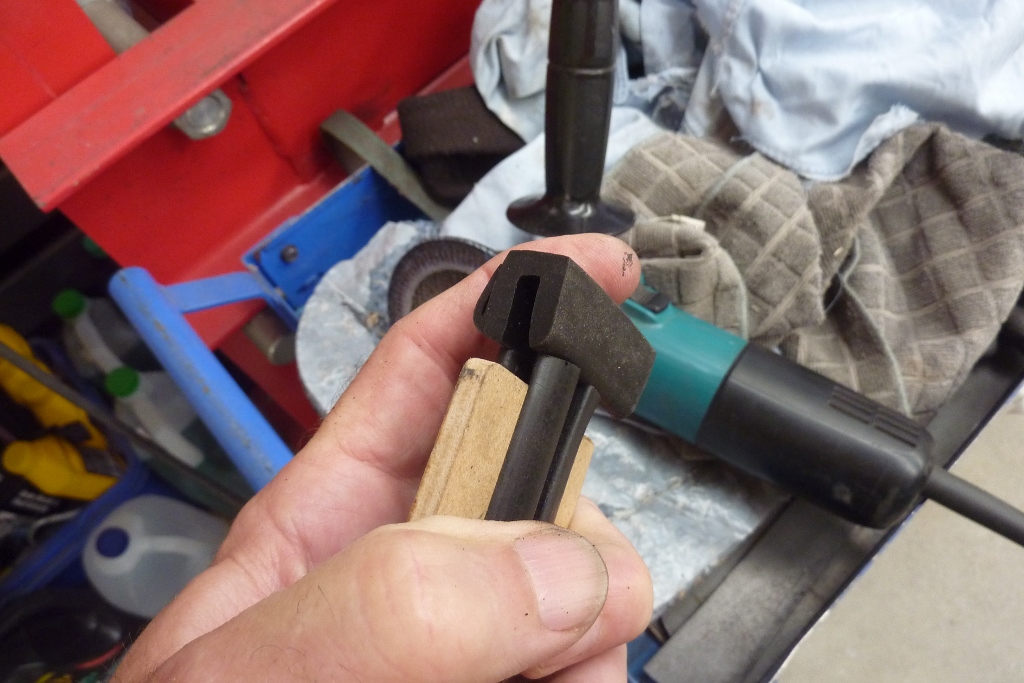 I used a old flap wheel to carefully shape the ends of the seal so it matched the other seals profile without pressure.  Before bonding it together I glued in a piece of the rubber inside the glass channel the width of the gap between the two glass pieces. The divider seal centre section does not line up with the channel and I wanted more surface area to bond the divider seal too. It also reinforced the other seals join and made lining up easier. I coated the ends of the mdf with a light smear of rubber grease to stop it sticking. 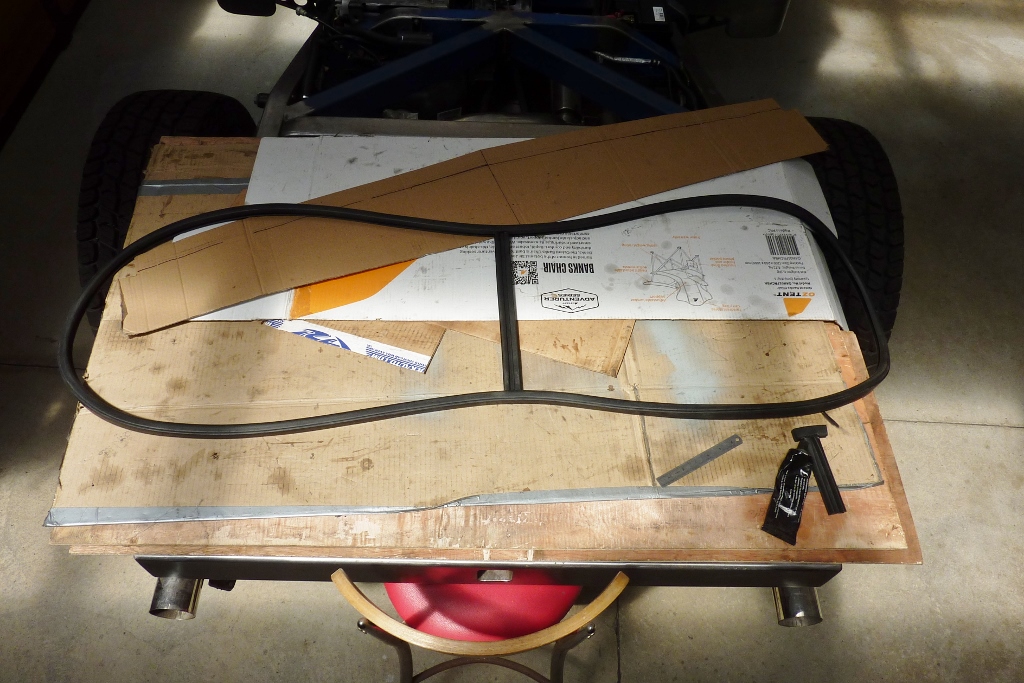 One custom windscreen seal to suit a 9" wider Willys Truck! 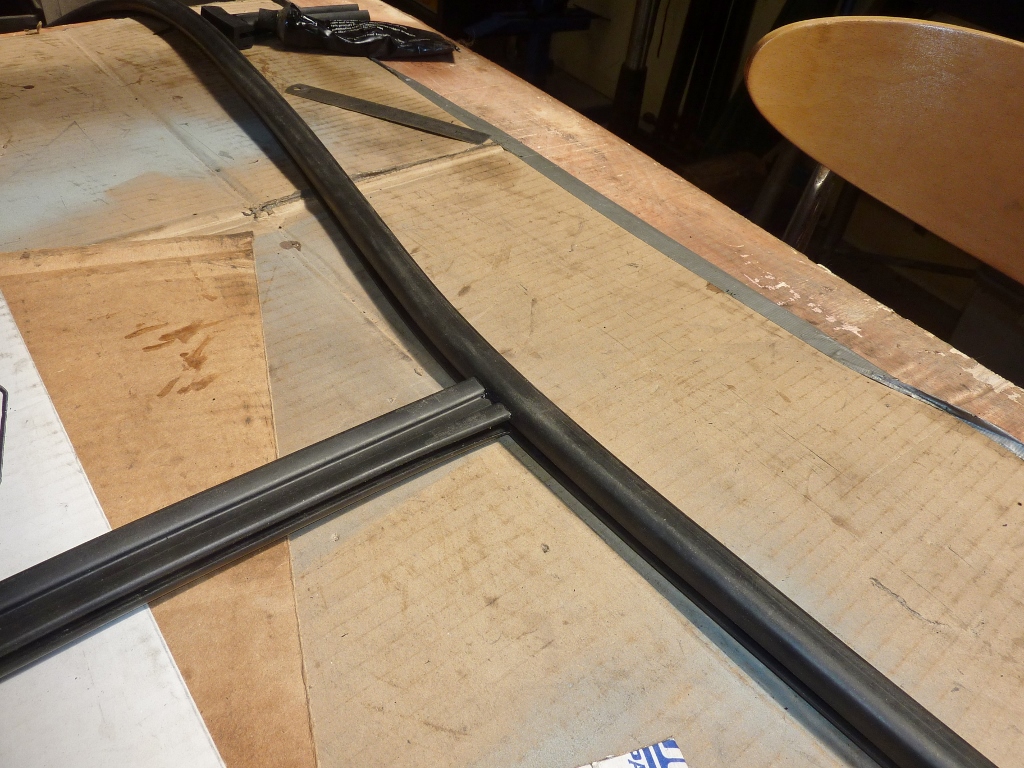 Close up of the join. The mdf made sure all the glass channels are inline. 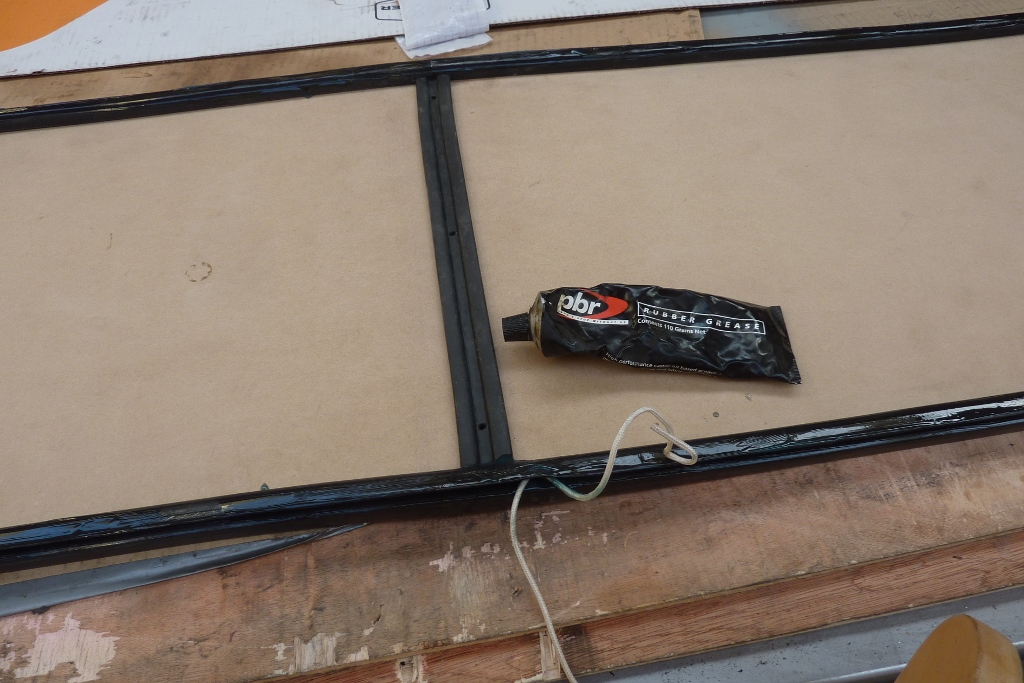 Doing the same rope in trick. The cord is actually from an old curtain track. I found that not only coating the inside of the channel and the rope, but the outside of the seal lip as well. When the lip is getting pulled over the pinch weld, it is getting pulled against the back of the pinch weld, so the lubricant helps it slide over. I have tried the usual soaps etc but found using my PBR Rubber Grease works the best. This is what I always used as a brake mechanic for assembling brake components as it doesn't swell the rubber like normal grease does. It is caster oil based.  These windscreens can be tricky to put in as the seal is not the standard H profile. The glass actually is bigger than the opening and sits behind the flange in a S shaped profile seal. Means the seal height is nearly half of the H profile giving you more glass area. The corners get tucked in first and then the centre is pushed forward to lay flat behind the flange. Nice to have such a beautiful willing assistant. 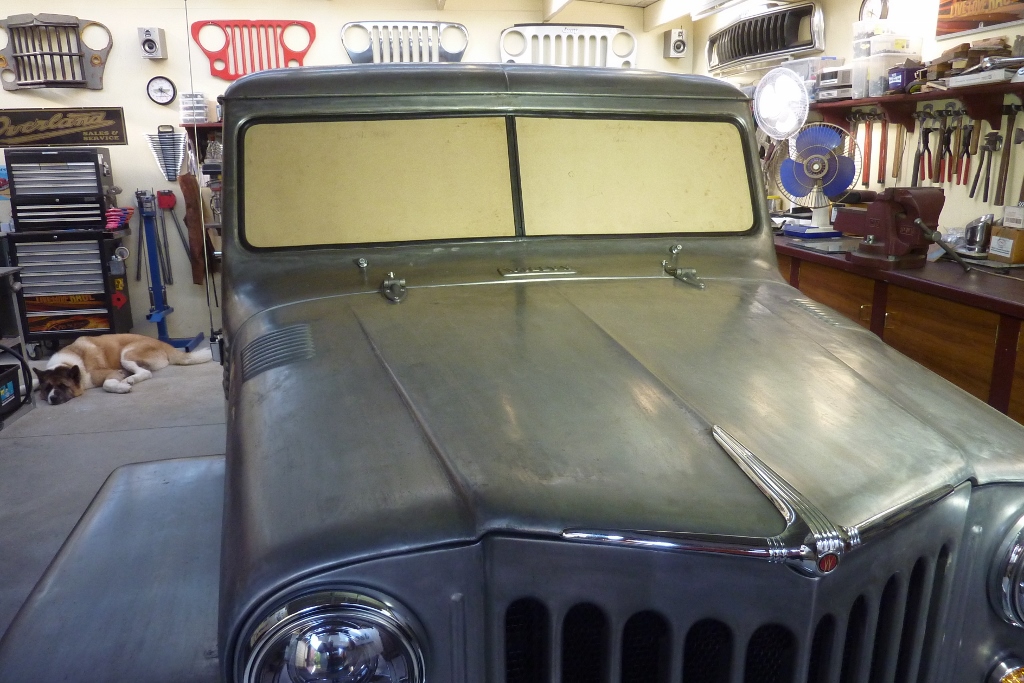 Took us only 10 minutes to rope it in with my wife gently keeping the templates in position from inside the cab. If you push too hard it won't give you room to pull the lip out from behind the flange.
__________________
Marcus aka. Gojeep Victoria, Australia http://willyshotrod.com Invention is a combination of brains and materials. The more brains you use, the less materials you need. |
|
#1513
|
||||
|
||||
|
Hi Marcus
Looks good , but may need x ray glasses to see through! Thanks for all the details. Steve
__________________
Steve Hamilton Hamilton Classics Auto Restoration & Metalshaping |
|
#1514
|
|||
|
|||
|
Marcus. Every time I put the window, I was inside the car. Do you install the seals the other way around? Or am i wrong ?

__________________
Jaroslav |
|
#1515
|
||||
|
||||
|
Quote:

__________________
Marcus aka. Gojeep Victoria, Australia http://willyshotrod.com Invention is a combination of brains and materials. The more brains you use, the less materials you need. |
|
#1516
|
|||
|
|||
|
Marcus. I'm sorry, but I think it's the other way around. The Škoda 120 had a rubber with a groove. Most of the rubber profile was on the outside of the body. This was so that the air would not push the window in to the body. Or the flying object didn't do the same. On impact, the window usually fell out of the body. Since the time the glass is glued, the body is stronger.
In the fifth minute, he installs a window at the Škoda 120. Very sorry.  https://www.youtube.com/watch?v=w2czISeaFHU
__________________
Jaroslav |
|
#1517
|
||||
|
||||
|
I can only speak of these cabs and they are all put in from the inside and was how it was done at the factory. The top of the dash is sloped 90* to the angle of the windscreen just so you can do it this way. There is a metal trim that screws into the window frame the whole way around making it impossible for it to go inwards.
He is someone else fitting one. https://youtu.be/0CDnzUVZr1s
__________________
Marcus aka. Gojeep Victoria, Australia http://willyshotrod.com Invention is a combination of brains and materials. The more brains you use, the less materials you need. |
|
#1518
|
|||
|
|||
|
Ok Marcus, if there's a subframe inside, it's ok. When I see old cars after accidents, the first thing to fall out is the front window. I did it once too.
Watch the video in the second minute. But the car is broken whole. The first is goes glass from the body.  https://www.youtube.com/watch?v=ePYO0-Ig0VU
__________________
Jaroslav |
|
#1519
|
||||
|
||||
|
Is there any drawback from using laminated side windows, apart from getting through them in time of an accident? Just thinking of getting them all made in laminate rather than toughened side glass.
__________________
Marcus aka. Gojeep Victoria, Australia http://willyshotrod.com Invention is a combination of brains and materials. The more brains you use, the less materials you need. |
|
#1520
|
|||
|
|||
|
The disadvantage is in large pieces of material. In the event of an accident, there may be large pieces that can injure you. Therefore, tempered glass is used. It could probably be used glued from several layers. This type of glass also does not make large shards.
__________________
Jaroslav |
 |
| Thread Tools | Search this Thread |
| Display Modes | |
|
|