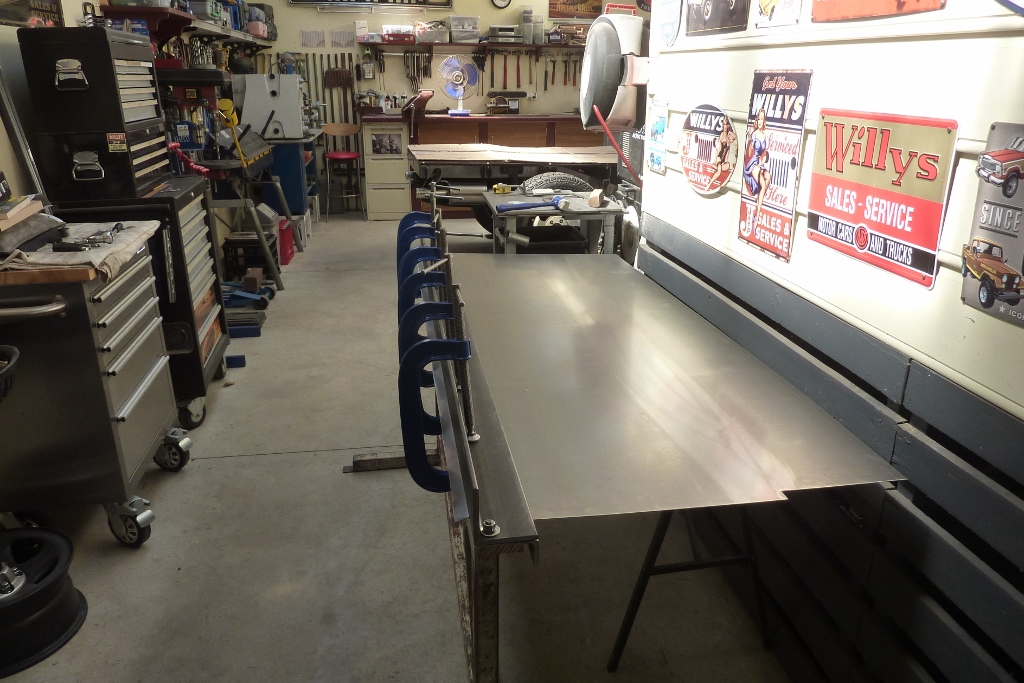
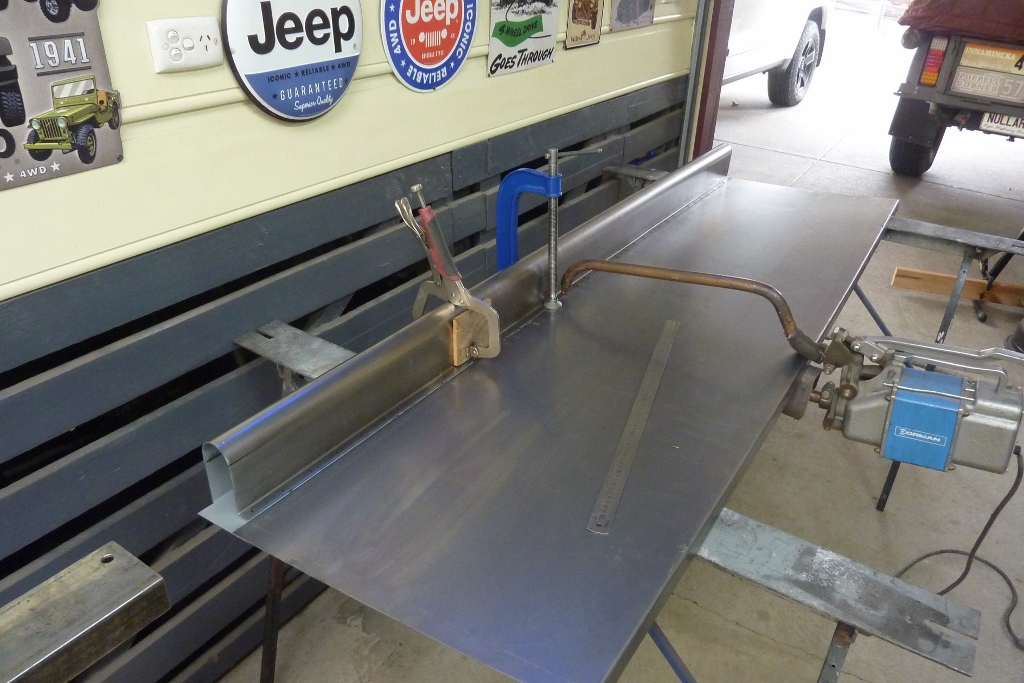
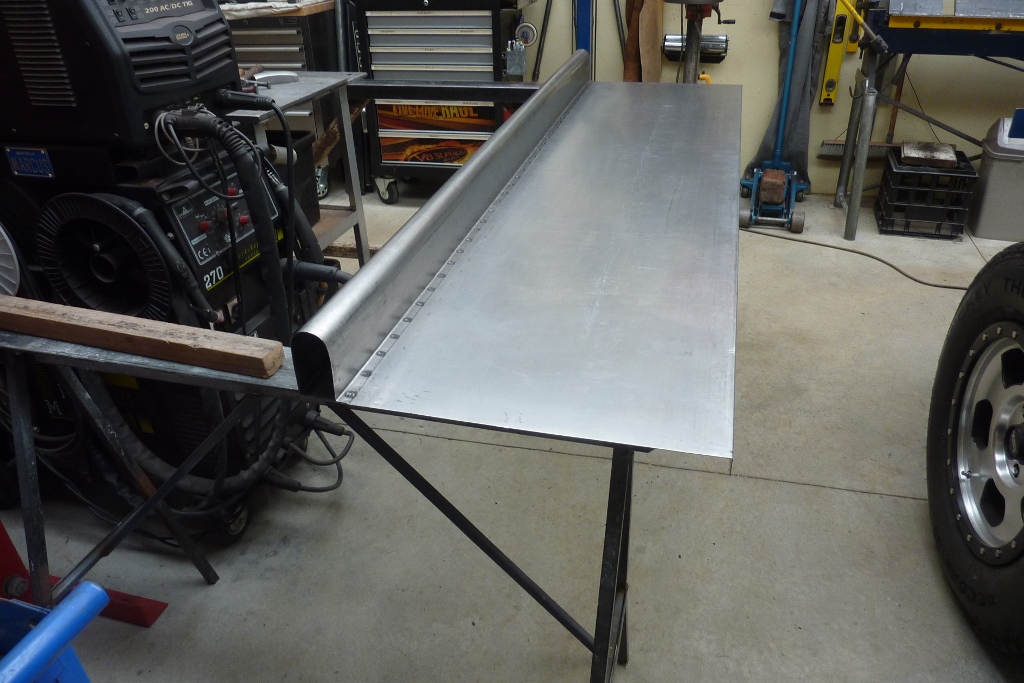
So to improve my handmade folds I bought some 100x100x10mm, 4"x4"x3/8", angle iron to better clamp down the sheet and extra forged G clamps. Another little thing not shown was I clamped a Vicegrip to the sheet directly behind the angle as well to stop it from getting pulled forward. Marked the sheet next to it so I could quickly see if it moved or not. Then placed the flipper on the edge and hitting it with the mallet worked well. No beadroller used this time.
As I didn't have a helper this time, I used a roller stand with a piece of timber clamped to the legs to stop them folding and it tipping over. Because it is not a compound curve, it worked well.
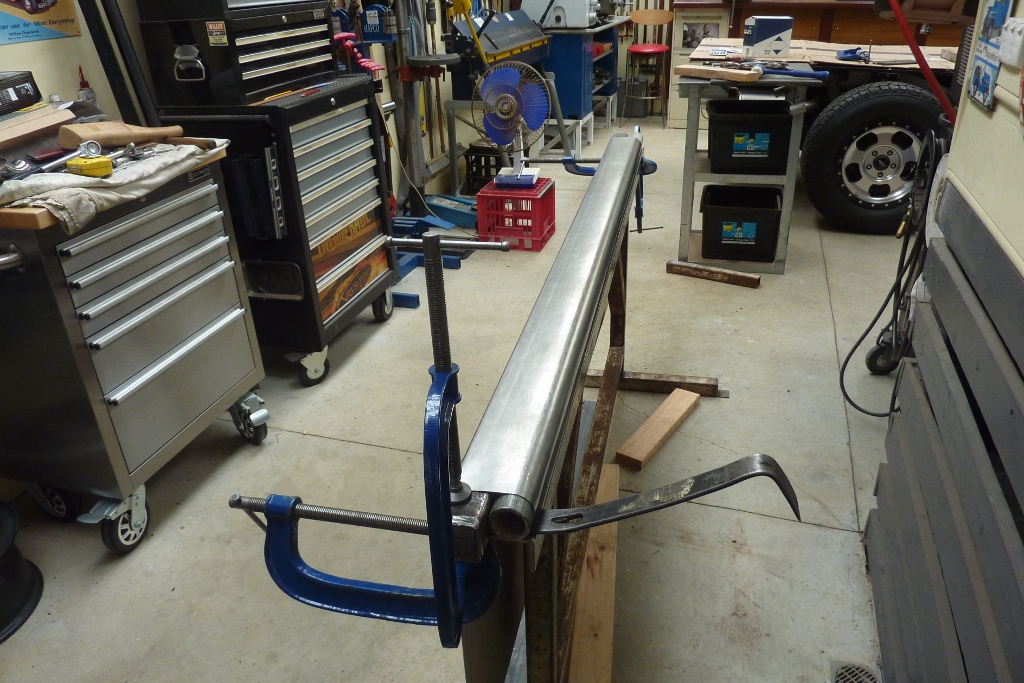
Got the same 90* roll again with no tracking outside the prescribed area. Got caught a few times on the test piece by the edge of the lower anvil causing a crease when the sheet curved enough that it would hit the adjuster causing the sheet to tilt.
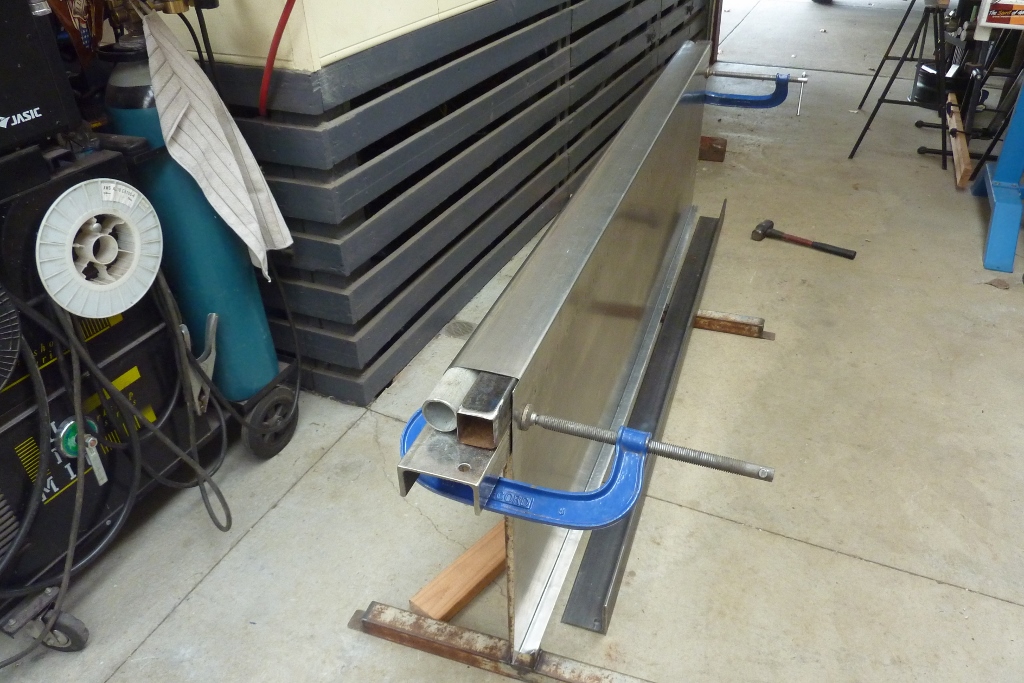
I found the weight of the angle iron helped it pull over easier while still protecting the lower flange when I had my foot pushing down on it while hitting a block of timber with a 4 lb dead blow along the top all at once!
The last few millimeters were clamped down with the G clamp while the other clamp gives you adjustment in and out. Can see the inside was painted with weld through zinc primer.

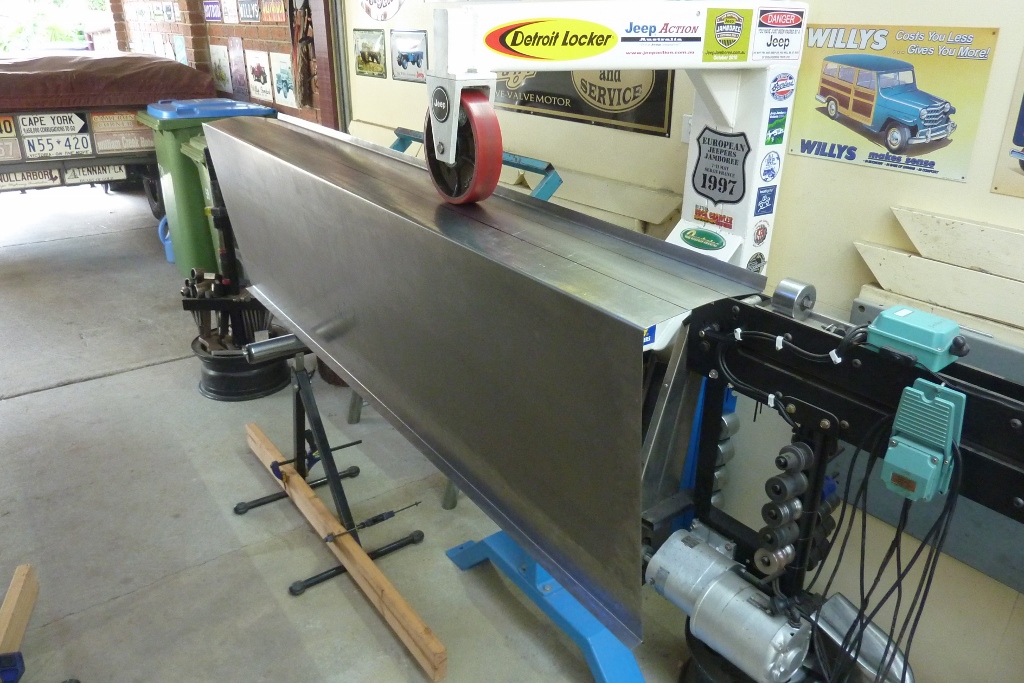
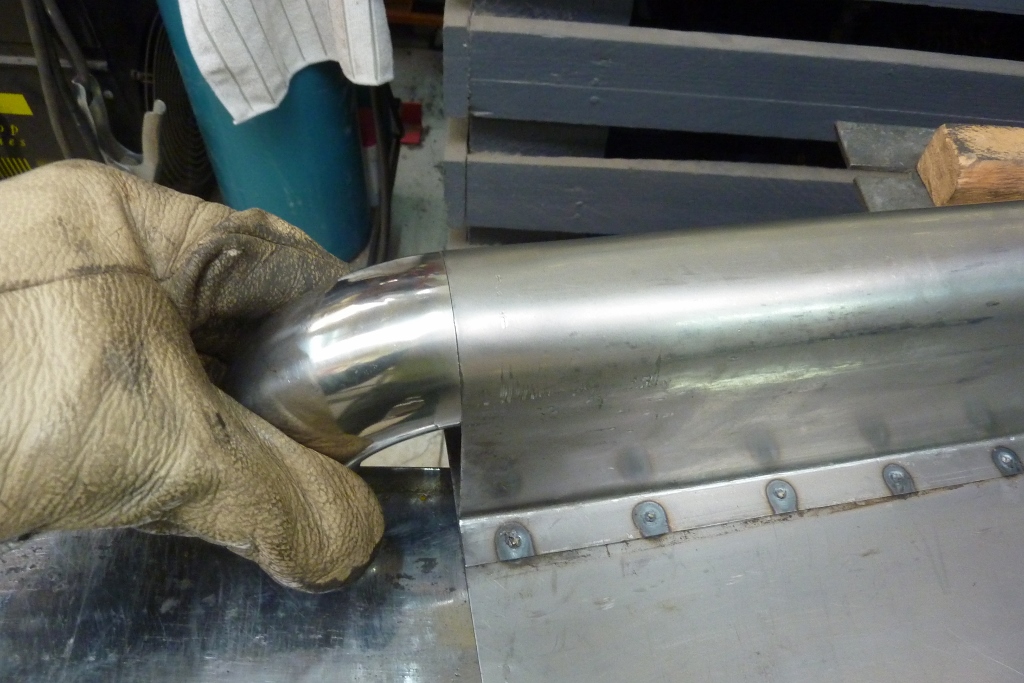
The pipe I pulled it over was 32NB which has a 42.4mm outside diameter. I chose a smaller diameter than the inside of the roll to allow for spring back. It does stop you making it perfectly round though so I put in some 40NB pipe which is 48.3mm outside which is near on the 48.6mm inside the roll I was after. I drove in some box tubing that took up the exact space left while stopping and hitting around the pipe with the lead beating bat.
The tube was lubed and the inside sprayed with lanolin to help it go through but it still required using a short handled sledge hammer to drive it in.
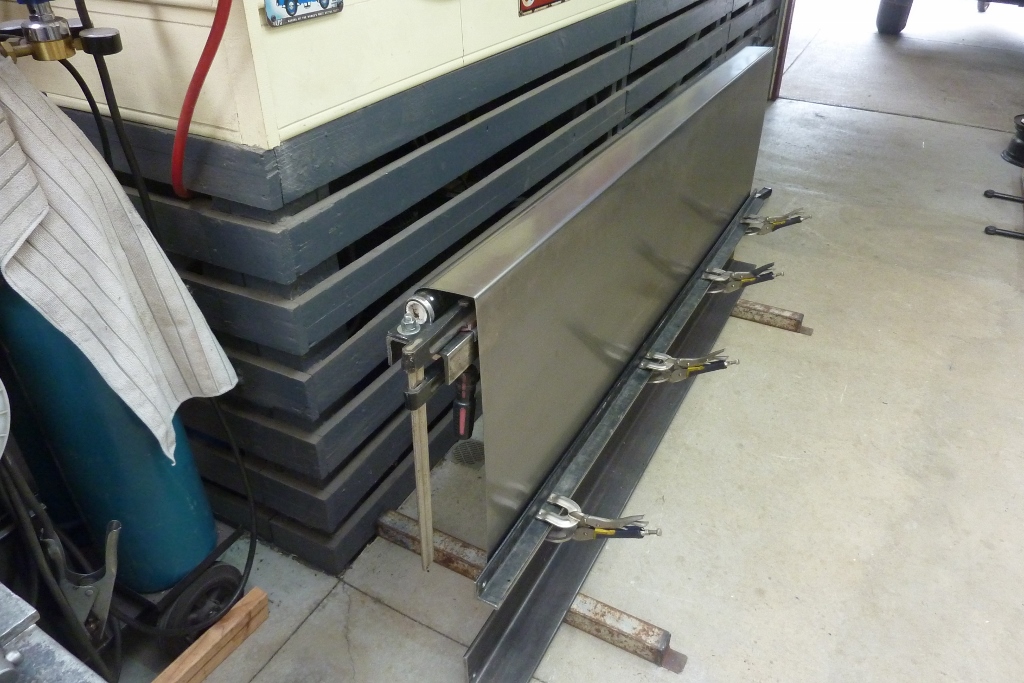
There was a bit of a twist in it so I was able to force it out by clamping down opposite corners and levering up on the low corner. Had to switch to a tyre lever after this shot to get it perfect.
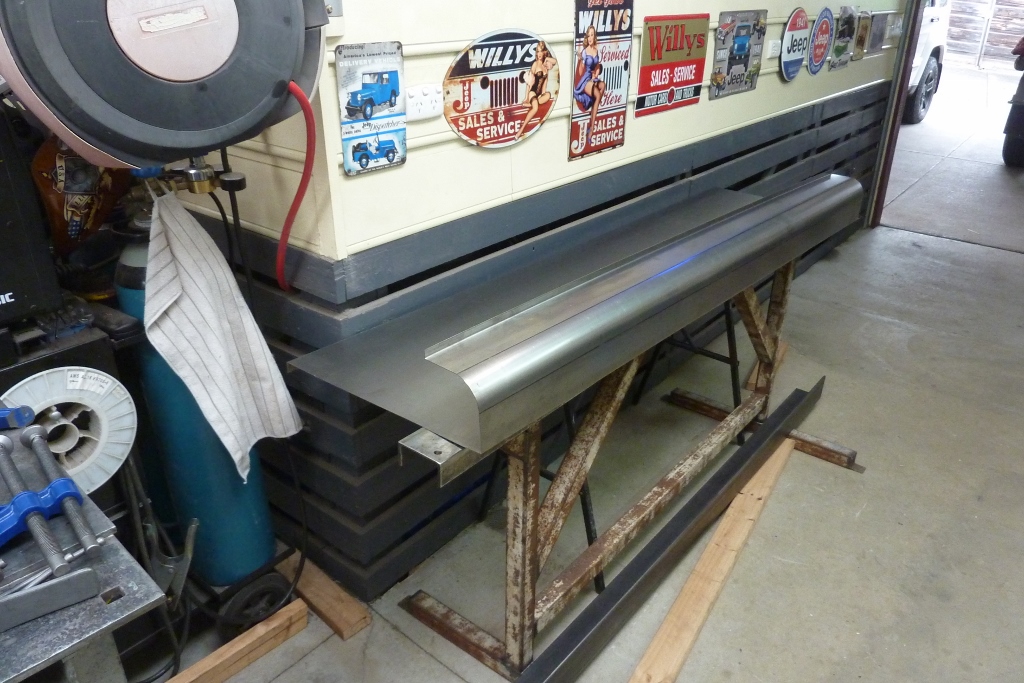
This is how well it came out after the pipe was removed and no other alterations were done.
I have done this three times now, test piece plus left and right sides, and it gets quicker with less effort and a better result.

The cab end gets a return flange folded over towards the inside. One side of the stake pocket will get spot welded to this and then the front bed panel will bolt through both thicknesses.
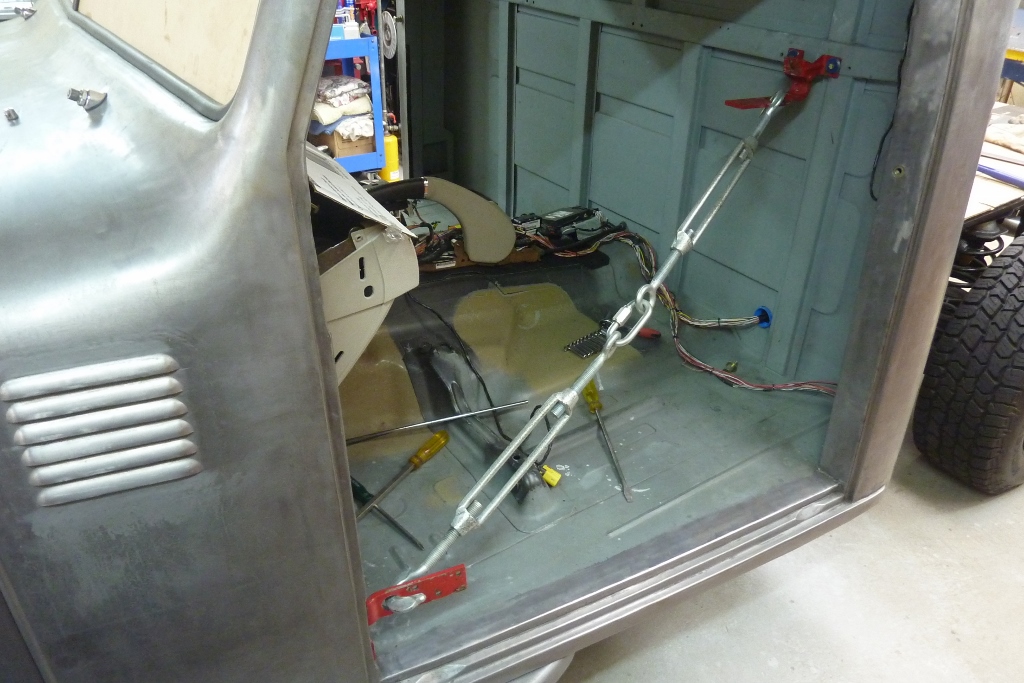
I found a bow in the back wall on one side right where the top of the front panel will run along. I could not shift it with a dead blow at all as the reinforcement is too strong. Bolted an old Willys door hinge to the hinge pocket and another to some threaded holes from the old back seat mount in the rear wall. Used these heavy duty turnbuckles to slowly pull it back into line and it came out millimeter perfect!