
|
|
|
#31
 12-01-2019, 08:53 PM
|
|||
|
|||
|
I didn't get near as much done as I had hoped today. I started working on the drivers side outer cowl fit-up. I needed to get this taken care of so i can finish the drain channel cover. It is pretty close but I need to get it snuggled up along the bottom of the firewall a bit more. I am having to tweak the original metal and the new tin along the top seam. I will be raising the original metal another 1/16th inch and lowering the new piece 1/16th to bring the whole cowl piece up about an 1/8th.
I also got a lot done on the other side but still have some work to do in prepping for the spot welding. I was out there most of the morning, took a break for some lunch and ended up going with the wife to get groceries. Her folks are under 24/7 home care and my wife is the only one out of six siblings that can get the groceries...  Anyway it's easier with the two of us so I went with her to do that. Anyway it's easier with the two of us so I went with her to do that.Here are some pics of the progress. Mostly fit up. The silver dots are where the plug weld holes will be punched. 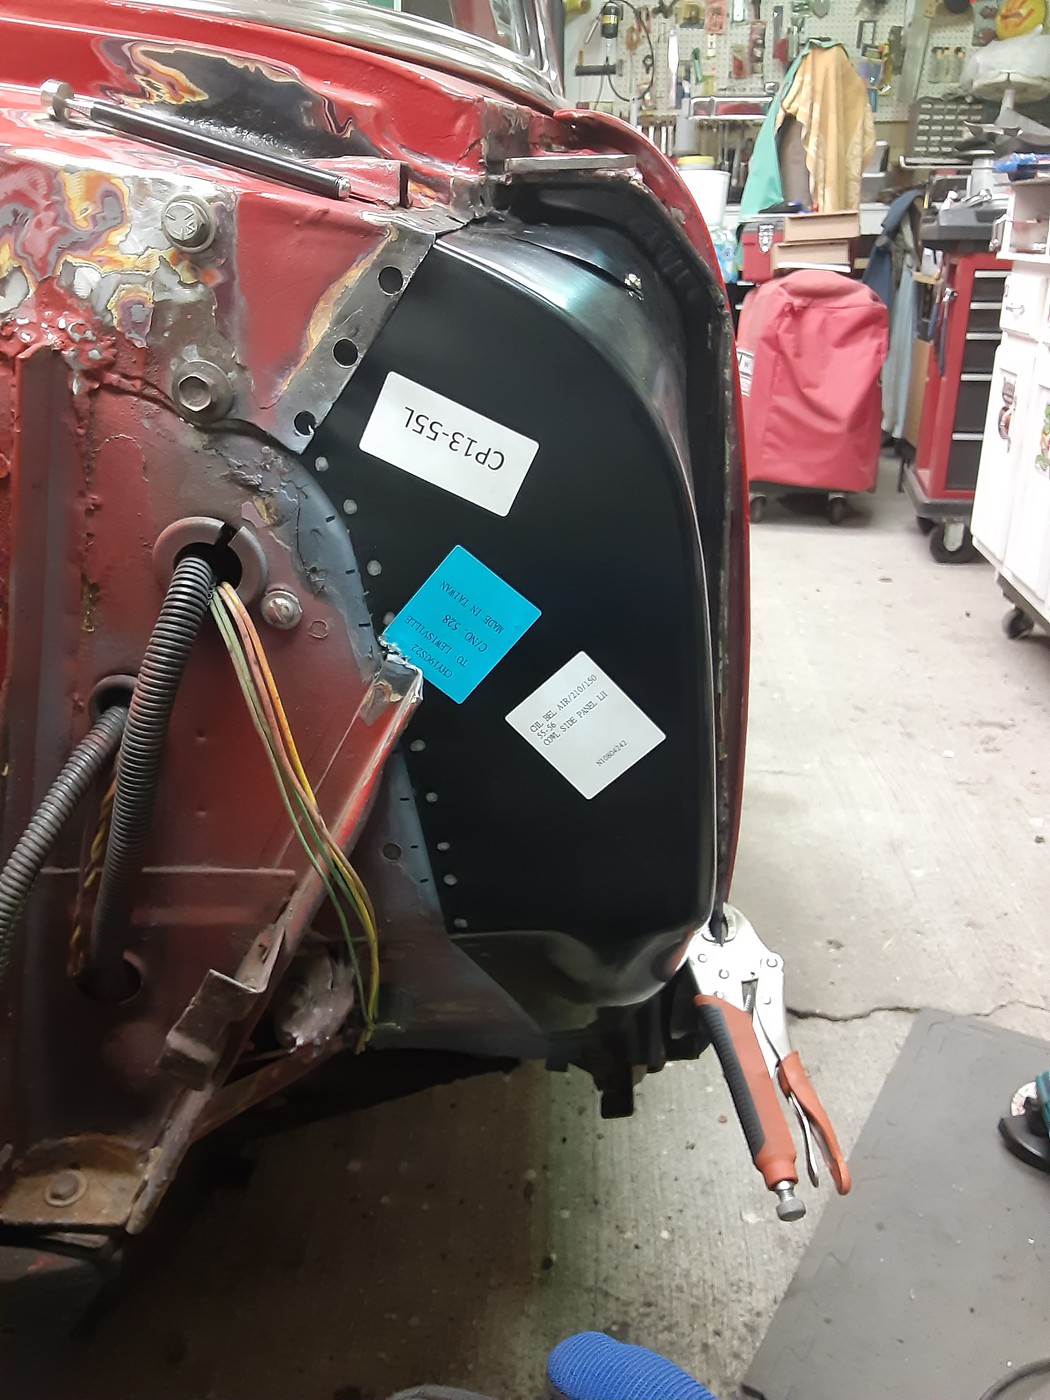 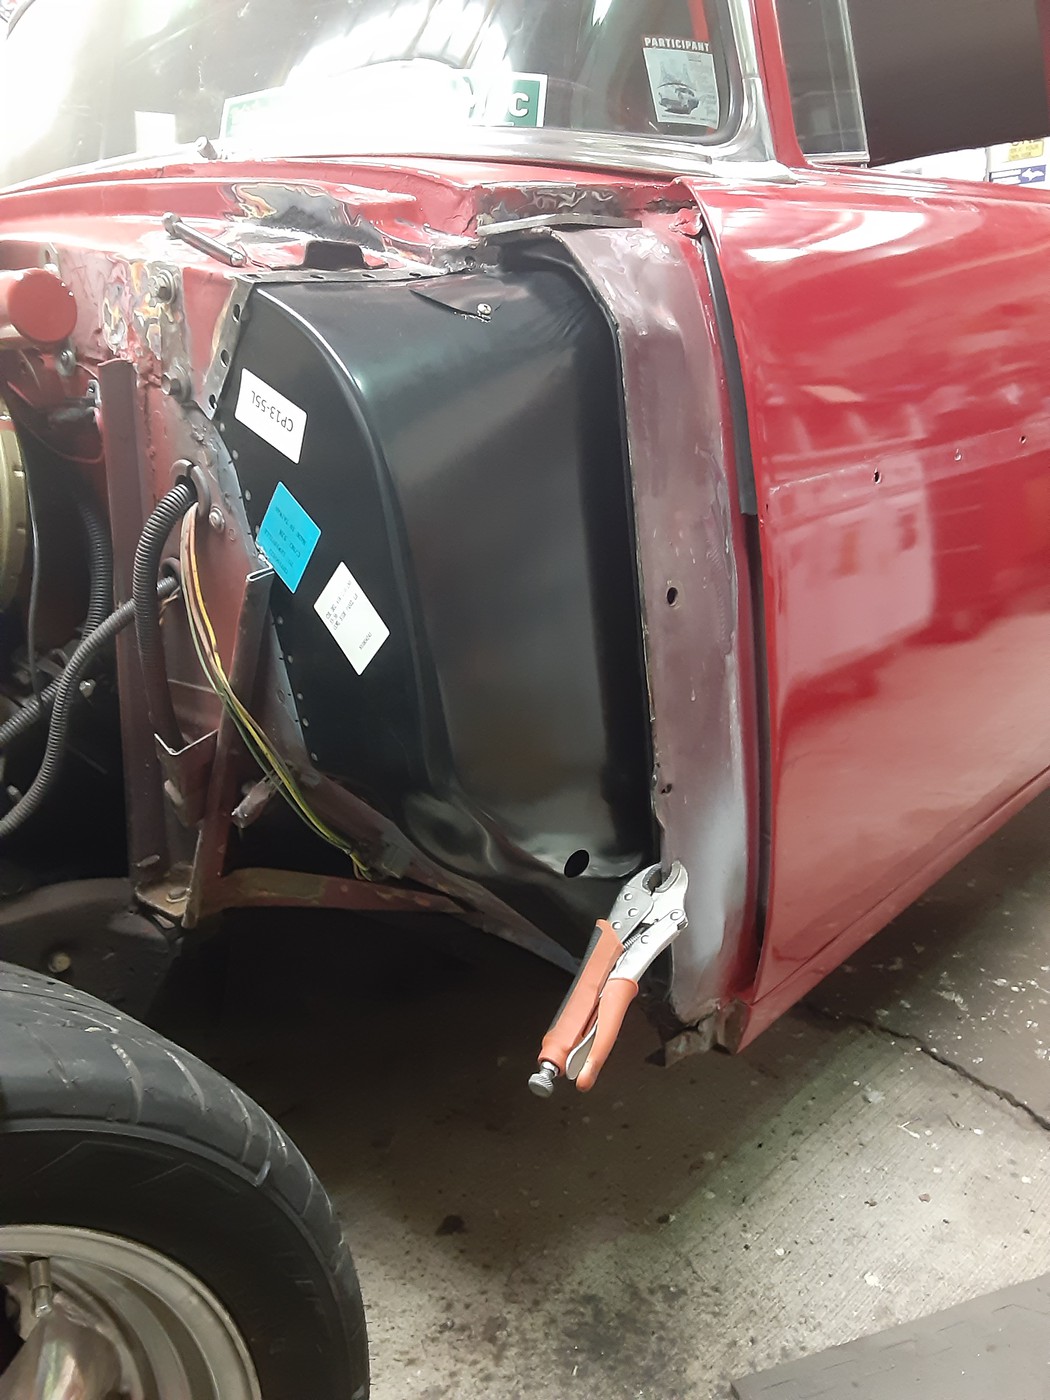 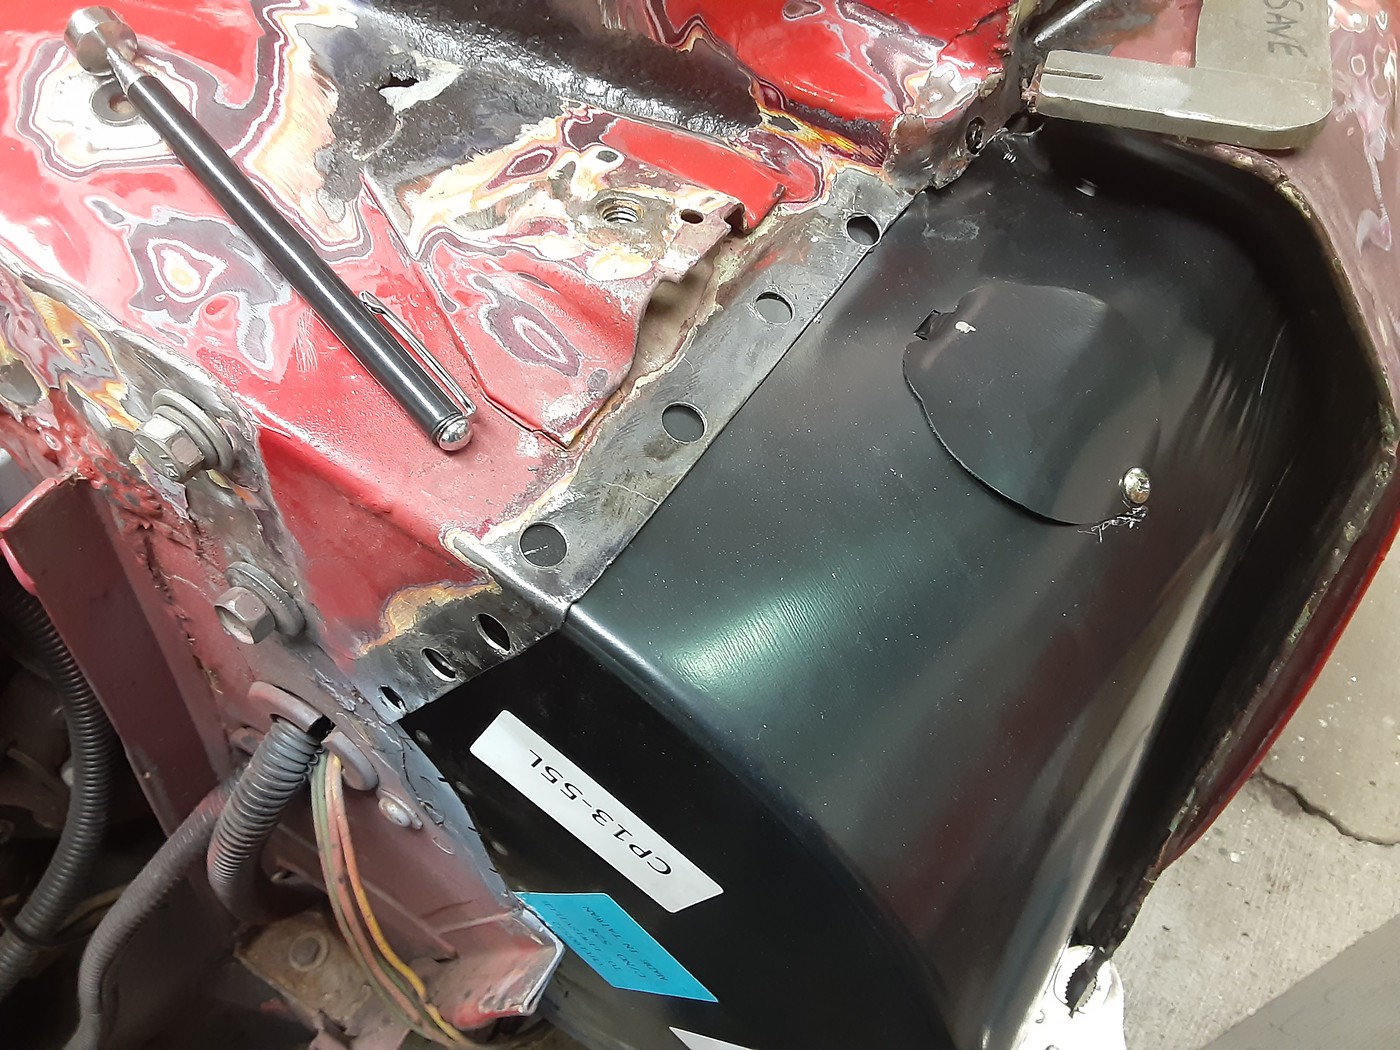 Mark
__________________
Name: Mark What I am building: BadAst. A Pro Touring style 1988 Astro with a full custom chassis, 509 BBC, TH400 w/ a gear vendors and a 9" w/ 3.75's. Last edited by astroracer; 12-04-2019 at 09:49 PM. 
|
|
#32
12-02-2019, 05:36 AM
|
||||
|
||||
|
Nice progress Mark.
|
|
#33
12-04-2019, 09:52 PM
|
|||
|
|||
|
Thanks for the atta boy! Much appreciated!
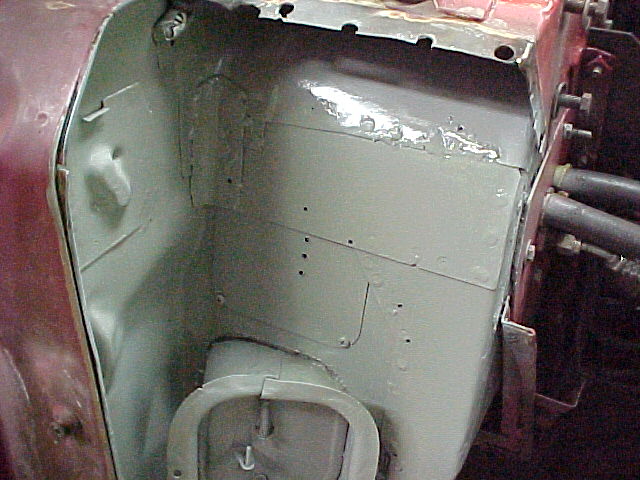
I got a lot done the last couple days. Tuesday afternoon I got the passenger side all ready for welding. Did some re-fitting of the A pillar patches and got all of the plug weld holes punched and drilled. I also did some clean up in the interior and made sure the carpet was pulled back. After some welding. 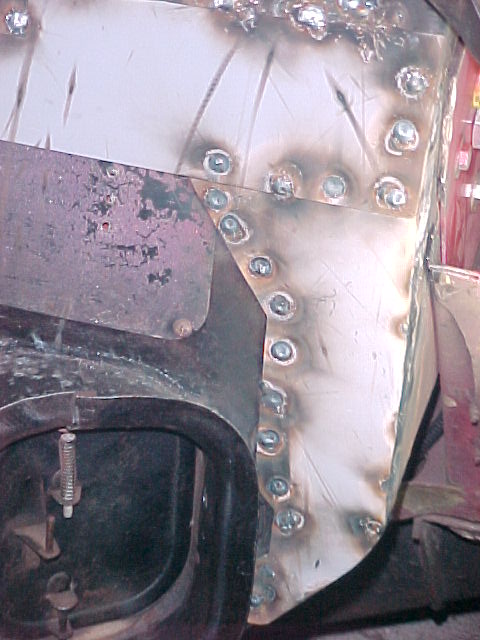 Just right of center you can see where I was chasing a burn thru. The original tin would just vaporize when I started the welding. I had to go very slow and use very quick, short trigger pulls to try and keep as much heat out of the material as I could until I built up a layer thick enough to handle a full pull. I would change the setting on the spot weld control from .1 second to about .3 second to slowly build the weld puddle. Most of the time I use a 1 second pull and that works fine on the new metal.  Most of the new metal welds look pretty good and I didn't have to fight the welder to get those done.  After a bit of grinder work and wire wheeling this is ready for etch primer. 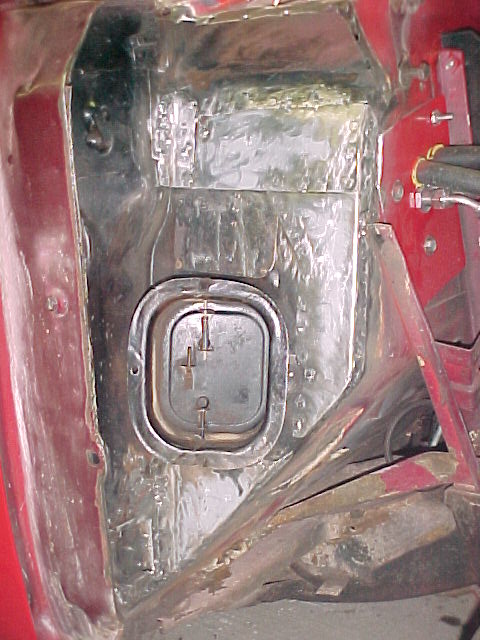 I will do a bit more work down in the hinge pocket but the original steel down there is horrible to weld to. Going slow and cooling after every weld is working okay but it gets tiresome real quick... 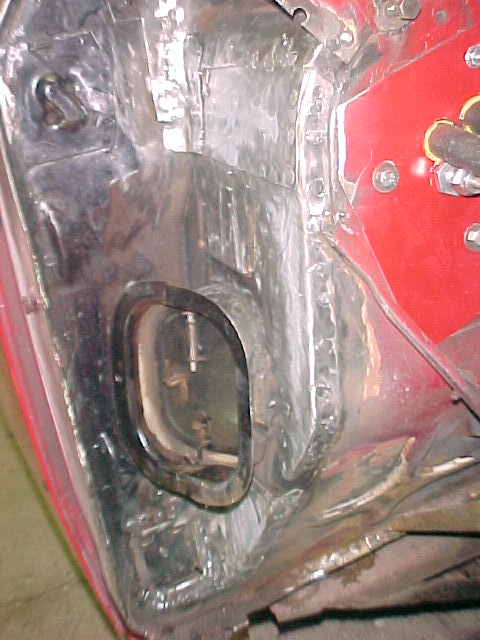 It's getting there! Tomorrow I will get the pass side drain channel fit up and start prepping the outers to go on. Mark
__________________
Name: Mark What I am building: BadAst. A Pro Touring style 1988 Astro with a full custom chassis, 509 BBC, TH400 w/ a gear vendors and a 9" w/ 3.75's.
|
|
#34
12-05-2019, 07:39 PM
|
|||
|
|||
|
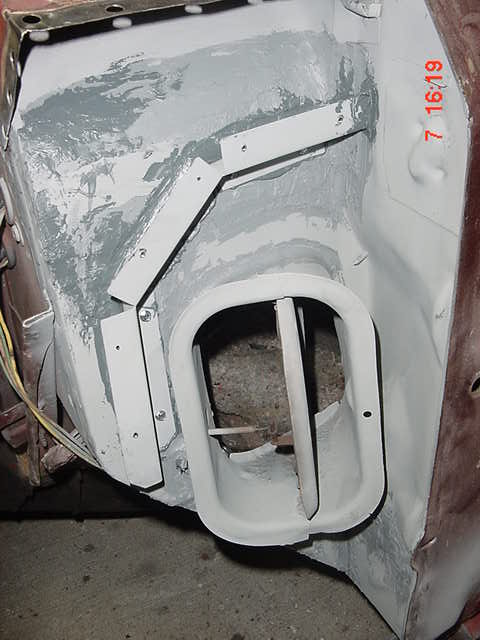
Got a lot done this afternoon. I finished up some welding in the lower hinge pockets. They are still not pretty but there is only so much you can do with thin steel. I could chase these welds for a week if I wanted to. This will get buried in primer and seam sealer so it will be sealed up pretty well.
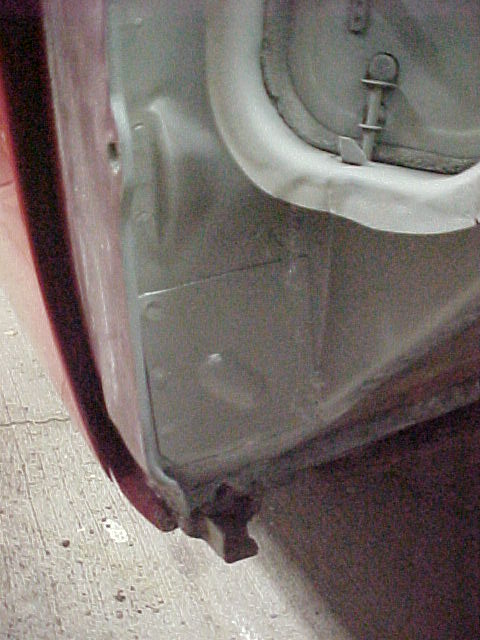
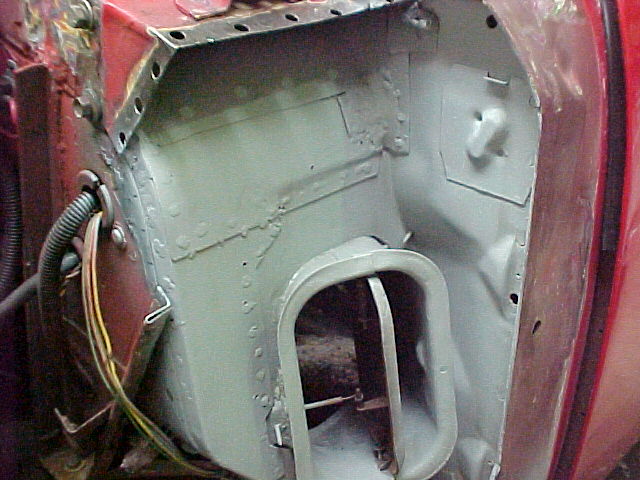
Here is the drivers side with the nut plate retainer welded in. You can see where I was chasing a burn out at the top of the plate. 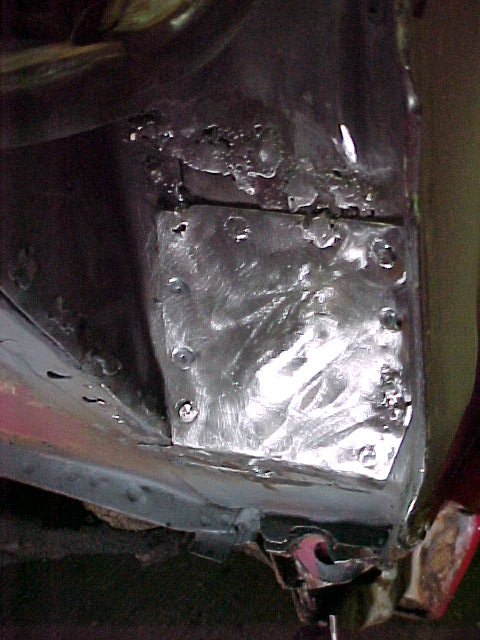 This is the passenger side retainer welded in place and before clean up. 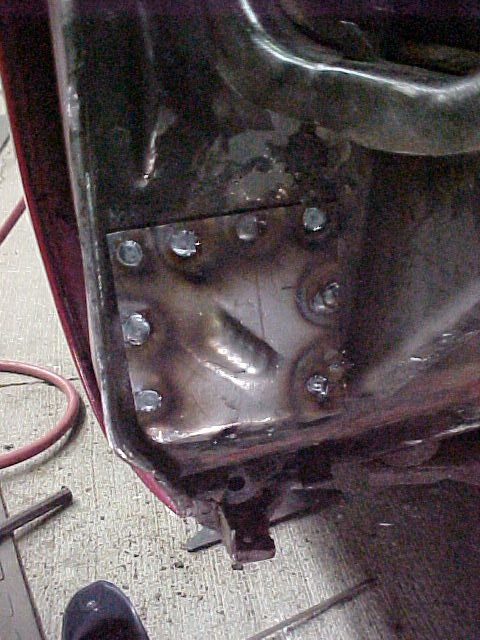 This is the passenger side plate before it got welded in. 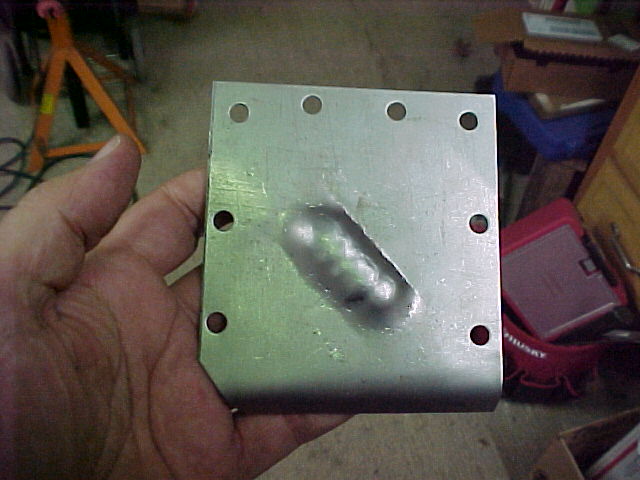 The drivers side. 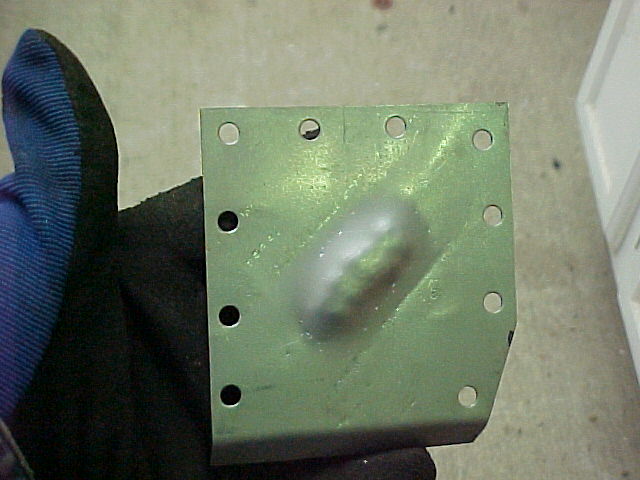 I also got the passenger side drain channel mocked into place. 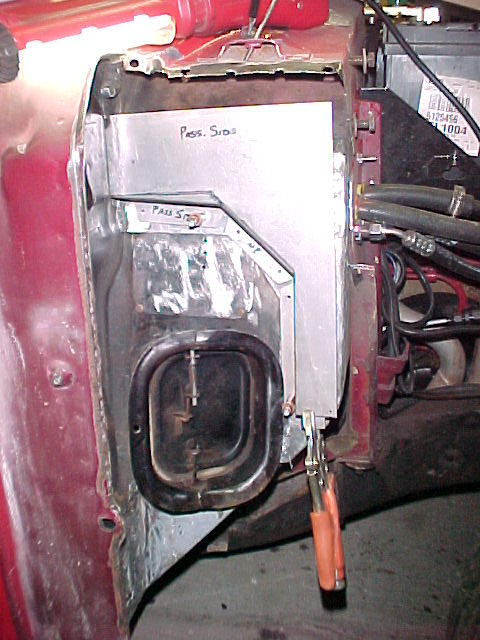 that's what I did today. Mark
__________________
Name: Mark What I am building: BadAst. A Pro Touring style 1988 Astro with a full custom chassis, 509 BBC, TH400 w/ a gear vendors and a 9" w/ 3.75's.
|
|
#35
12-06-2019, 10:34 PM
|
|||
|
|||
|
On the down hill side now. Got everything painted this afternoon. Tomorrow everything gets seam sealed and the drain channels will get installed. If things go well I hope to get the outers welded on Sunday...
      Thanks for watching! Mark
__________________
Name: Mark What I am building: BadAst. A Pro Touring style 1988 Astro with a full custom chassis, 509 BBC, TH400 w/ a gear vendors and a 9" w/ 3.75's.
|
|
#36
12-07-2019, 06:54 PM
|
|||
|
|||
|
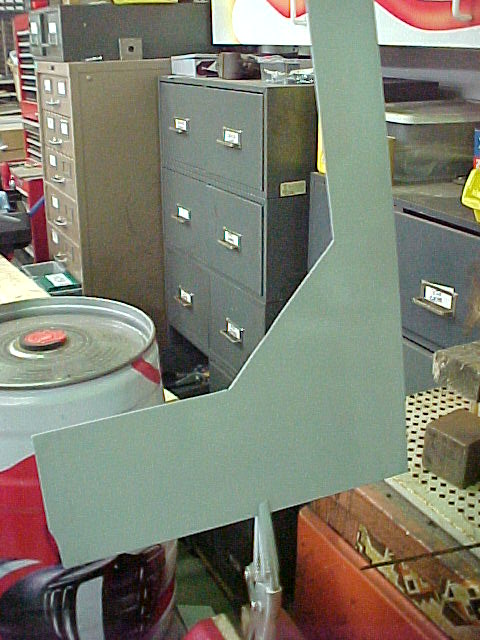
Well, today was a pretty good day! I got out to the shop early and got both sides seam sealed and the drain channels installed.
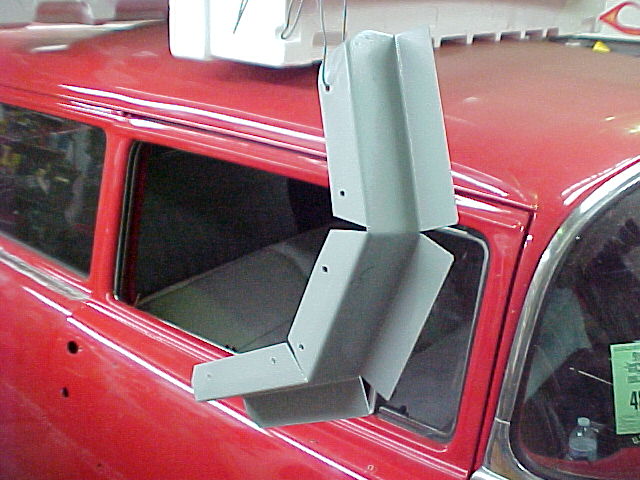
 These things are on there! I buttered all of the surfaces before screwing the channels and covers in place. If you have never worked with seam sealer you need to know this stuff makes an amazing glue as well. To get these parts off I would have to use a chisel to cut them off. 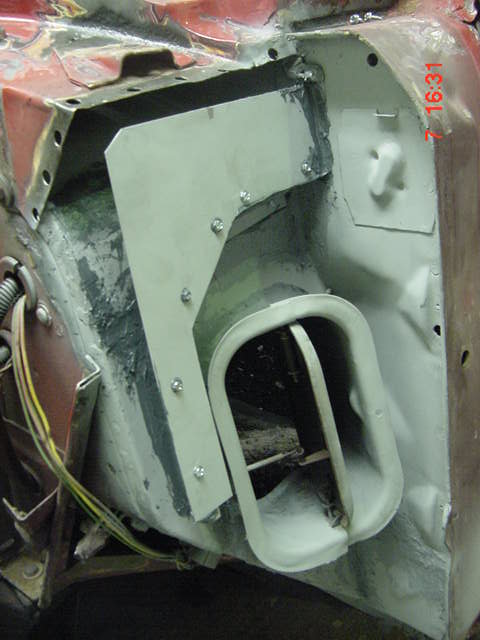 I let the sealer set up for an hour or so and then buried everything in primer. 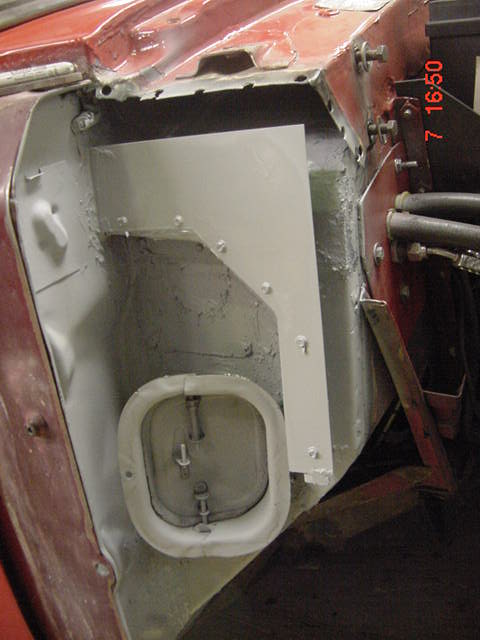 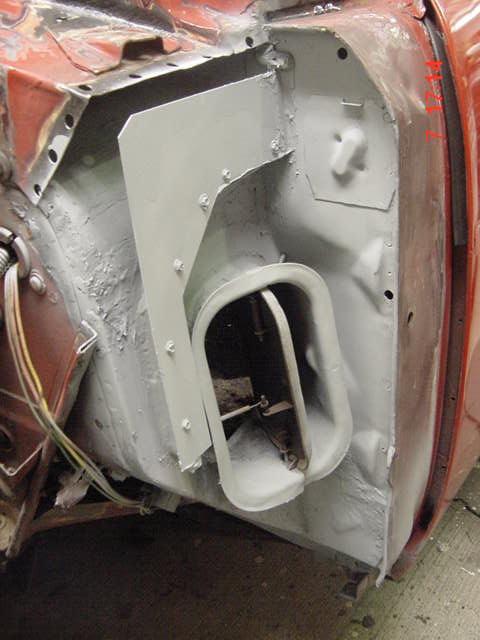 With that done I finished prepping the outer covers. I got the final fit-ups done and all of the plug welding holes punched and sanded the E-coat down. I usually take parts like this down to bare metal but the E-coat was on there very well so I did a heavy scuff and primed the inside of each piece. 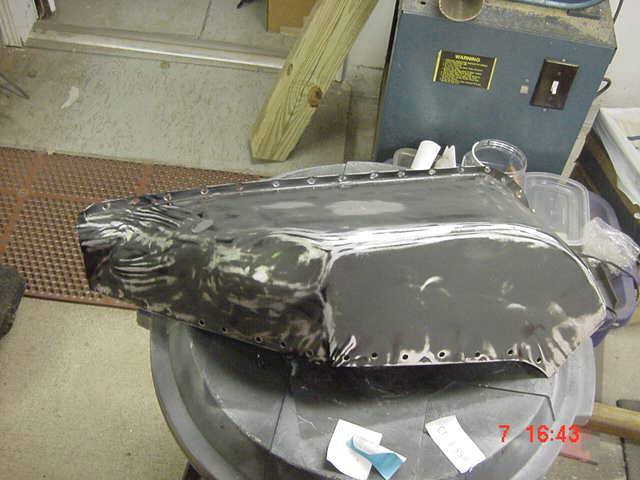 Both pieces primed and ready to weld on. 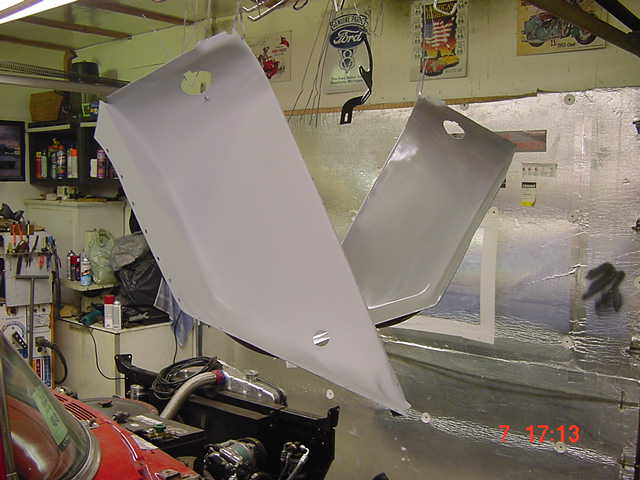 I am still debating opening up a hole in both sides to have access to the inside of the seams after welding. You can see it outlined here in silver sharpie. 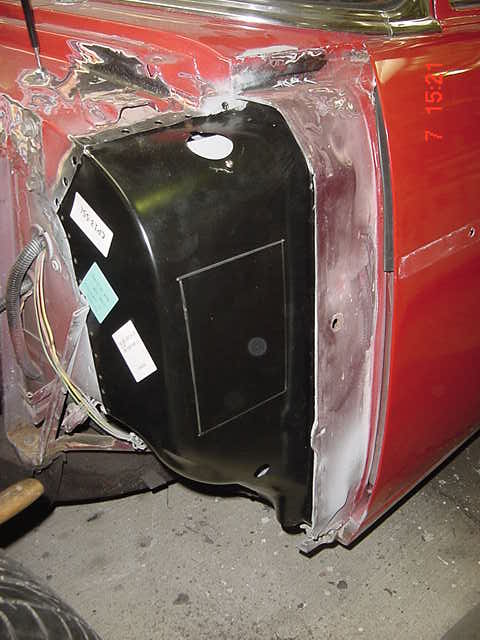 I will get a top coat of gloss black sprayed on everything tonight. This will be ready to close up tomorrow. 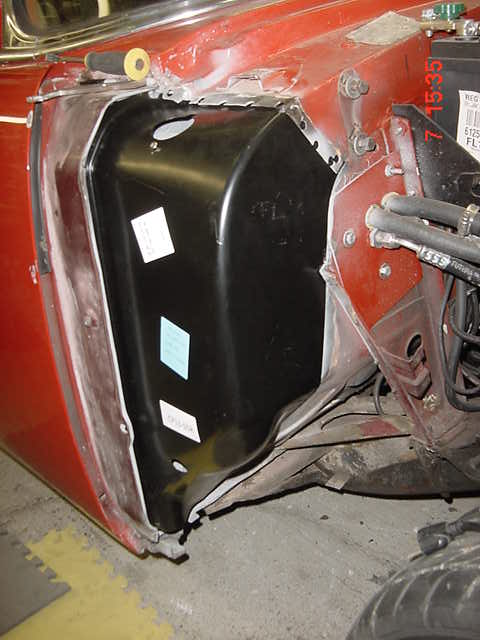
__________________
Name: Mark What I am building: BadAst. A Pro Touring style 1988 Astro with a full custom chassis, 509 BBC, TH400 w/ a gear vendors and a 9" w/ 3.75's.
|
|
#37
12-07-2019, 07:37 PM
|
|||
|
|||
|
The inners are all done! Shot some gloss black on them a little bit ago and they are ready to get closed up!
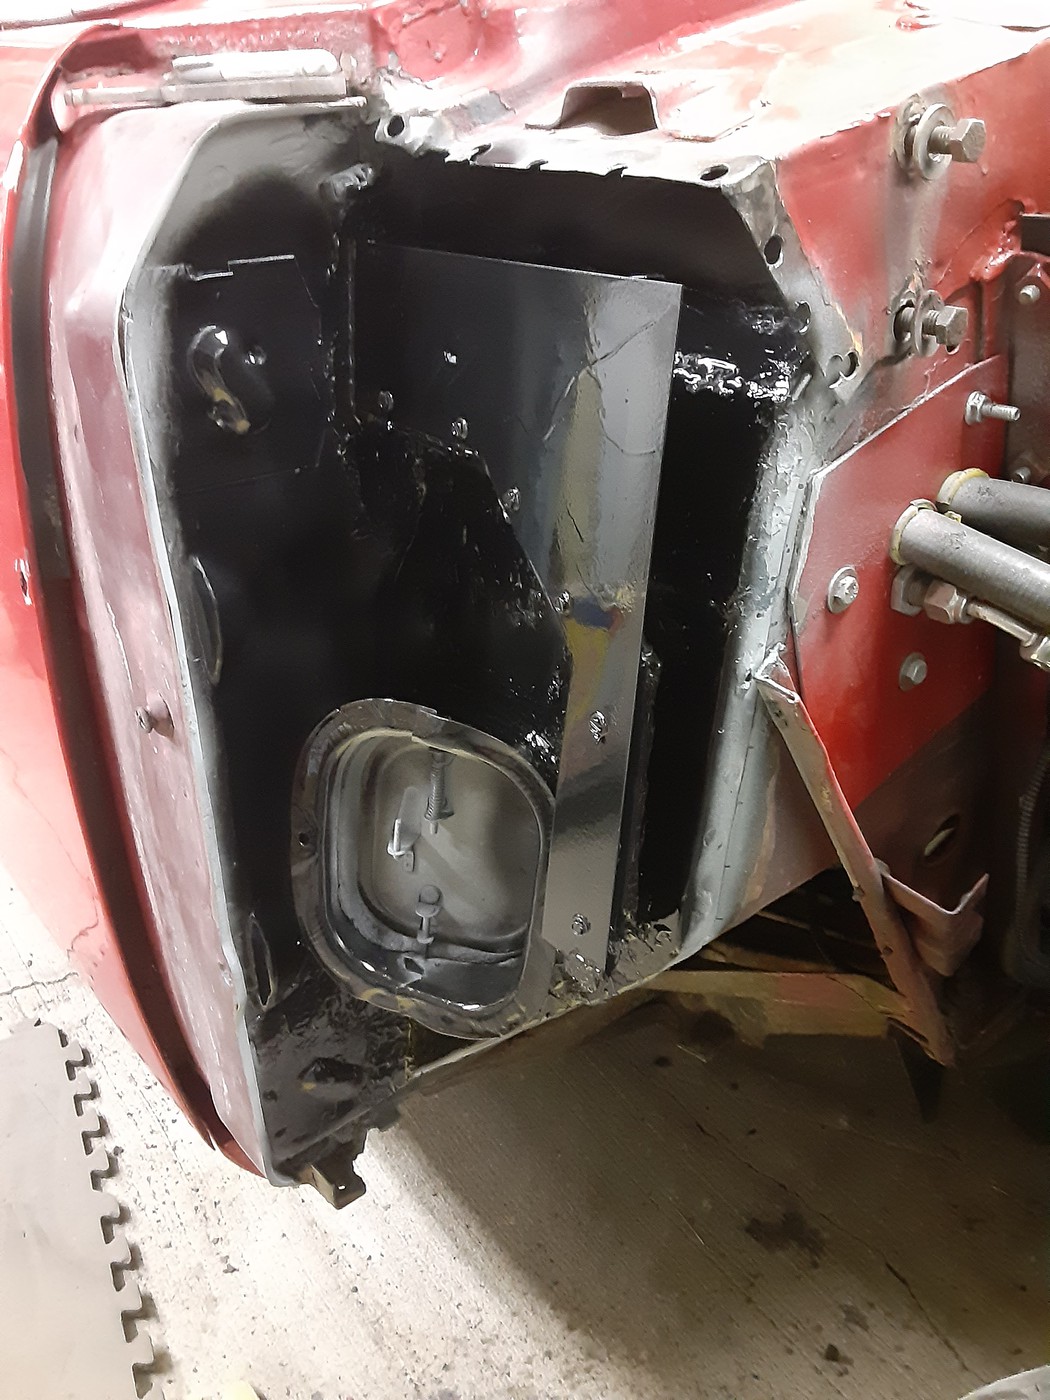 These things should never leak again! 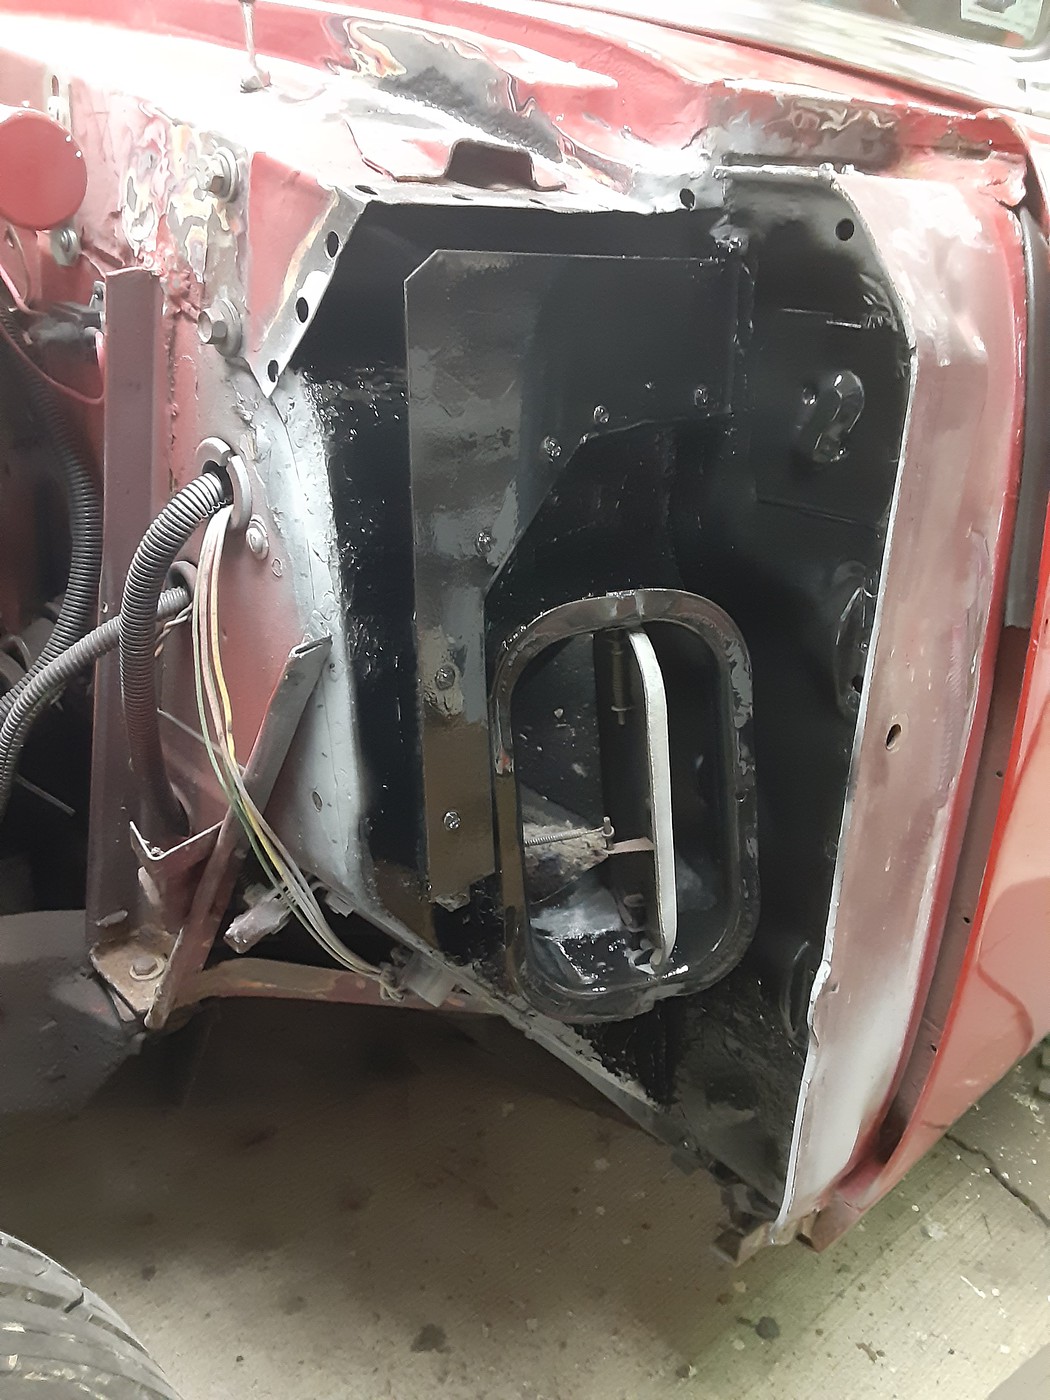 I also sprayed the insides of the outer covers. 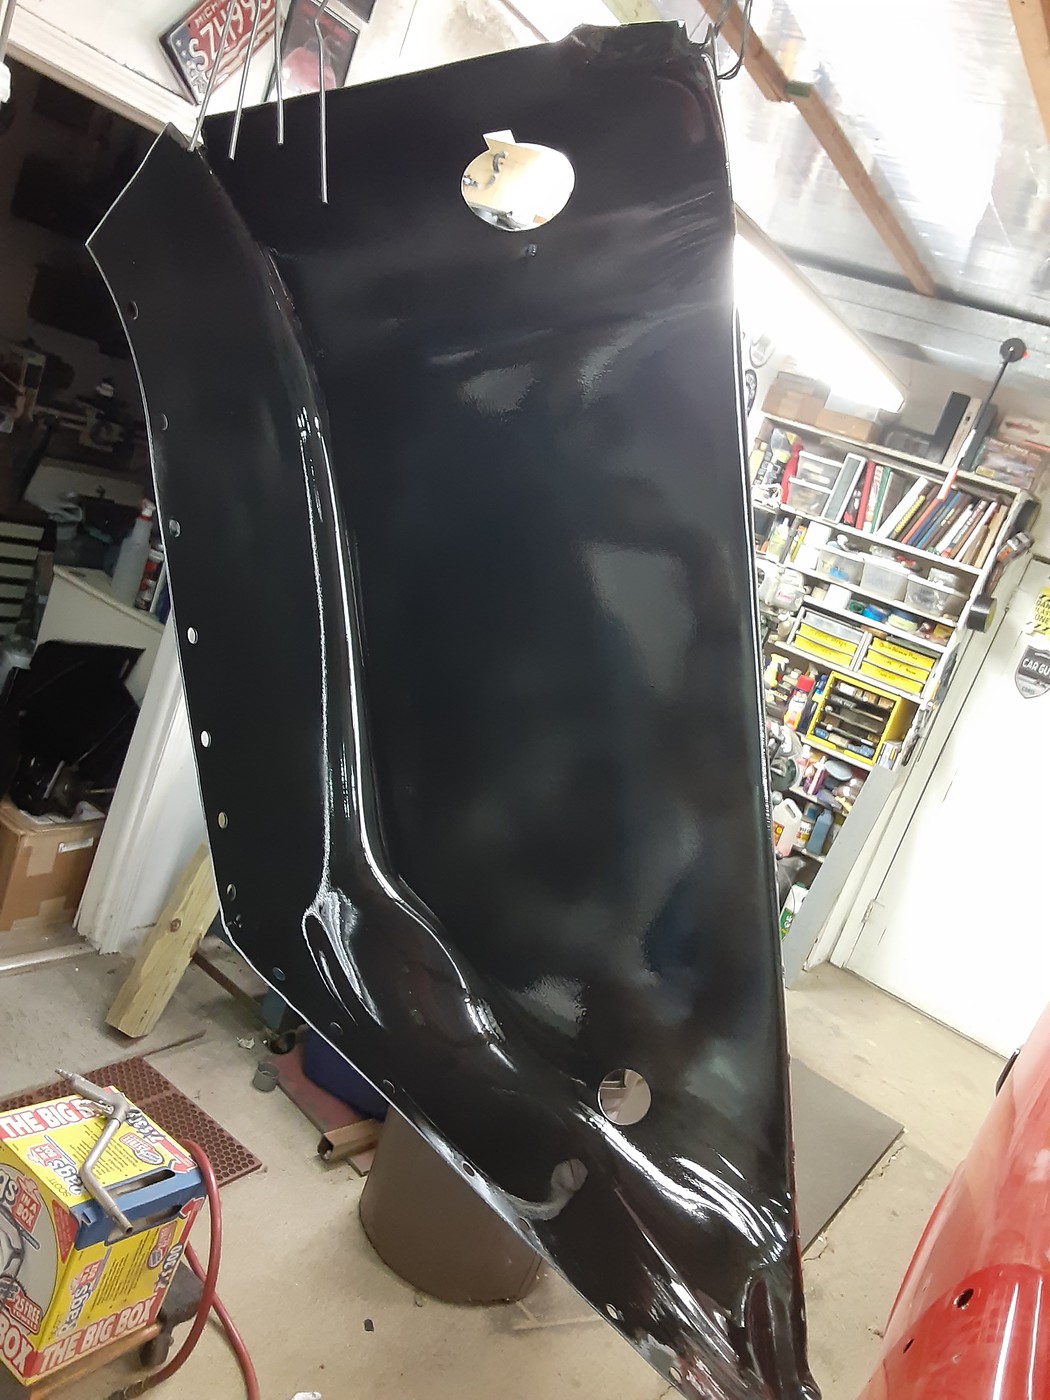 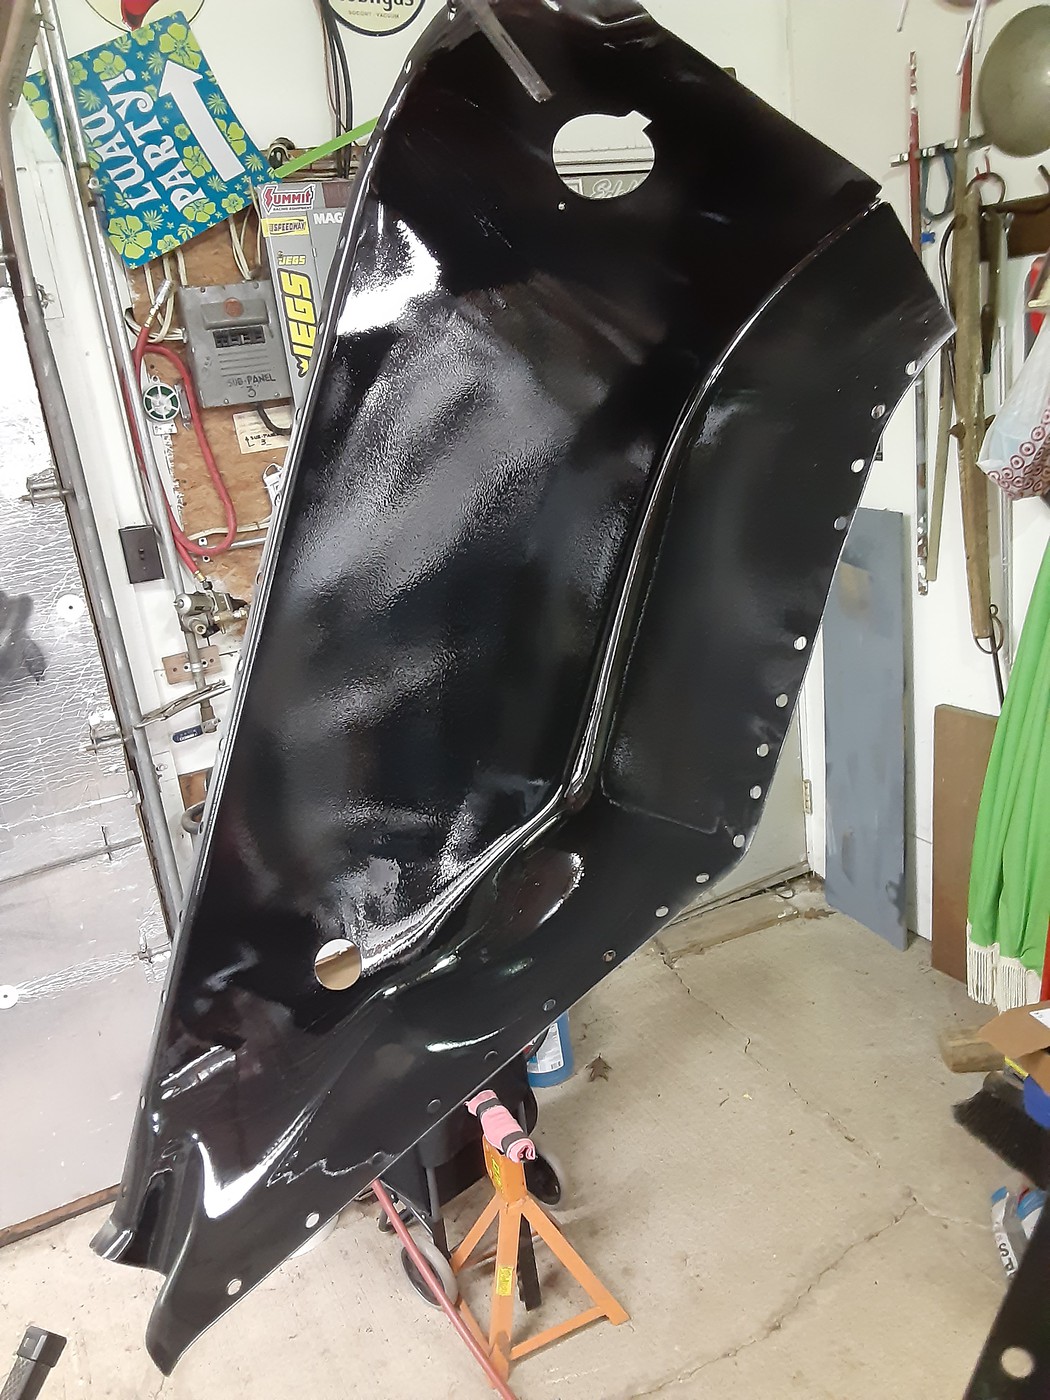 I hope tomorrow is another good day! Mark
__________________
Name: Mark What I am building: BadAst. A Pro Touring style 1988 Astro with a full custom chassis, 509 BBC, TH400 w/ a gear vendors and a 9" w/ 3.75's.
|
|
#38
12-08-2019, 08:19 PM
|
|||
|
|||
|
The cowl rebuild is done! Everything is welded up, I got a coat of primer on all of the seams and tomorrow it will all get seam sealer slathered on.
Now I can start on the floors and rockers... 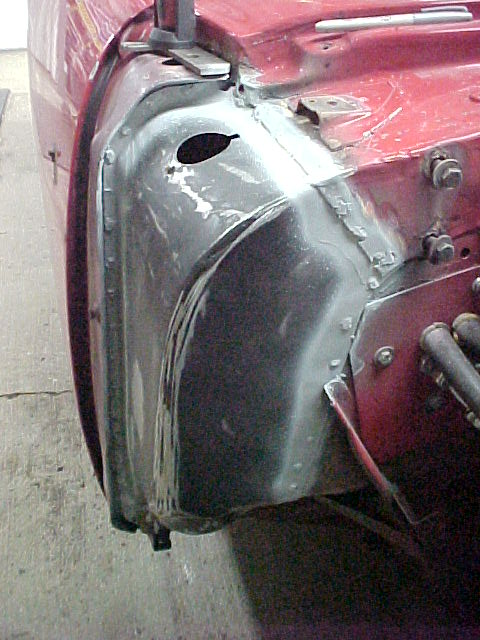 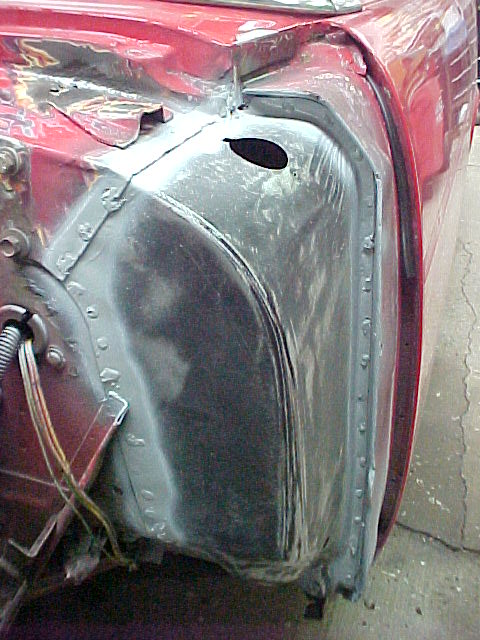
__________________
Name: Mark What I am building: BadAst. A Pro Touring style 1988 Astro with a full custom chassis, 509 BBC, TH400 w/ a gear vendors and a 9" w/ 3.75's.
|
|
#39
12-12-2019, 06:14 PM
|
|||
|
|||
|
I yanked the rugs out of the car last night and finished pulling the back seat bottom and rugs tonight.
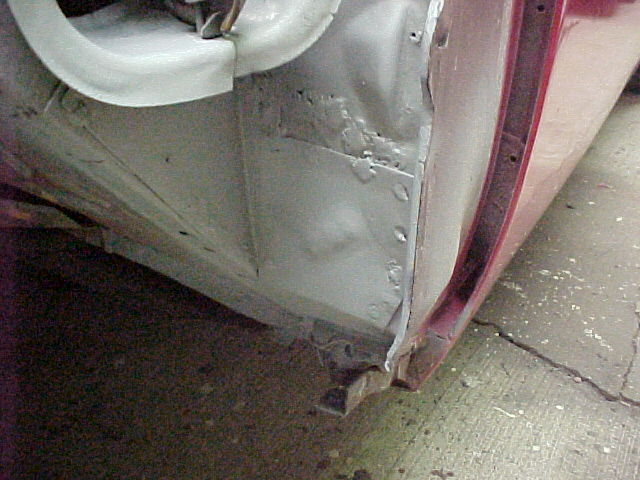
Lots of rust (which I knew was there). The passenger side is worse in back, the drivers side is worse in front. Both have issues front to back... Drivers footwell, this was all covered with a sheet of thin aluminum... 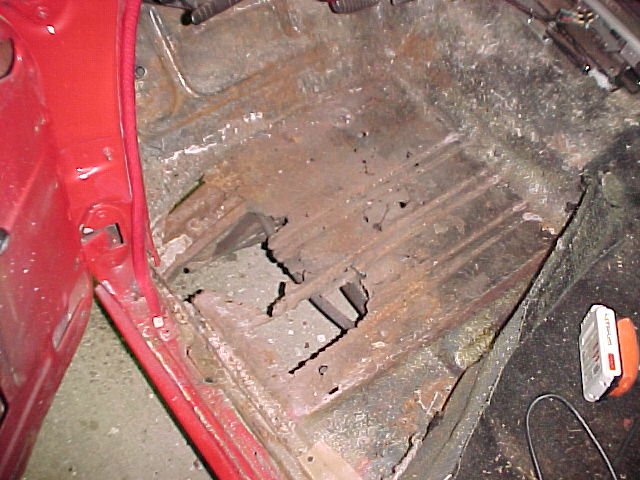 Drivers rear foot well and seat riser. The dogleg back to the wheel house is still very solid. This a "patch" that was screwed to the seat riser... 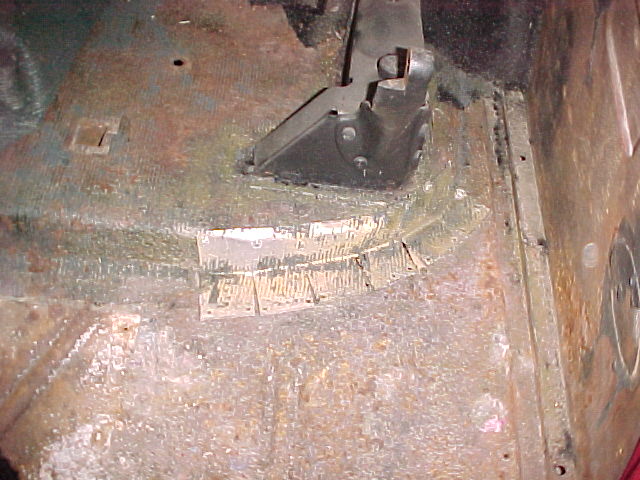 This was under the patch. 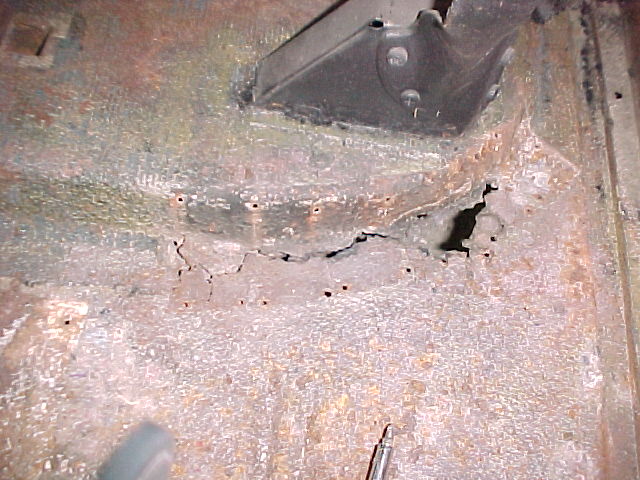 The passenger side front, not as bad as the other side but VERY thin. 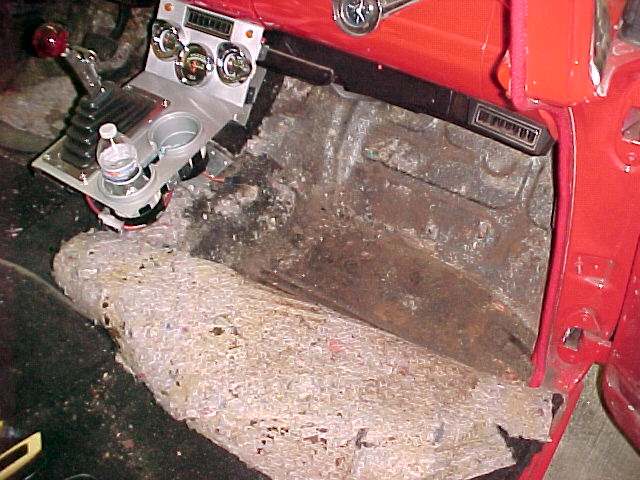 The area under the seat is also full of holes... 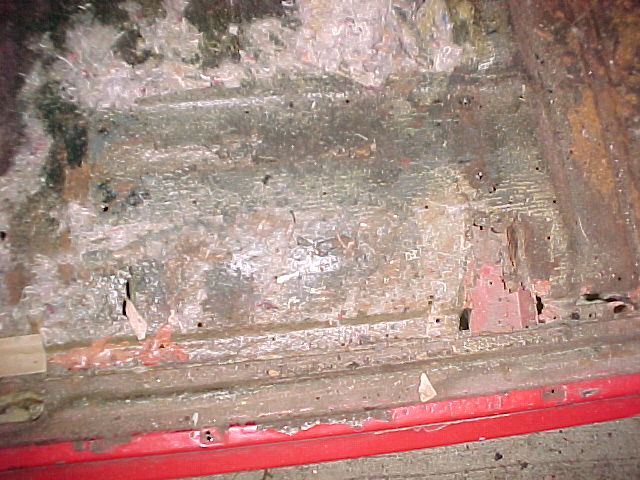 The rear foot well and seat riser are totally separated... 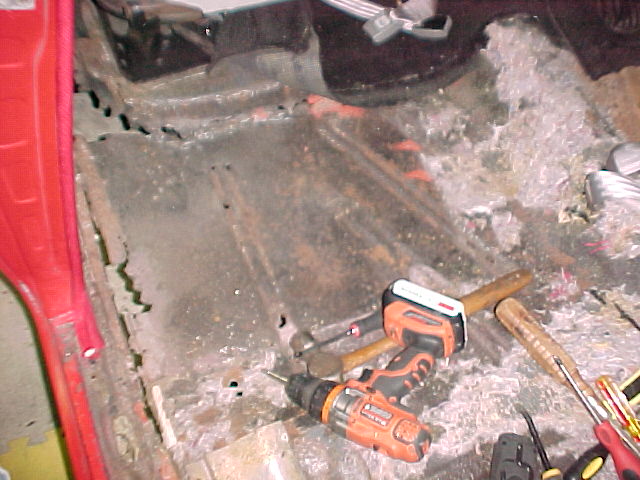 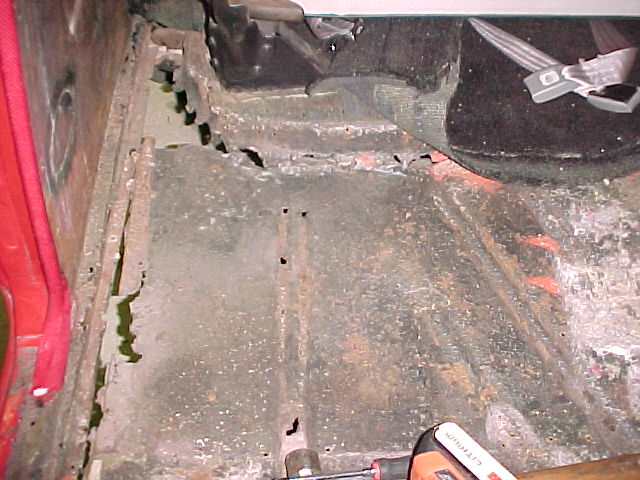 Making a plan to replace the passenger side floor as a unit. The tunnel is fine and the foot boards are usable. I will probably use the seat riser top as is. If I trim off the rust and leave the rolled edge I can fit the new floor over that and get it all plug welded together. I will put the car on stands tomorrow to start cleaning up the rockers. The drivers side I will make the call to replace the whole thing as I get the old stuff removed. Lots of stuff to do... Mark
__________________
Name: Mark What I am building: BadAst. A Pro Touring style 1988 Astro with a full custom chassis, 509 BBC, TH400 w/ a gear vendors and a 9" w/ 3.75's.
|
|
#40
12-12-2019, 08:53 PM
|
||||
|
||||
|
Hi Mark
All of that looks way to familiar. I have put a lot of those Tri-five floors in over the years. I found that leaving the floor intact and doing the rockers first worked best for me. keeps the door gap the correct width. keep the doors on the car and keep checking the fit. When the door gap is correct to the quarter panel the front of the rocker should be even with the front of the door. Good luck Steve
__________________
Steve Hamilton Hamilton Classics Auto Restoration & Metalshaping
|
 |
| Thread Tools | Search this Thread |
| Display Modes | |
|
|


 Linear Mode

