
 |
|
|
#11
|
|||
|
|||
|
Good work Nigel. I like the floor pans you did very impressive , I hope the repairs on the dodge turn out as good . Thanks for your help with the sill panel at the meet .
|
|
#12
|
||||
|
||||
|
geez fantastic work mate
and u here worried about showing it keep the post coming and willsee u at mm16
__________________
David Geelong victoria Australia |
|
#13
|
|||
|
|||
|
Nigel, your floorpan is 1000 times better than the EK wagon we had, I don't why you wanted to replace it.
 I glad you have been inspired to post, cause you are doing a pretty fine job. What colour did you wake up today Cheers John
__________________
John EK Holden V8 |
|
#14
|
|||
|
|||
|
Quote:
Scott, the rear 1/4 patch panel is all one piece. I did make a little mistake when I trimmed the lower section and if you look hard I had to weld in a pie cut section - I misjudged the angle of the bottom when it was to be folded under. I've learnt most things from the Peter Tommasini dvds I've purchased. I'm only learning but this is how I did the front lower cowl, the pros will no doubt be able to do it in a better way. So please let us all know how it can be done more easily.  1/ I made the template first. 2/ I wheel a little shape into the main section with my english wheel 3/ I folded the edge to 90 degrees and shrank the edge to match the door contour. Then I made a die for my Trumpf and stamped in the edges 4/ I tipped the line using the edge of my english wheel 5/ I tipped this edge over using the english wheel as well 6/ I used a blocking hammer on stump and sandbag to get the front shapes in and planished them out a little with a planishing hammer Then I folded over the final lower edge. The rear 1/4 panel lower patch was much the same but with no blocking. I wheel in a bit of shape, fold the front edge to 90 degrees, shrank it to fit the door contour, made a die for the trumpf and stamped in the fold lines, tipped the rear wheel arch shape in with the E wheel, folded under the bottom section.
__________________
Nigel.M |
|
#15
|
|||
|
|||
|
Very funny John.
Will will be glad to know that I do actually listen when you all speak. I went and got some of this UPOL stuff today. It must be better than the stuff you get in NSW as it's heaps more expensive. I also got a couple of hammers after I saw Peter using the same ones, good news with those is the prices are still stuck in the 90s. Note where they were made - the Berlin wall came down long ago. The guy who owns the store says he has had them on the shelves 20 years and the previous owner had them 10 years. Lets hope the heads don't fly off when I start swinging them. 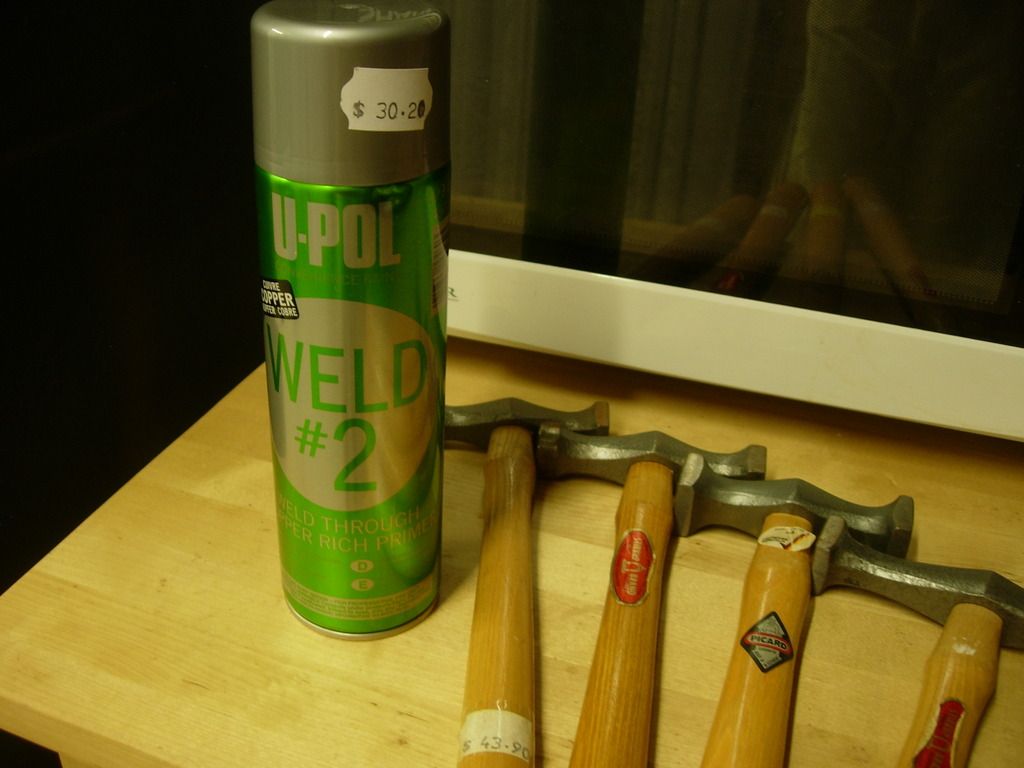 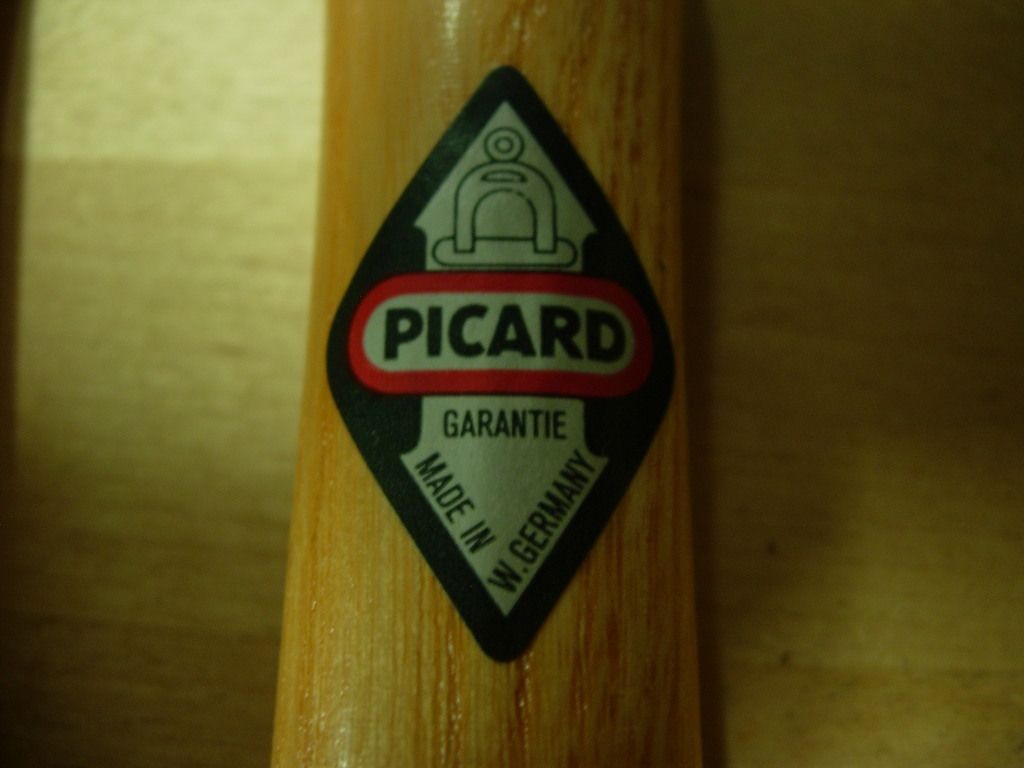
__________________
Nigel.M Last edited by Meeksie; 12-15-2015 at 07:16 AM. Reason: Additional sentence. |
|
#16
|
|||
|
|||
|
So I have managed to get a bit done on the 37 the past few days.
I made a few little bits to help hold the floor in place and have partially welded it into position. I had to stop fully welding it as the material the floorpans was resting on was catching alight and making for a couple of pretty crappy welds. I'll take the body off and fully weld it all is as soon as possible. Firstly I made a couple of panels to hold the lower cowls and firewall in place. I had to eat all the Vita Bits first though. 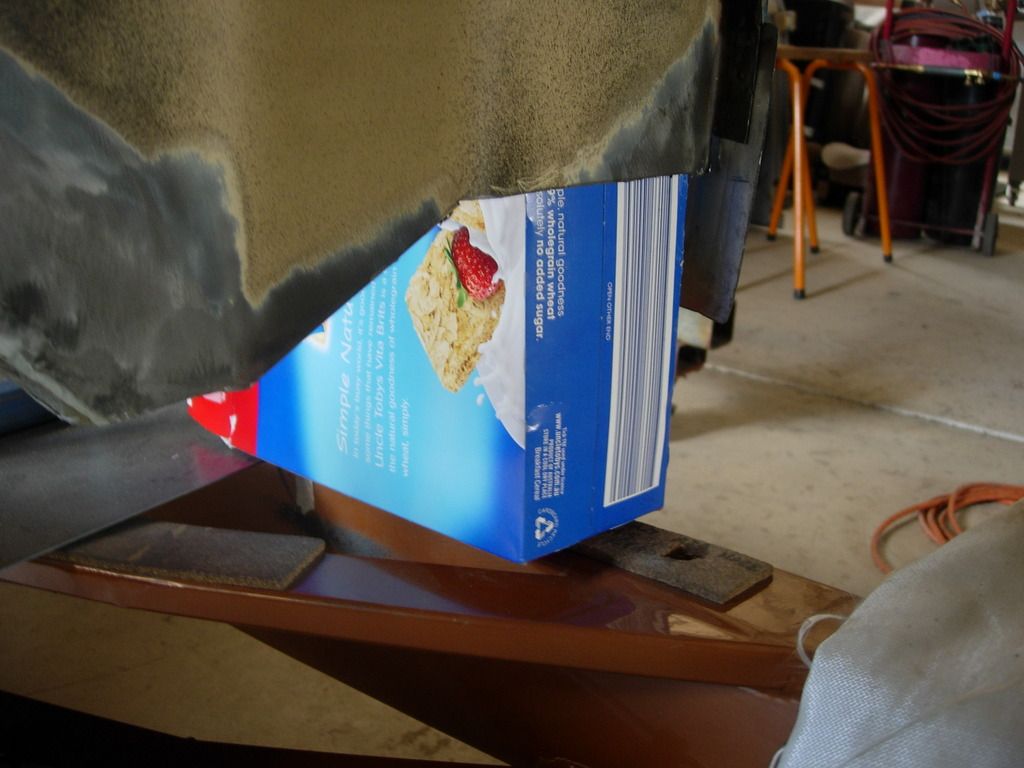 I made a couple of bits that go between the floorpan and the lower front of the quarter panel. 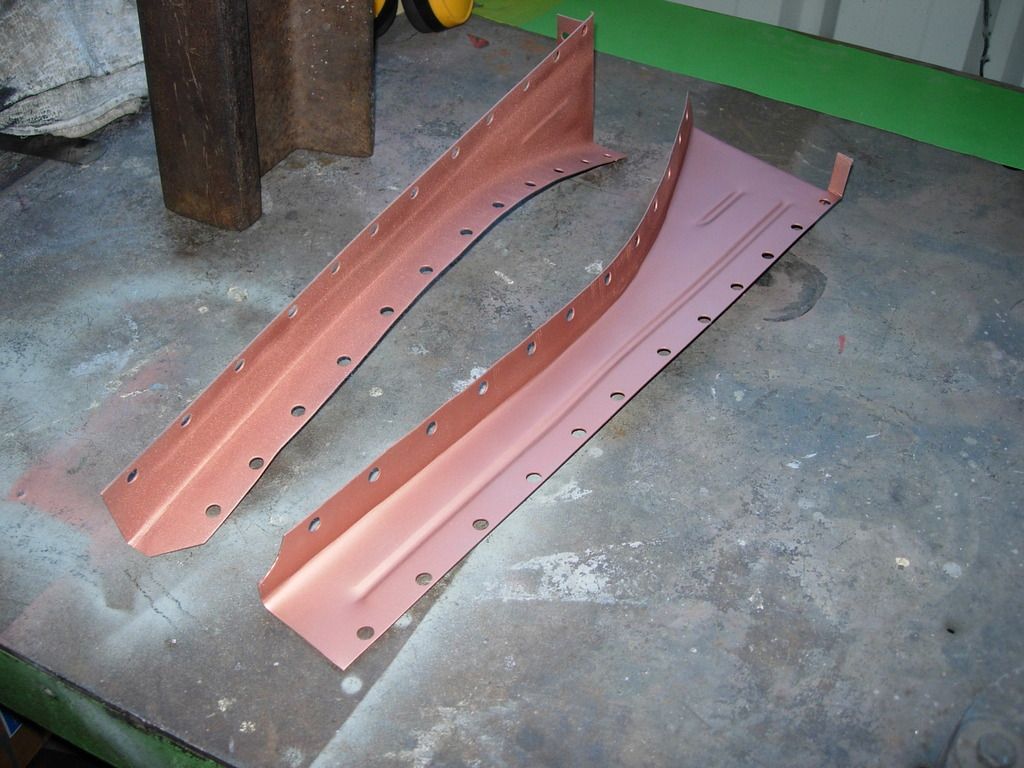 I then started on the new rocker panels. Cut them out and tipped em over in the wheel 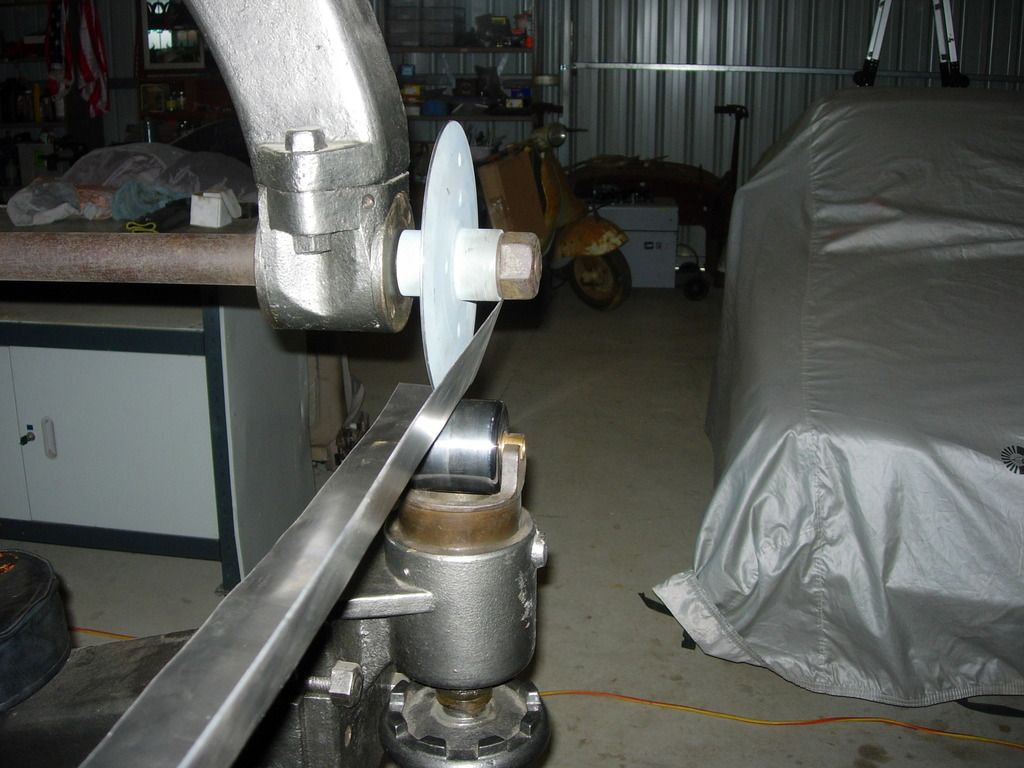 Had to bash a bit of shape into them so they can be welded to the lower cowl and a slit to go beneath the floorpan. 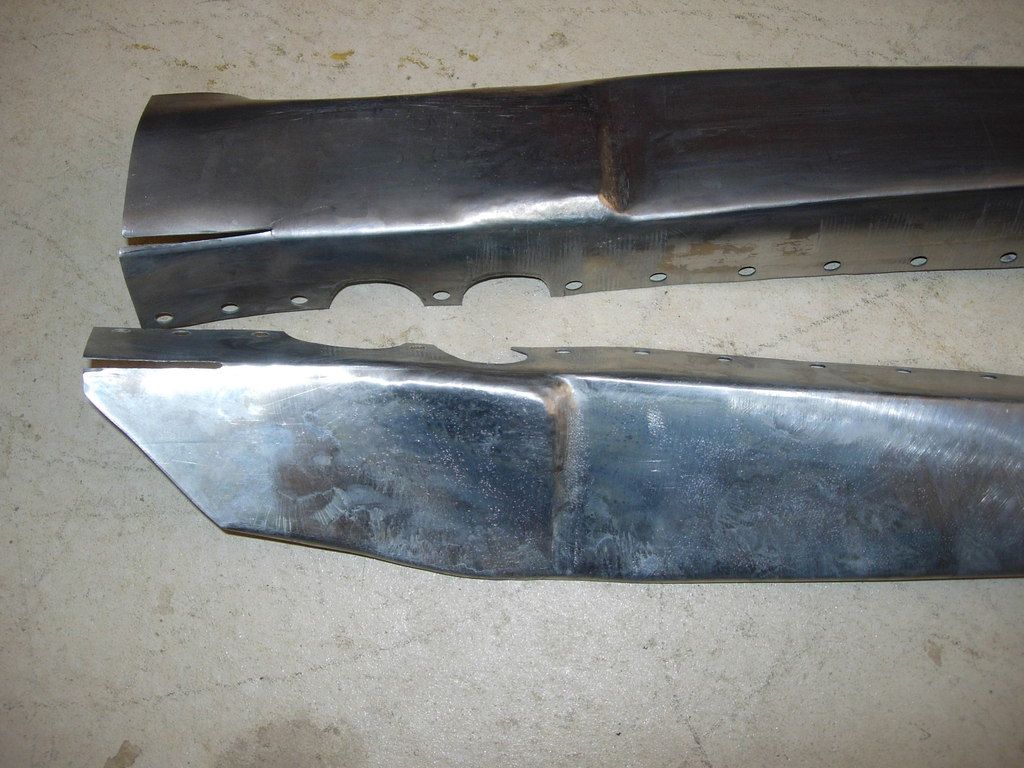 More weld through primer for protection. 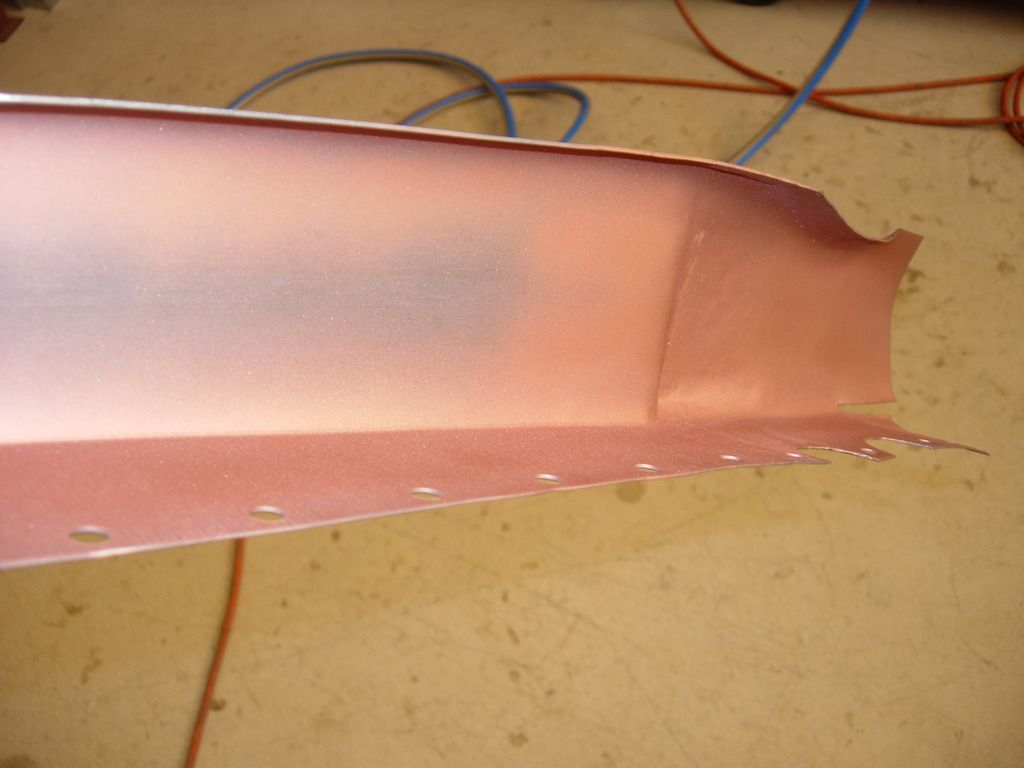 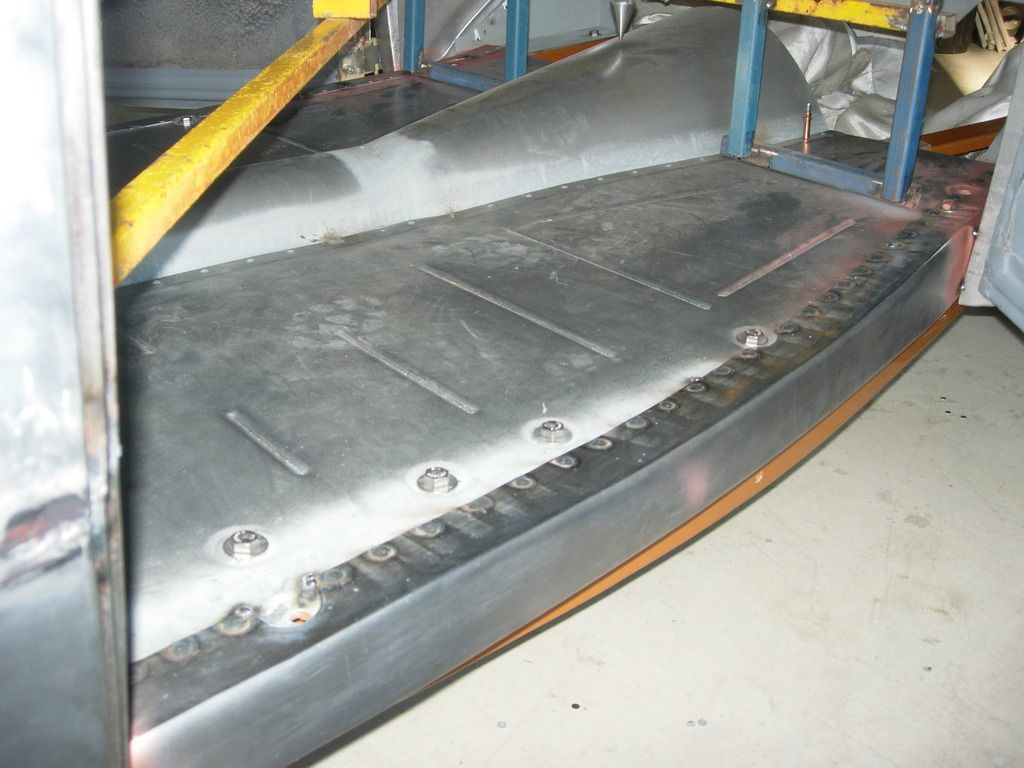 That's right the floorpan went back in a little higher than stock. How much I don't know as the floorpan that was in before was at a number of different levels, it's not radical though. 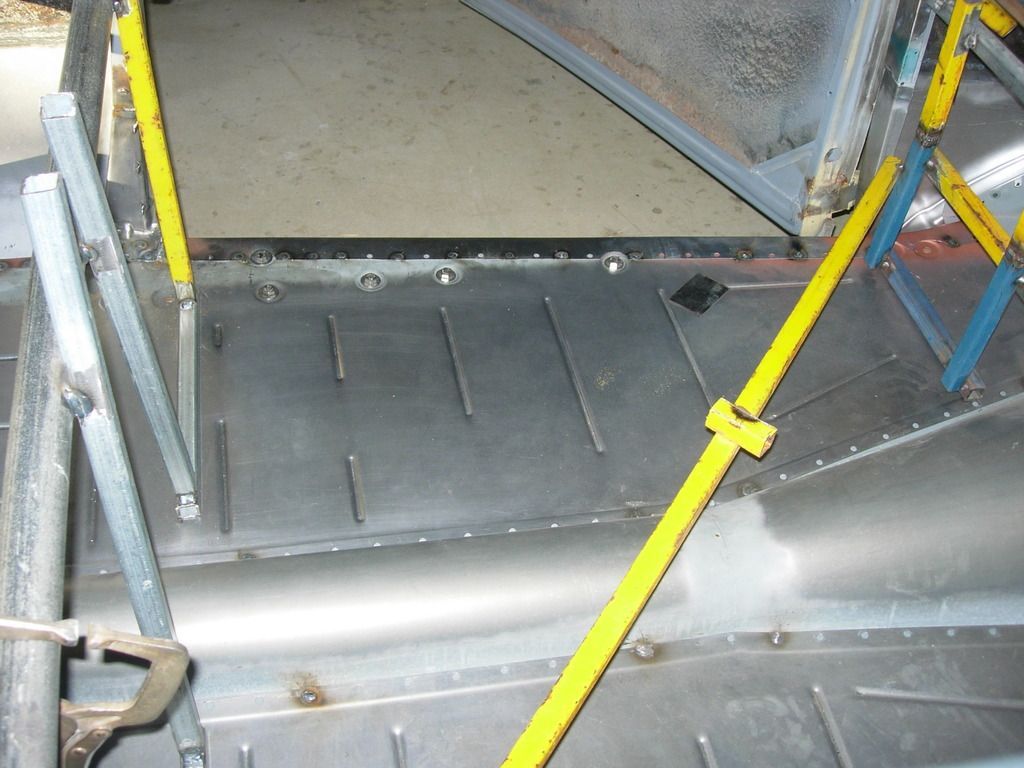 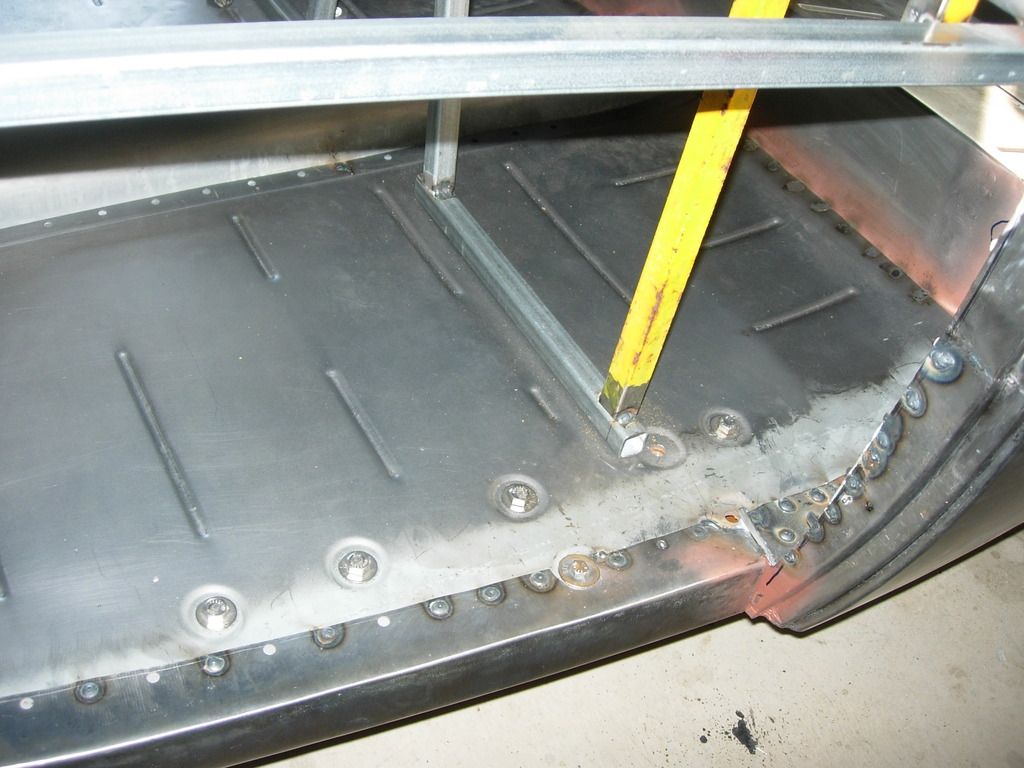 Made these bits to support the 'B' pillar 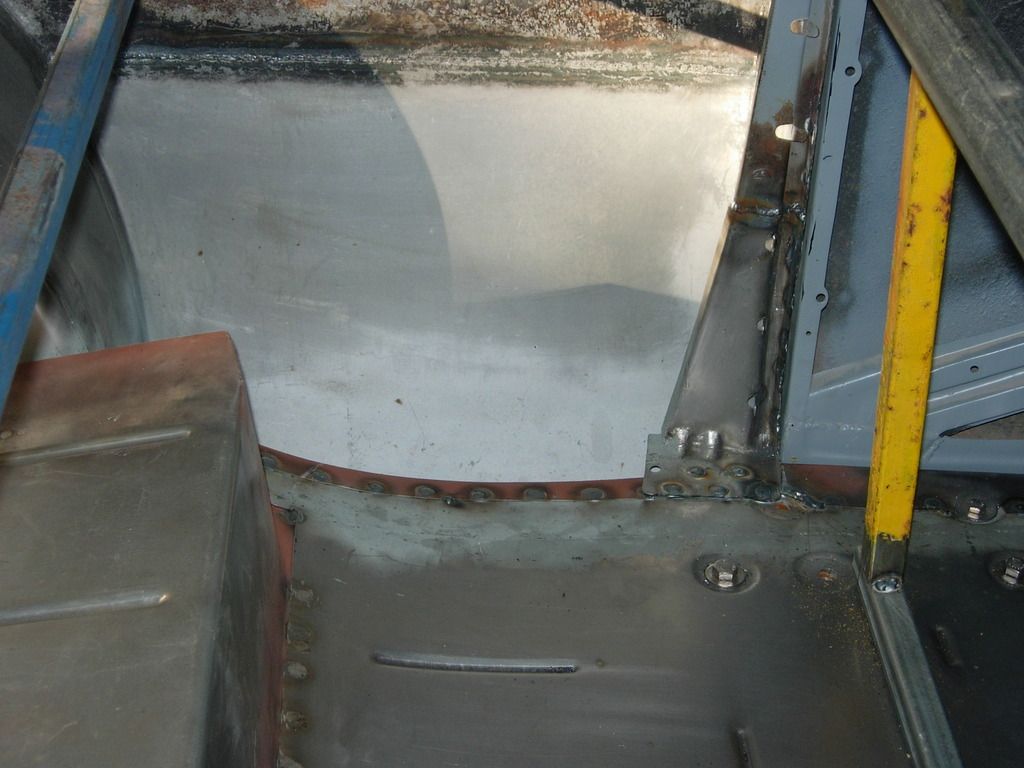 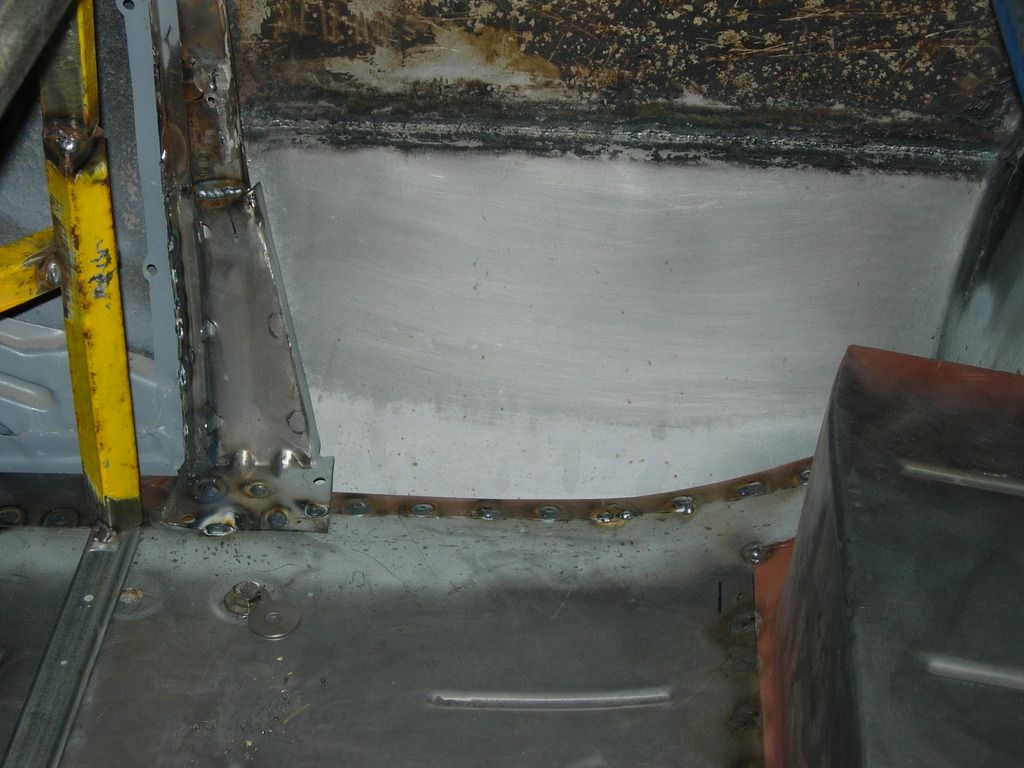 And that's how she currently sits, should get the body off soon and finish off the welding.
__________________
Nigel.M |
|
#17
|
||||
|
||||
|
Nice work there Nigel.
__________________
Marcus aka. Gojeep Victoria, Australia http://willyshotrod.com Invention is a combination of brains and materials. The more brains you use, the less materials you need. |
|
#18
|
|||
|
|||
|
Looks excellent..
 re the trumph tooling can you post a picture of the tooling you used to form the door shut edge. Those double steps always stump me... along with most other stuff lol..
__________________
Ian |
|
#19
|
||||
|
||||
|
Great build, have the same car so it I quite inspiring. I will be referring back to this thread when it come time to re-do mine.
__________________
Doug Walter |
|
#20
|
|||
|
|||
|
Quote:
__________________
Scott in Montreal |
 |
| Thread Tools | Search this Thread |
| Display Modes | |
|
|