
|
|
|
#1
 06-17-2019, 09:50 AM
|
||||
|
||||
|
We're trying to get all the fabrication work done so we can get some paint on the wagon, and I'm quite sure I'll miss something..
...but on to the next headache. We had issue fitting the round speakers into the square holes in the door, so we opted for some 18 ga CRS to form some rings, the seam was gas welded. 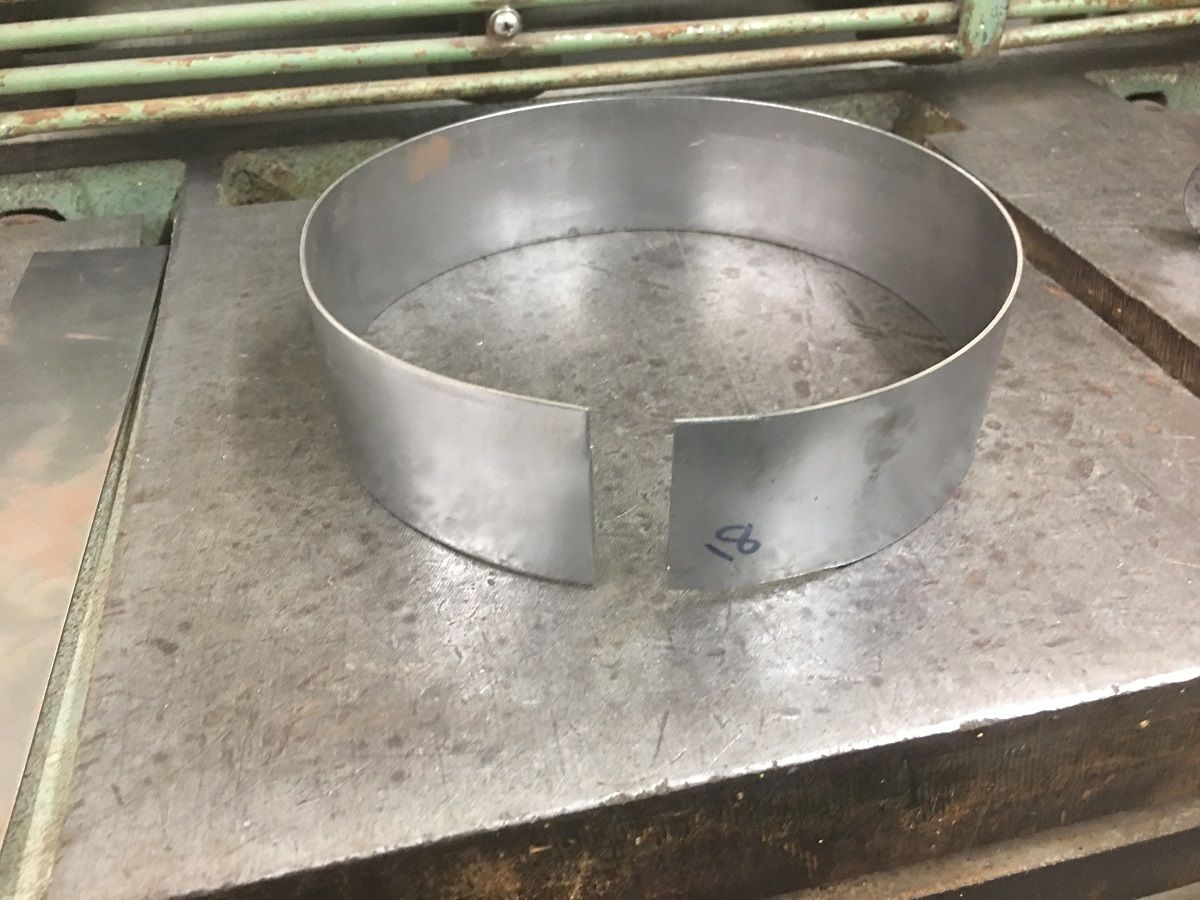 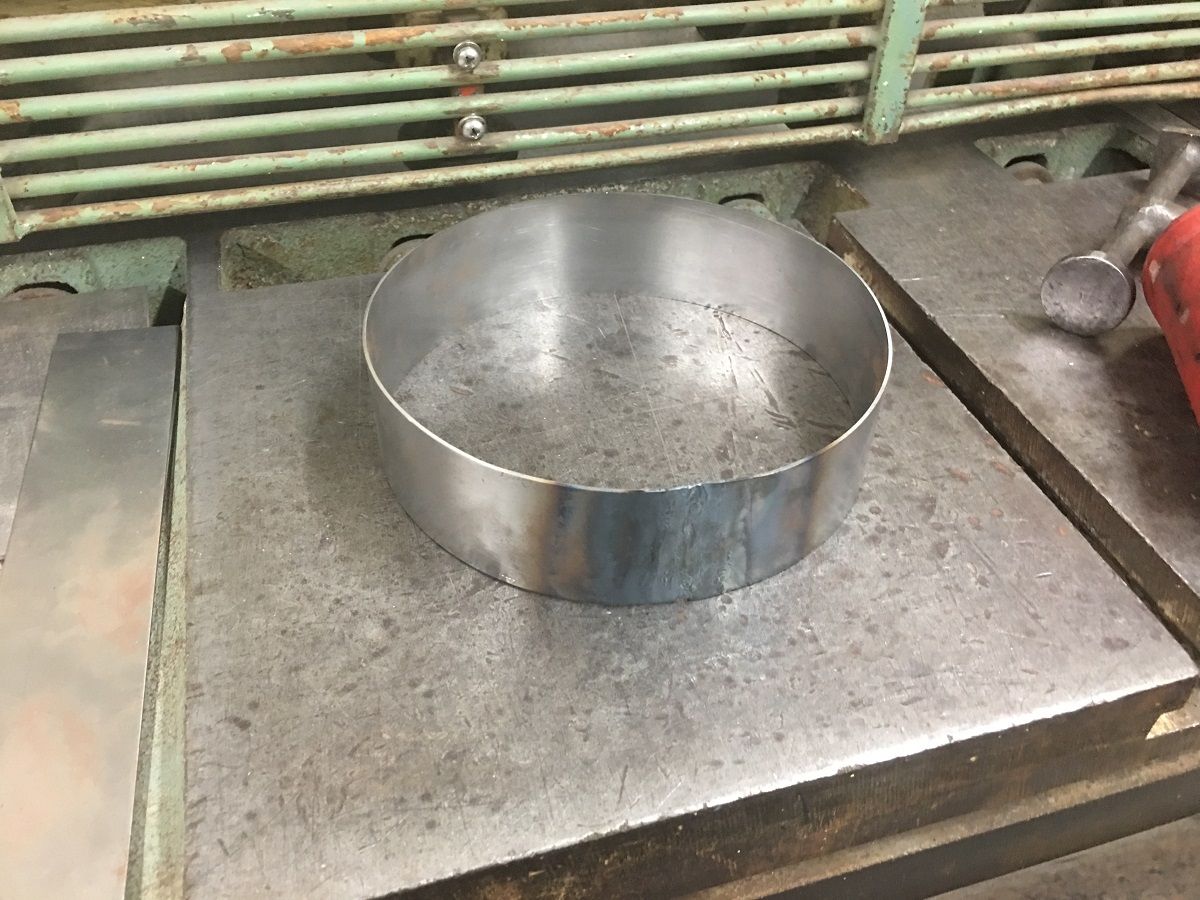 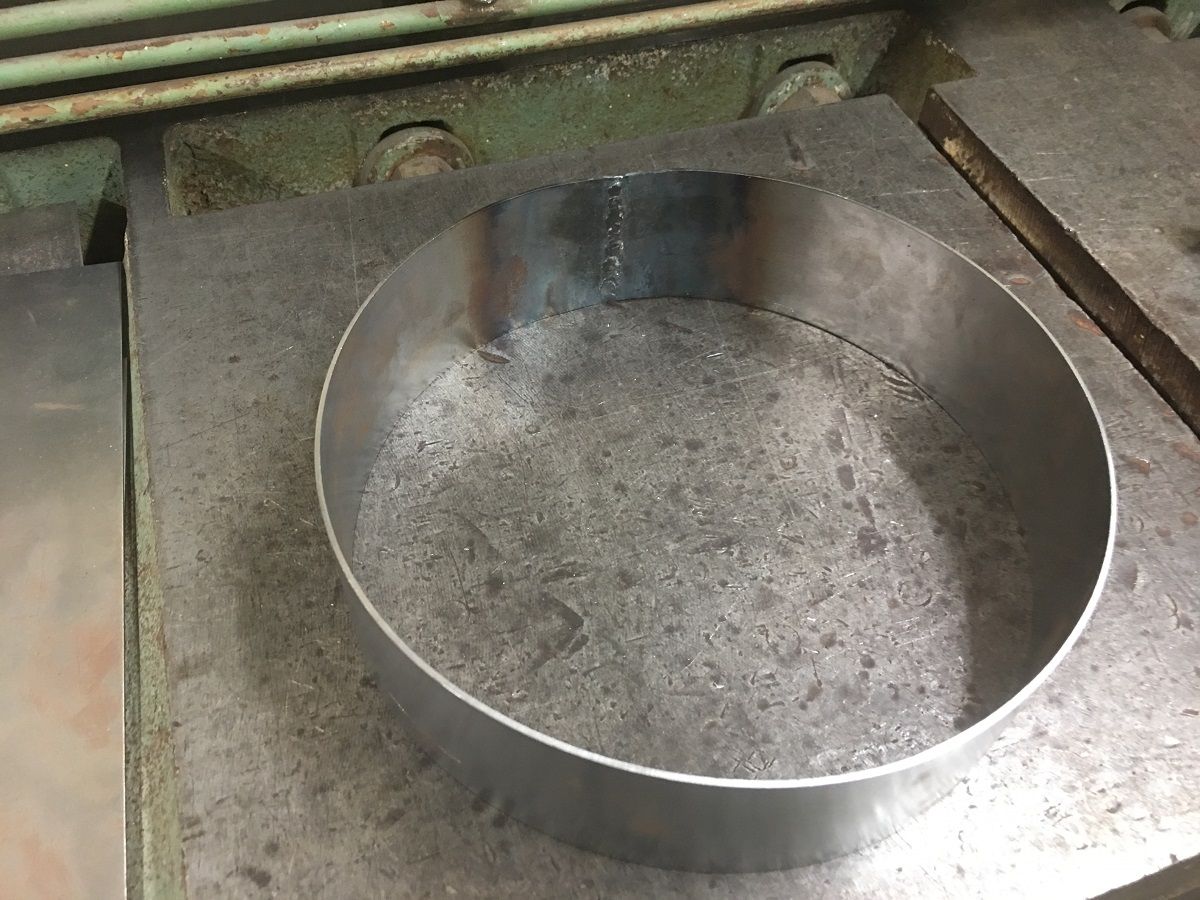 Then some flanges were tipped for attaching our speaker to the ring.. The inner flange was done using a combination of a tipping die in the Fasti-Werks bead roller and the Erco kick shrinker to take us in about 30* and then resorted to the Vise Grip tucking pliers and some heat to help flatten the tucks. For the outer flange, we started on the Fasti-werks bead roller using the tipping die and the lower die we made last week. 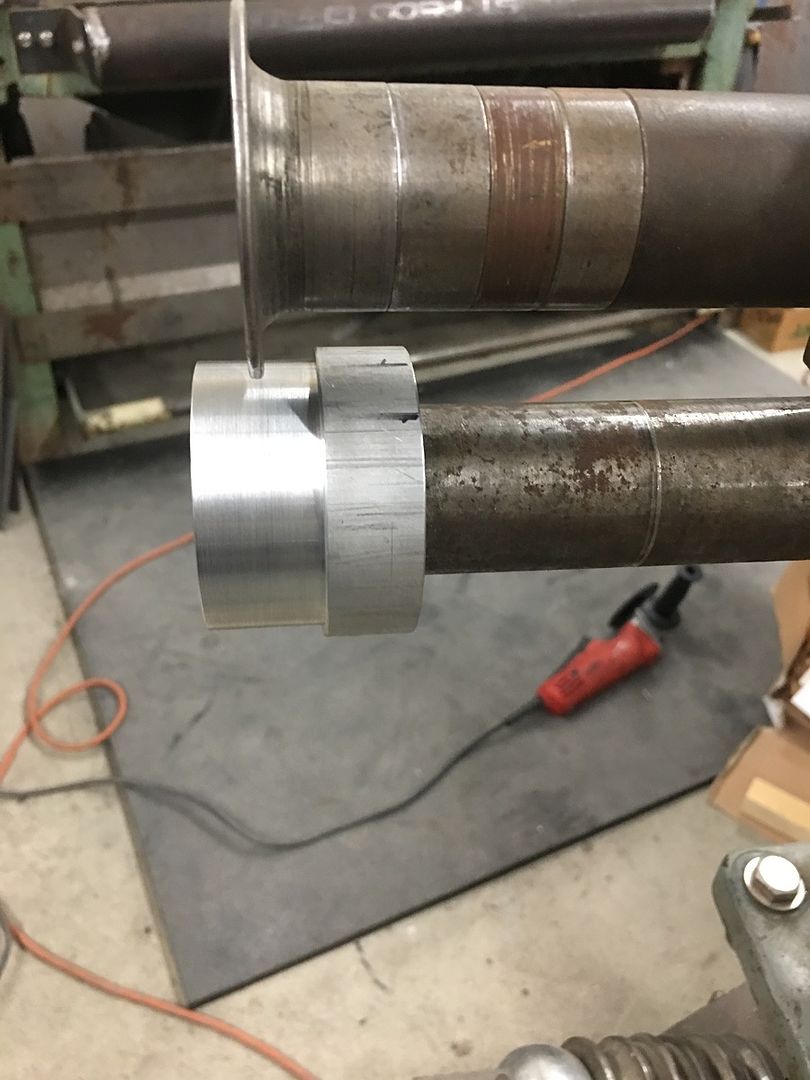 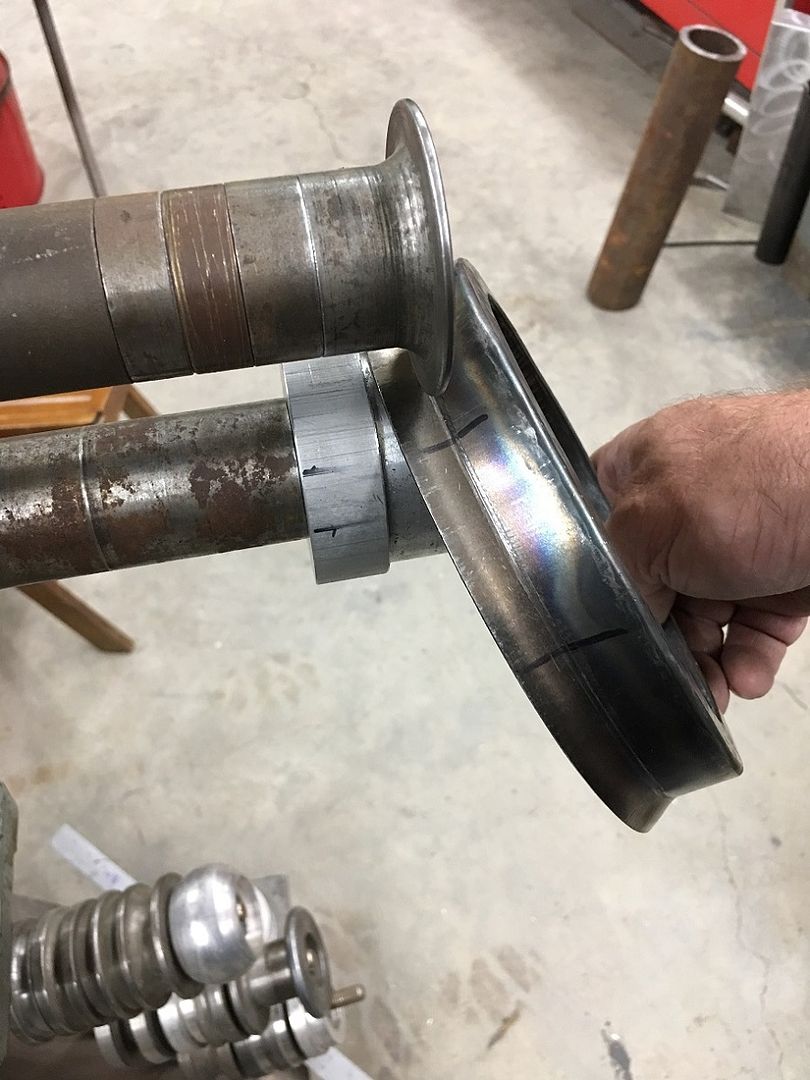 Once it started to resist the tipping (needs stretching of the flange) we changed to using the linear stretch dies in the Lennox TE250 https://www.youtube.com/watch?v=bX0gzPlqXEw https://www.youtube.com/watch?v=ATRYXZ-I3CU https://www.youtube.com/watch?v=9KRturFOdHA Stephen's first time using the Lennox.. https://www.youtube.com/watch?v=WolTnnoKfnM 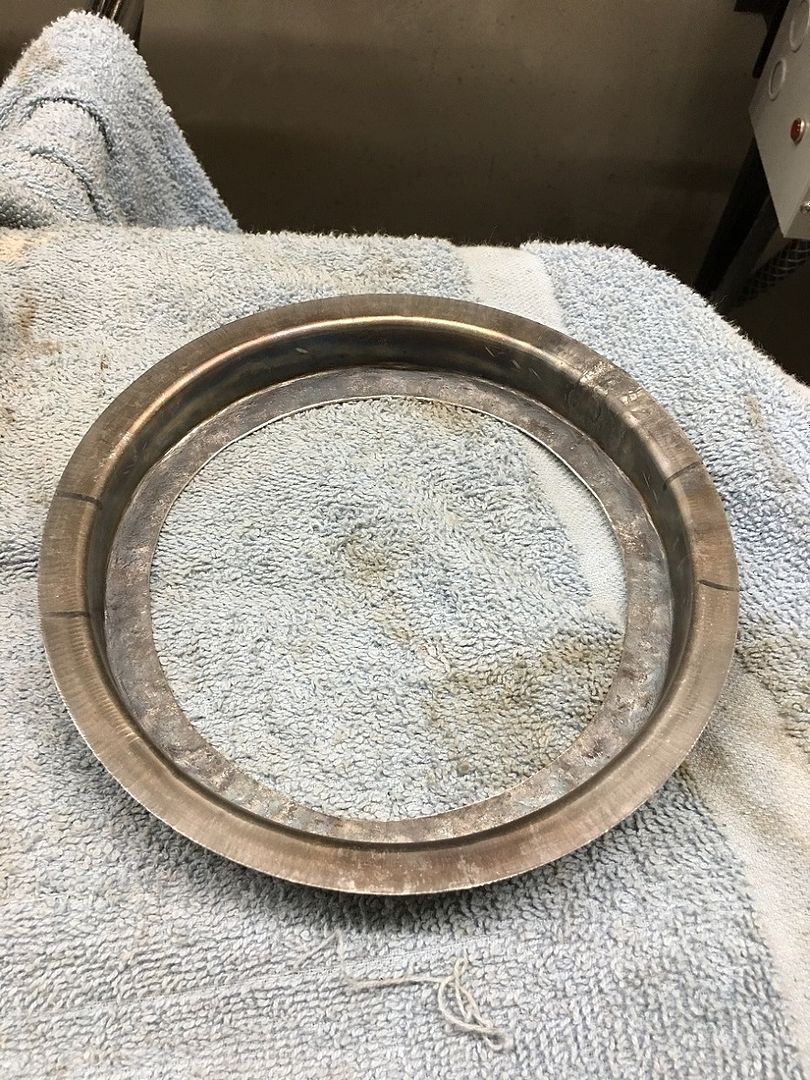 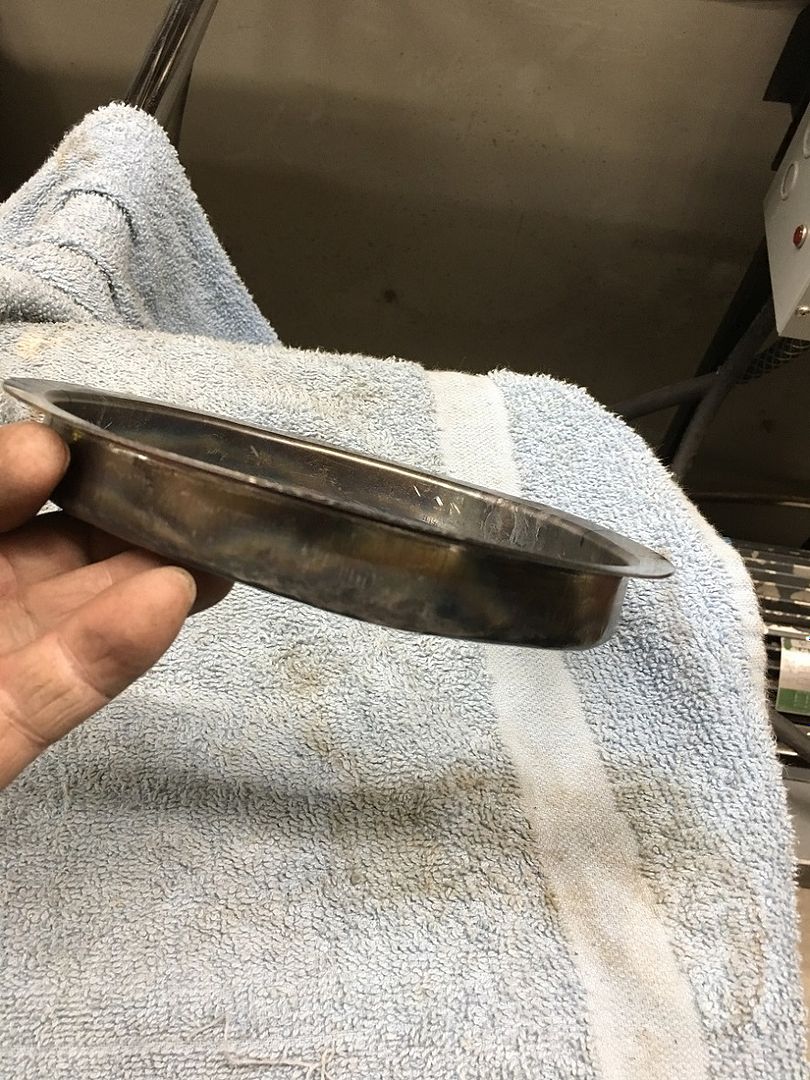 Originally we were looking at using the area below the power window motor, but in order to clear the power connector it would be too close to the bottom of the door... 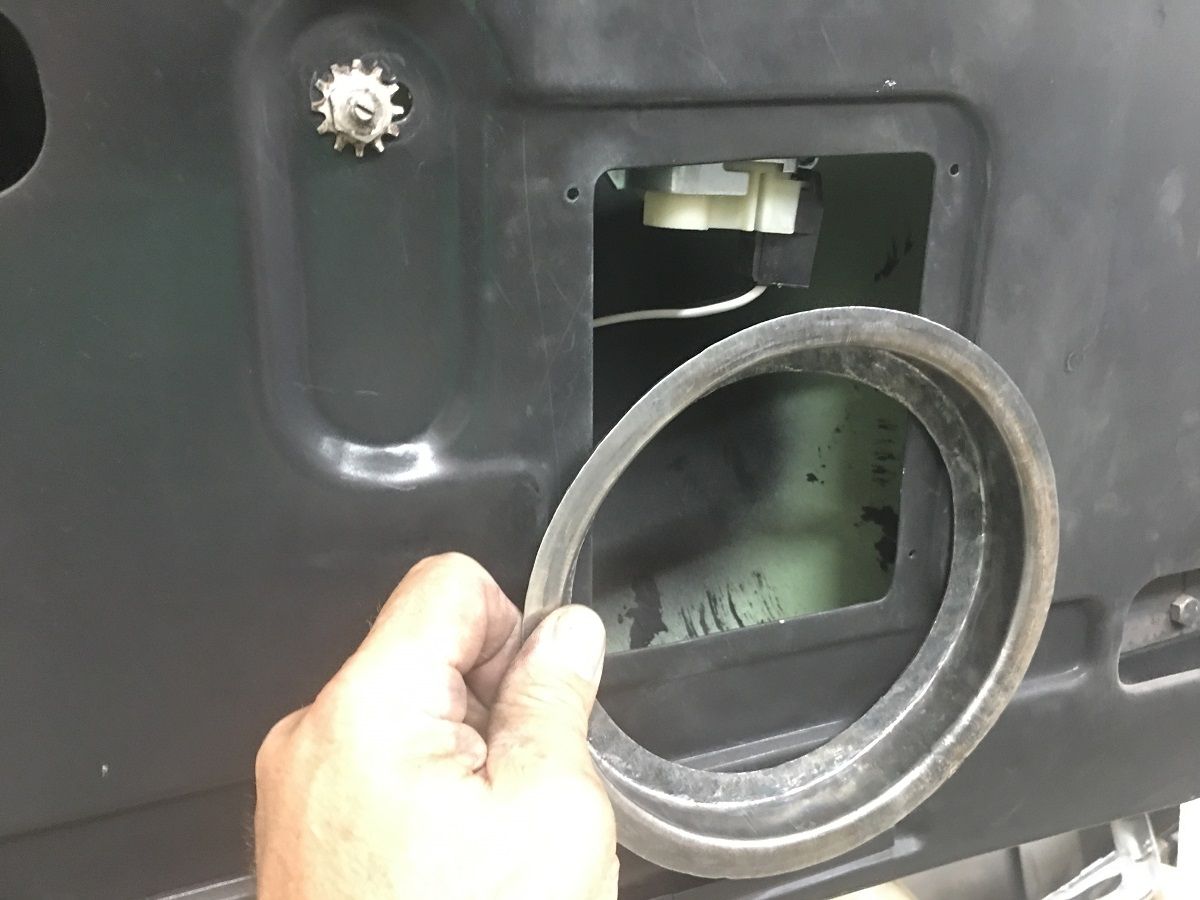 With not much else for room in the door, we opted to open a hole at the rear area of the inner hinge brace. 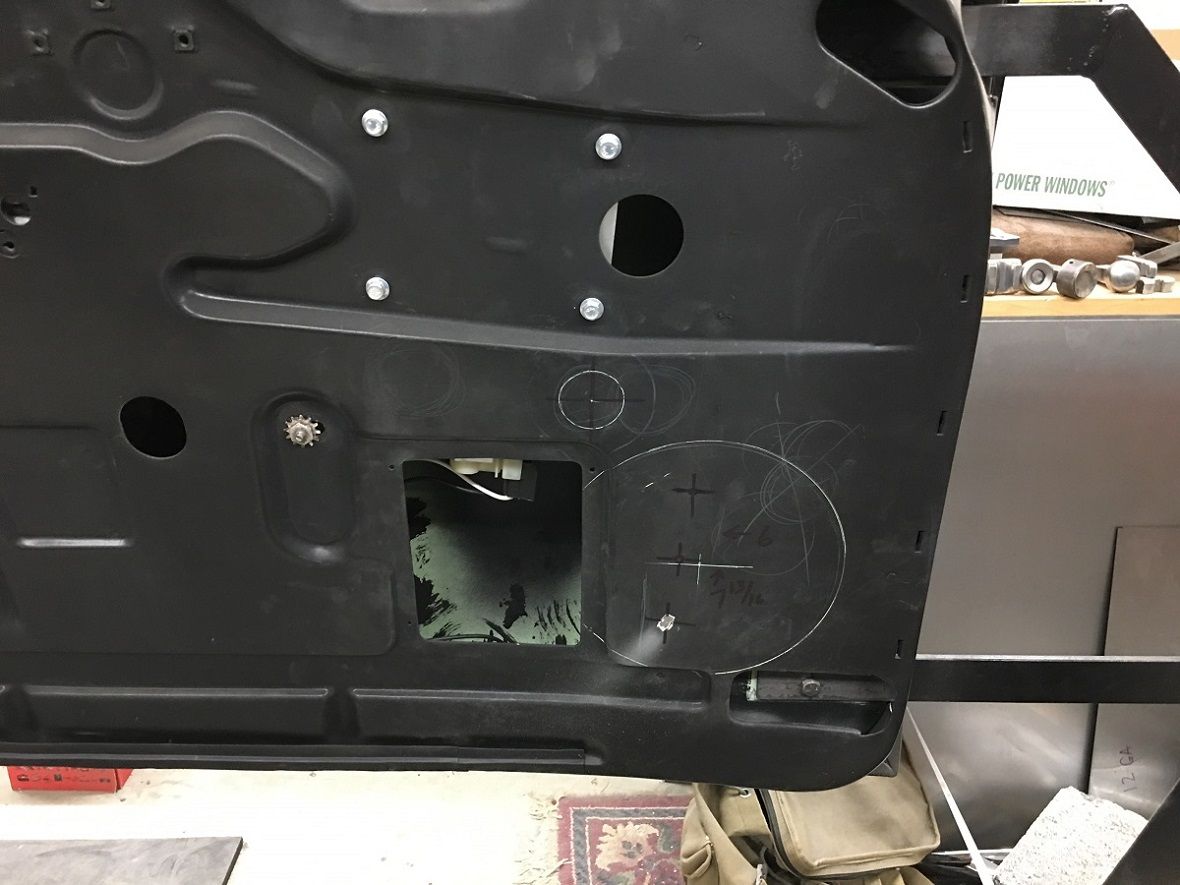 With space above for the tweeter, this will closely mimic what we have in the rear kick panels.. 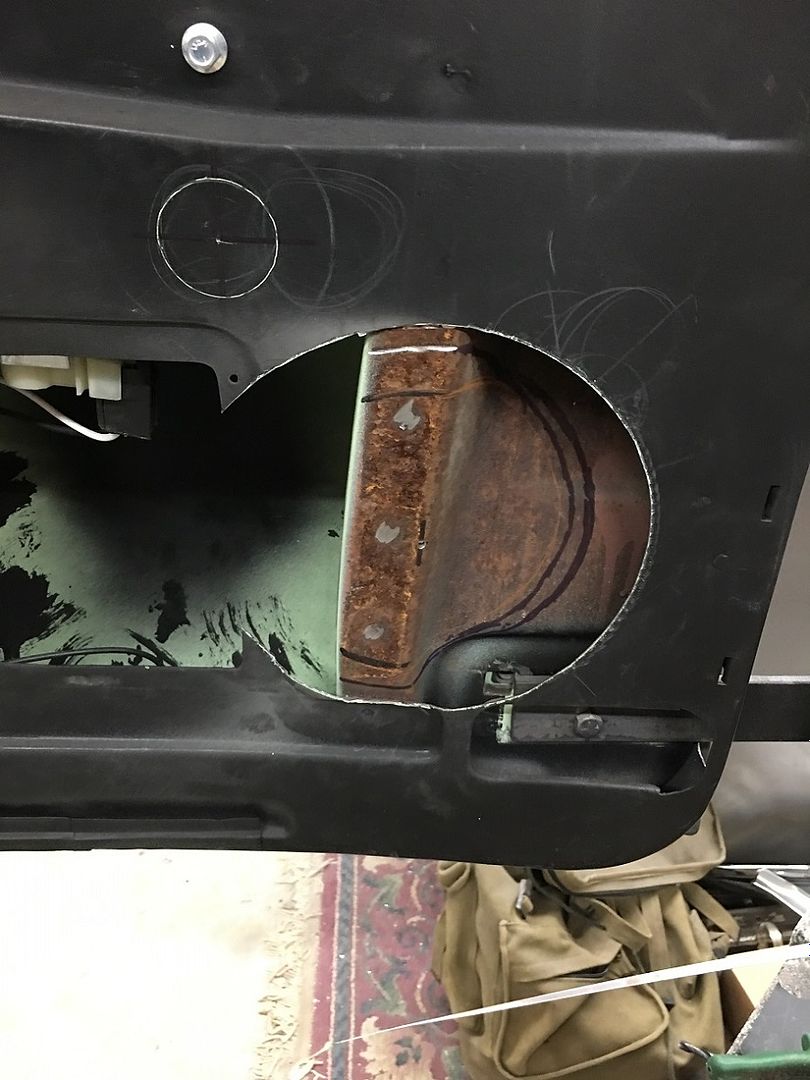 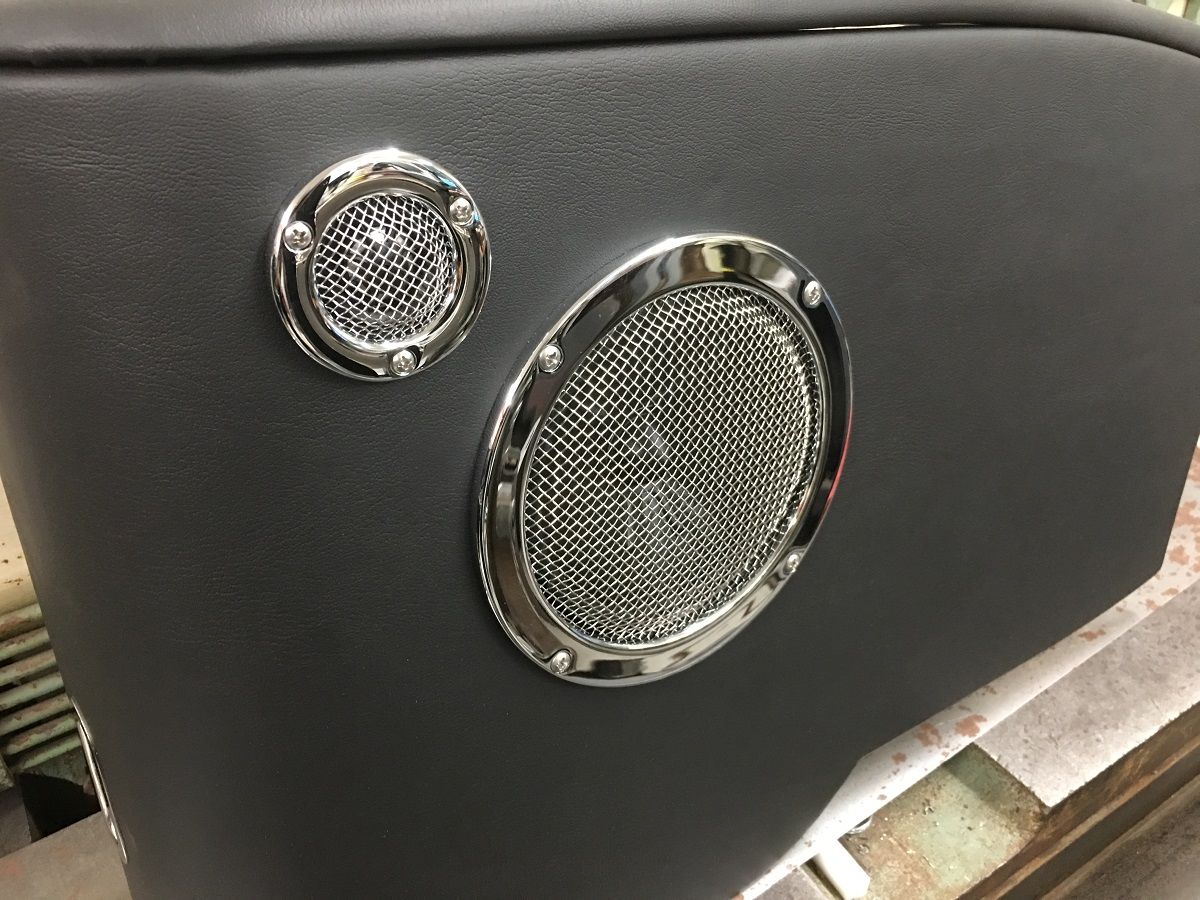 The rings will get TIG welded in place, but before that we need to add a bit of structure back in the hinge brace where we cut a hunk out of the back side. 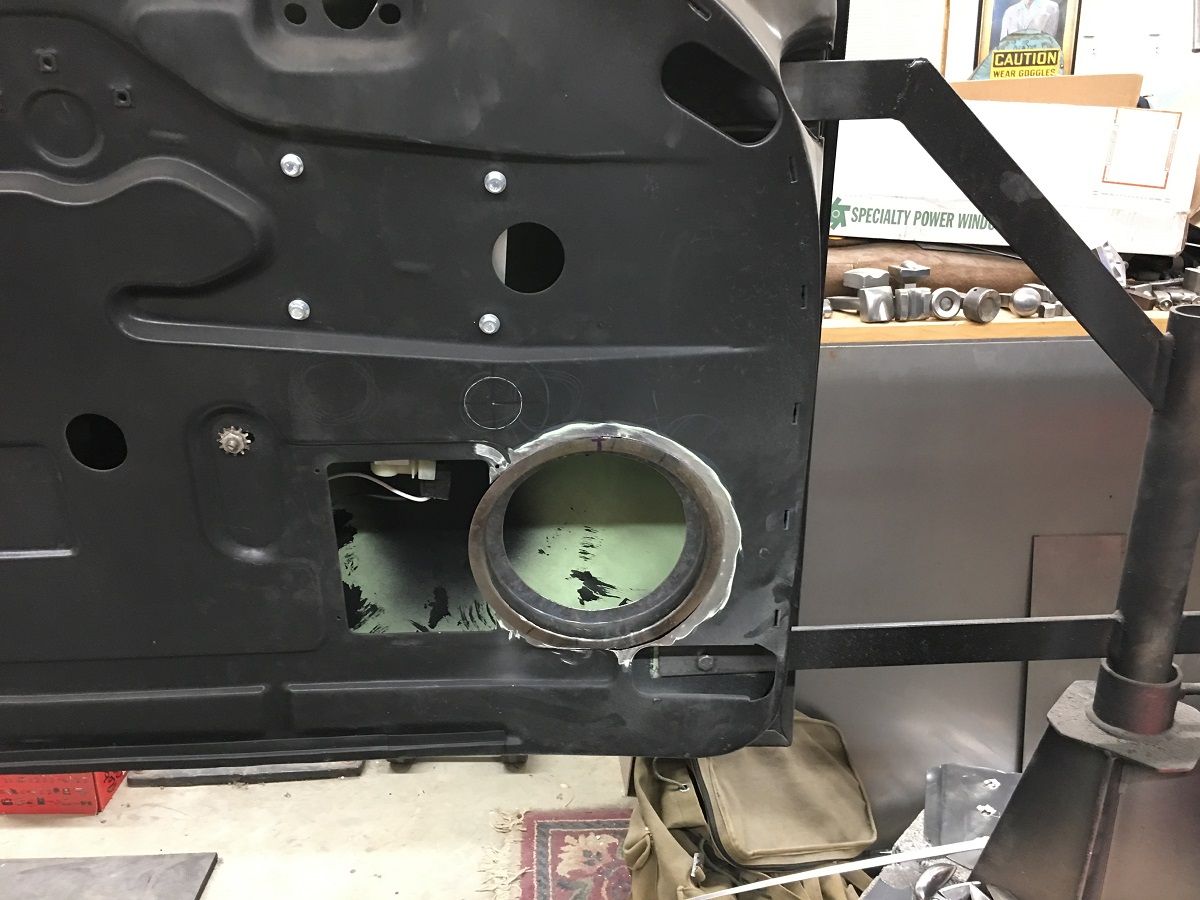
__________________
Robert Instagram @ mccartney_paint_and_custom McCartney Paint and Custom YouTube channel Last edited by MP&C; 06-17-2019 at 09:53 AM. 
|
|
#2
06-17-2019, 09:56 AM
|
||||
|
||||
|
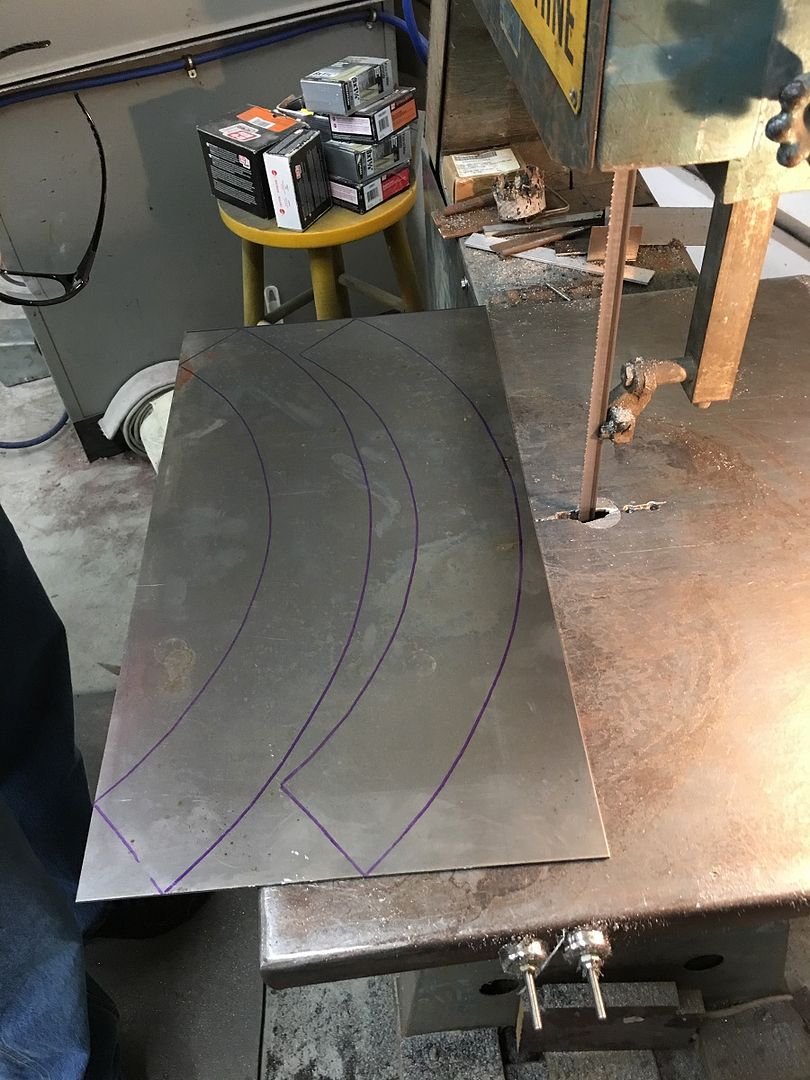
Since we had cut away at the hinge mounting structure, we needed to add strength back in that surrounded the speaker. We chose a cone shape over cylindrical as we thought that would have less chance of collapse under stress. Our pattern is cut out and transferred to some 14 gauge cold rolled, the same thickness as the hinge structure.
  I forgot to get pictures of us rolling the cones, but basically as shown here with the pattern, the bend line was kept aligned with the vertex of the outer angle cuts, and slightly pressed, move and repeat, and continued until we have a good roll where the ends met up. 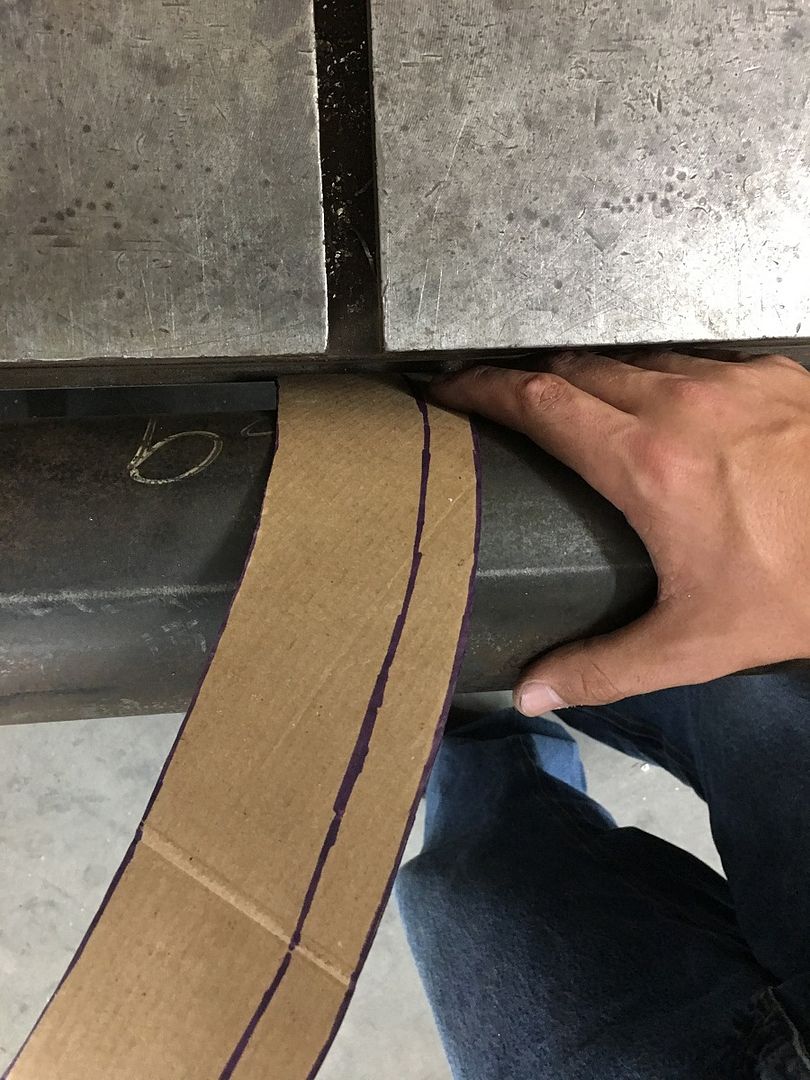 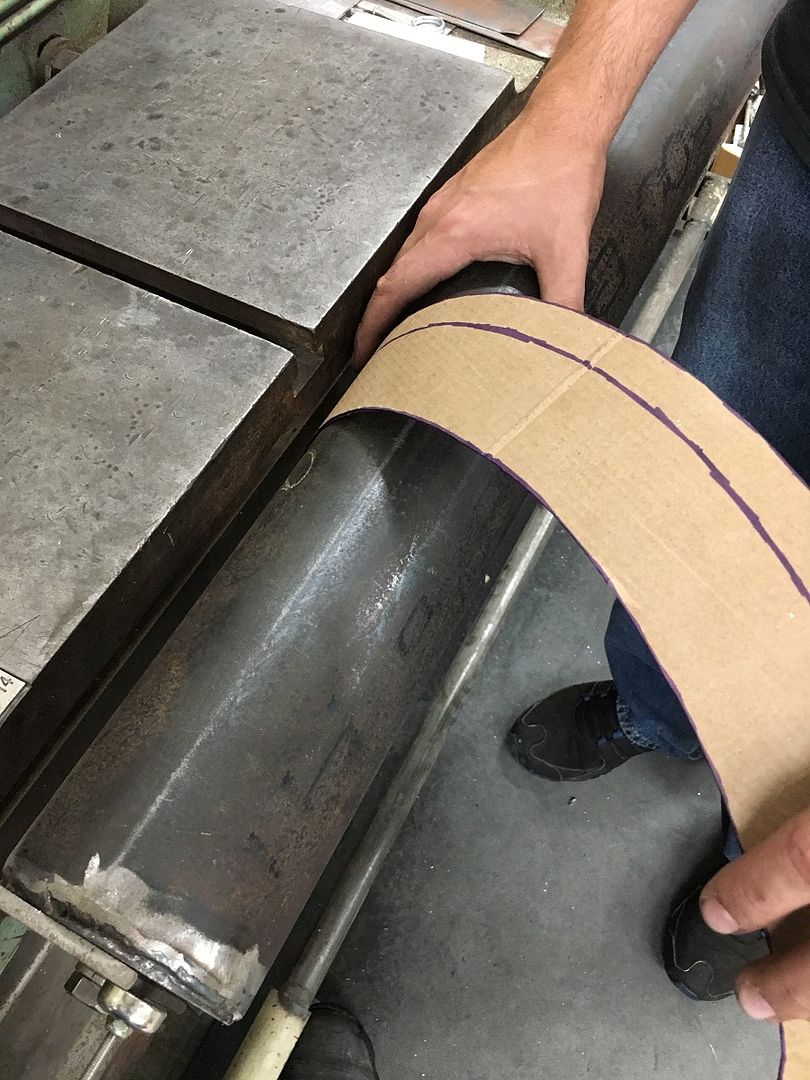 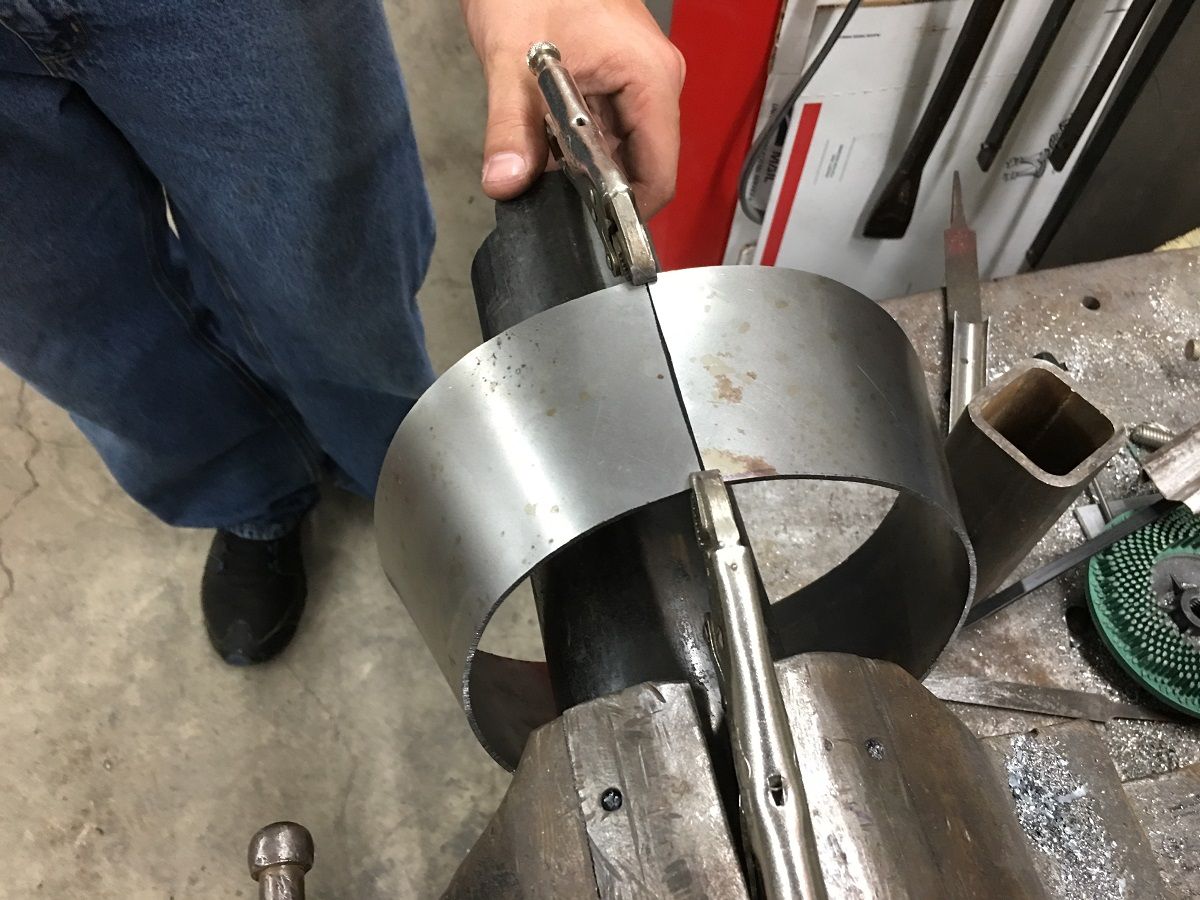 We plan on wire edge on the edge inside the square opening, so let's use gas welding for a more pliable weld area. 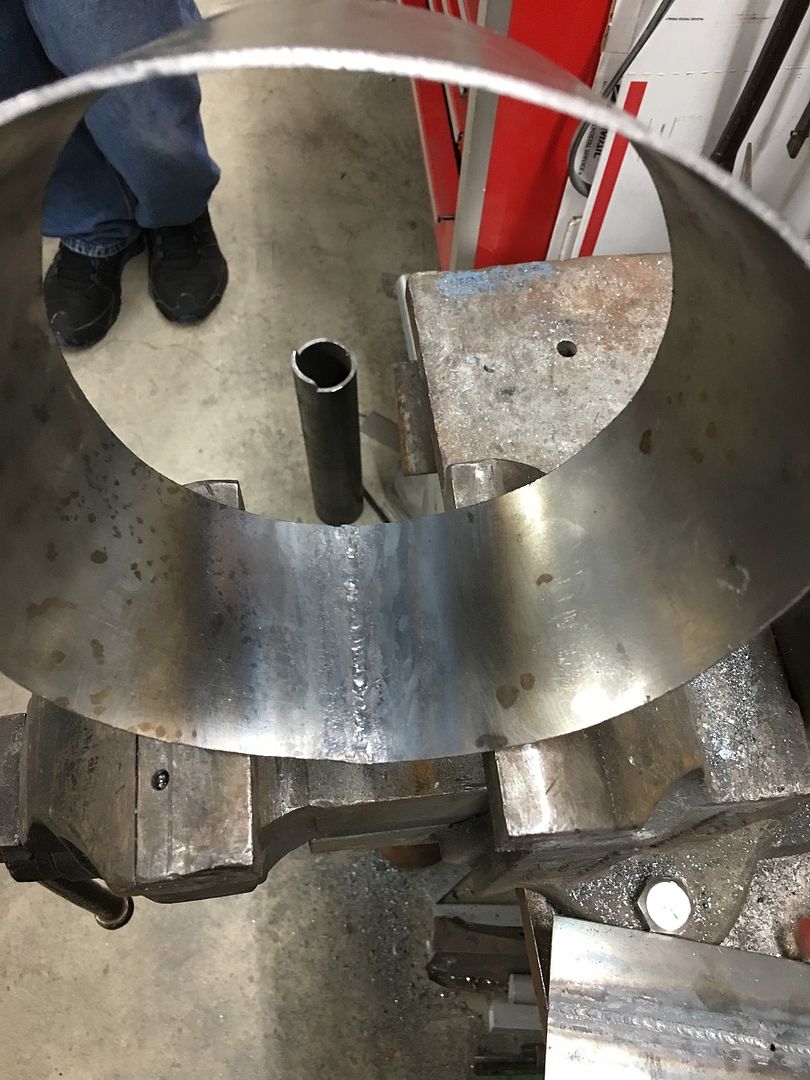 https://www.youtube.com/watch?v=hEWXNOFgSas The cone is then trimmed to fit the structure profile... 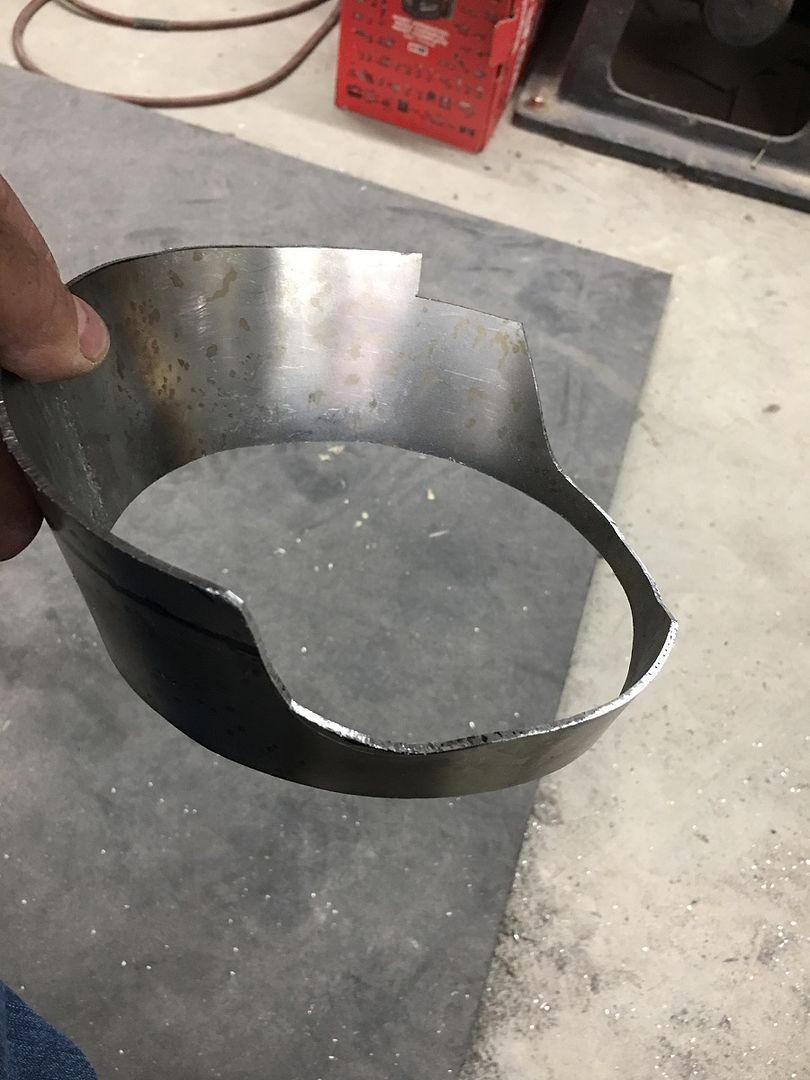 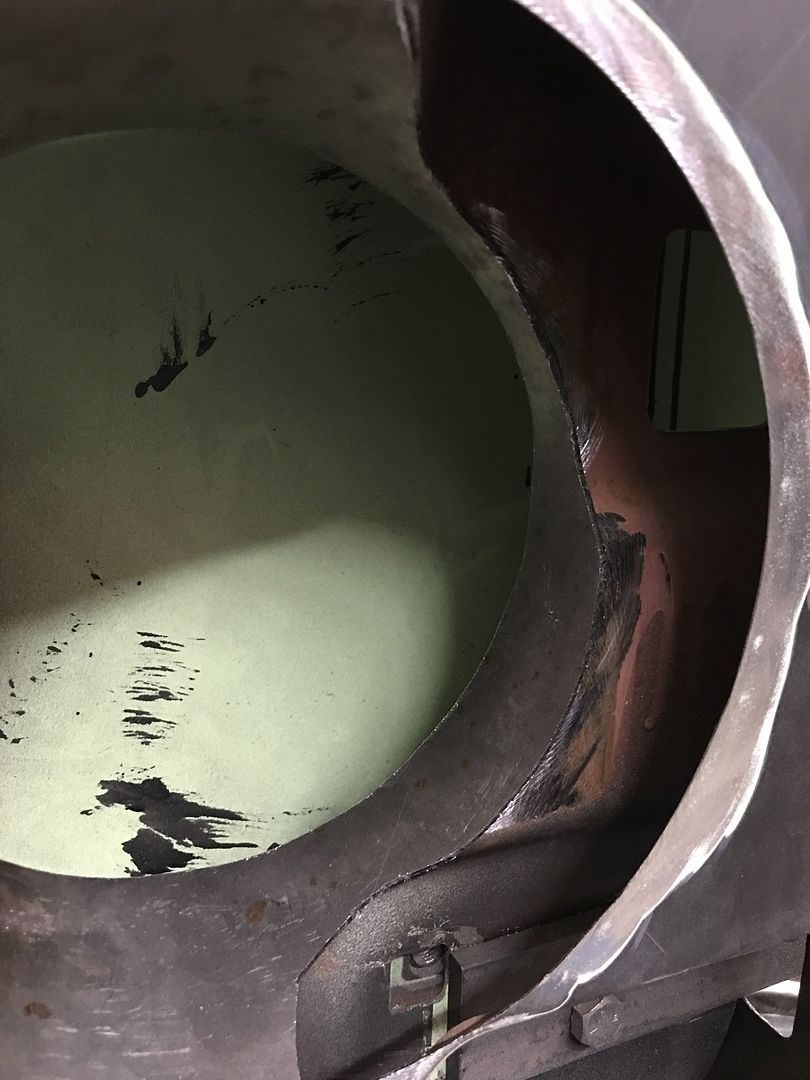 Flange is left for our wire edging of the open area...  The flange is tipped (very little 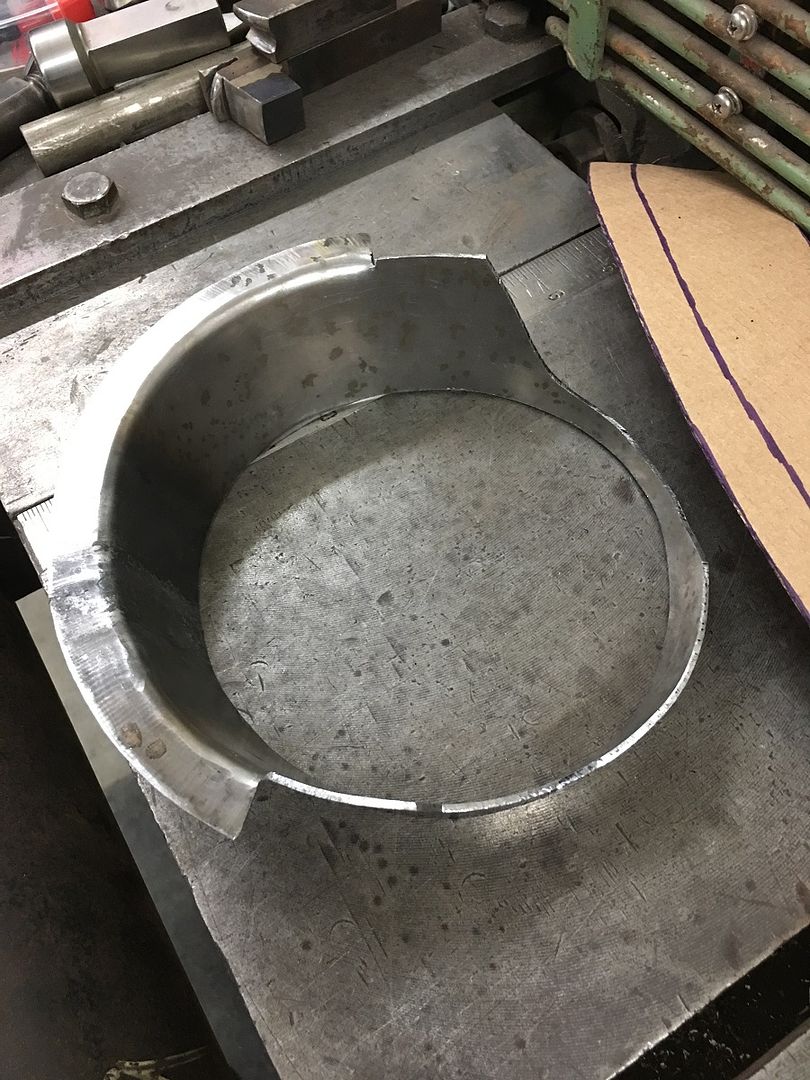 Then we use this modified Craftsman punch to hammer over a rounded void for the 3/16 wire to lay in.. 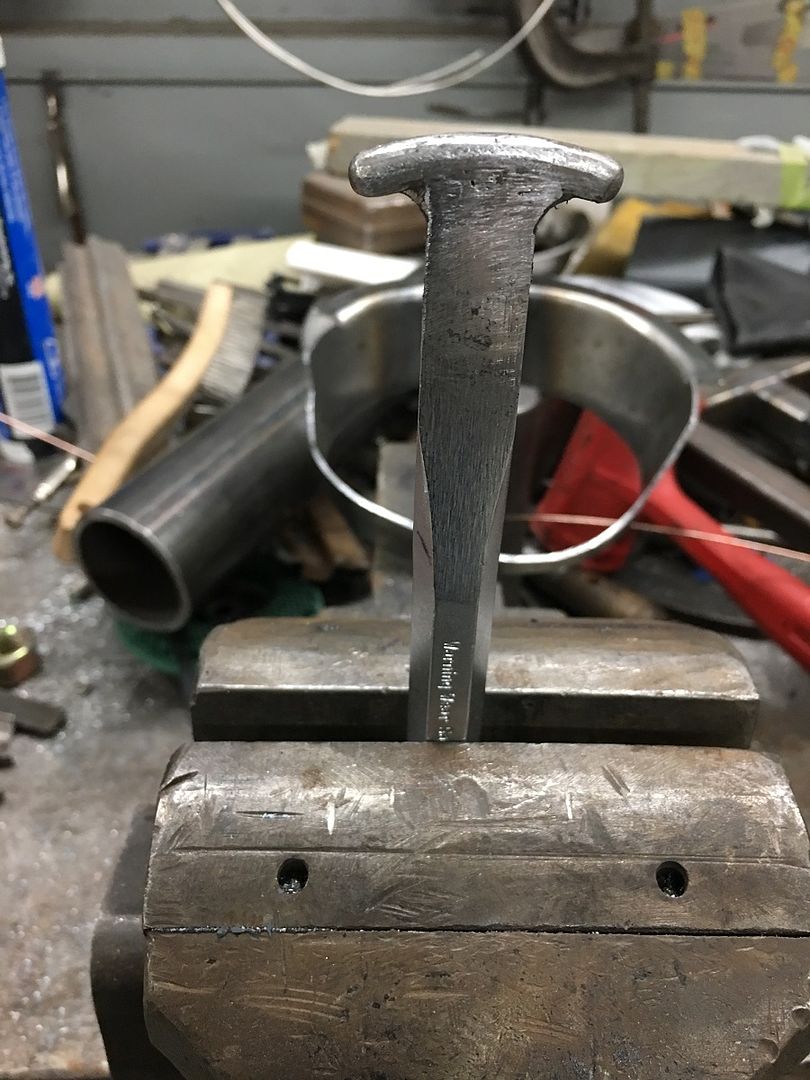 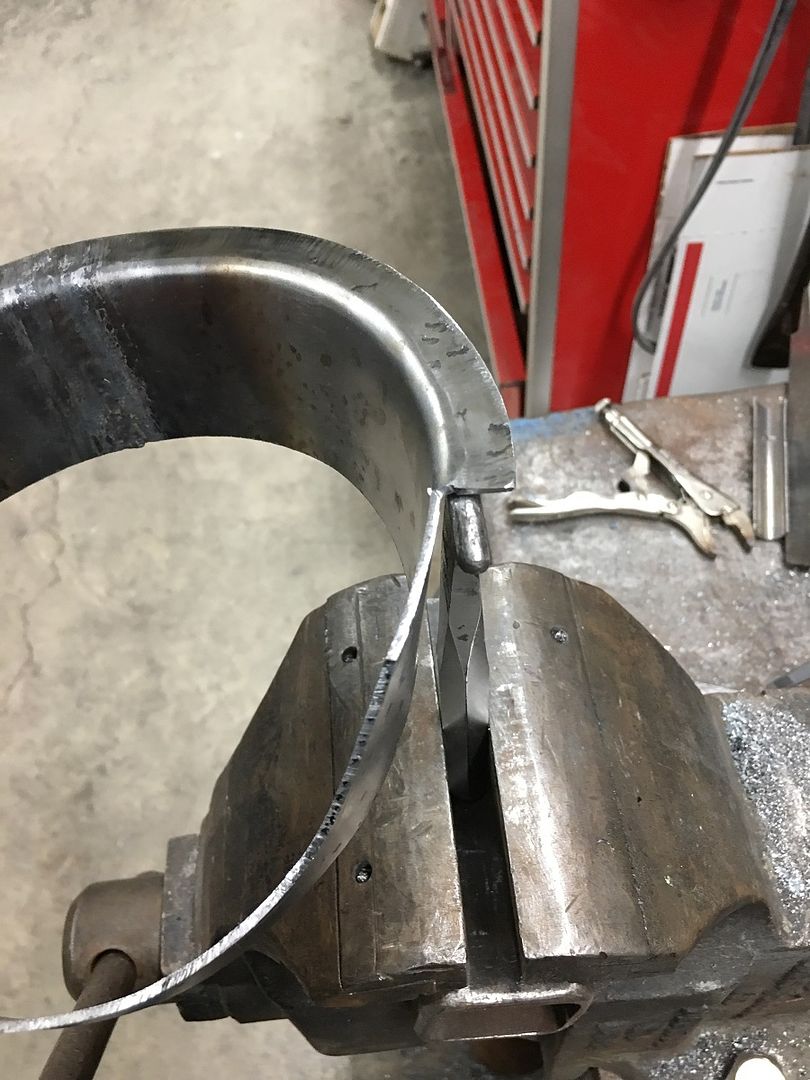 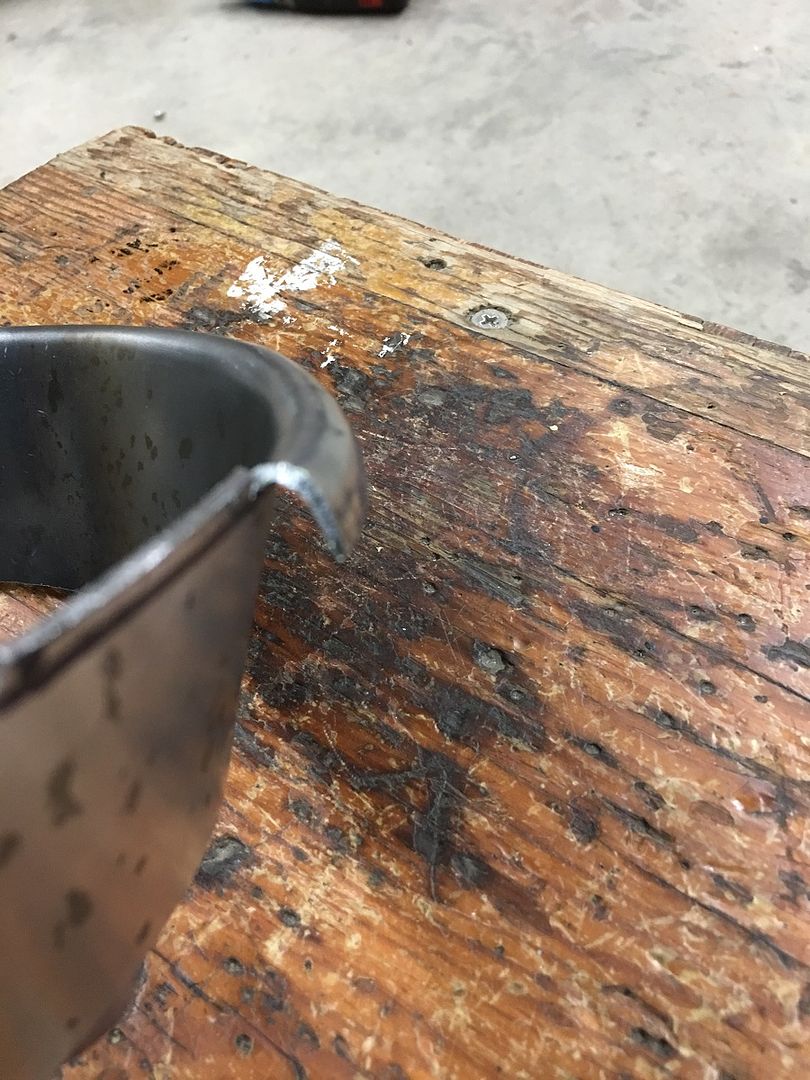 Then we have some modified vise grips that have a relief cut into the top so it won't slip off the wire when clamped. 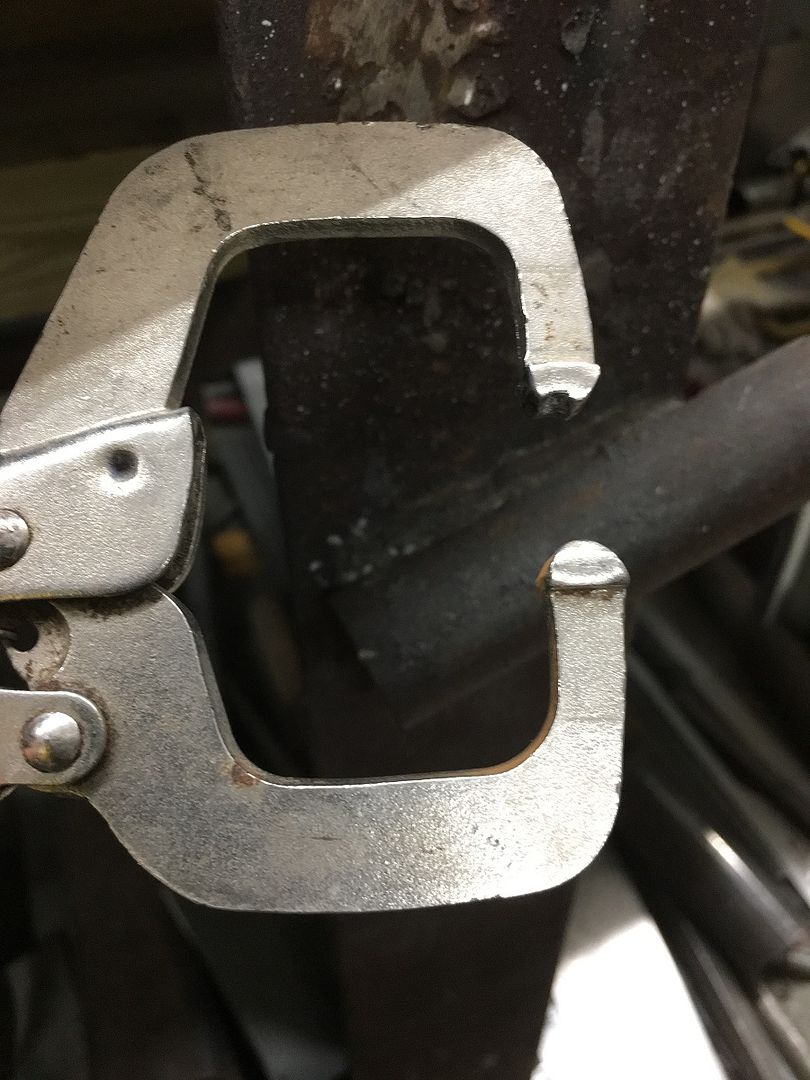 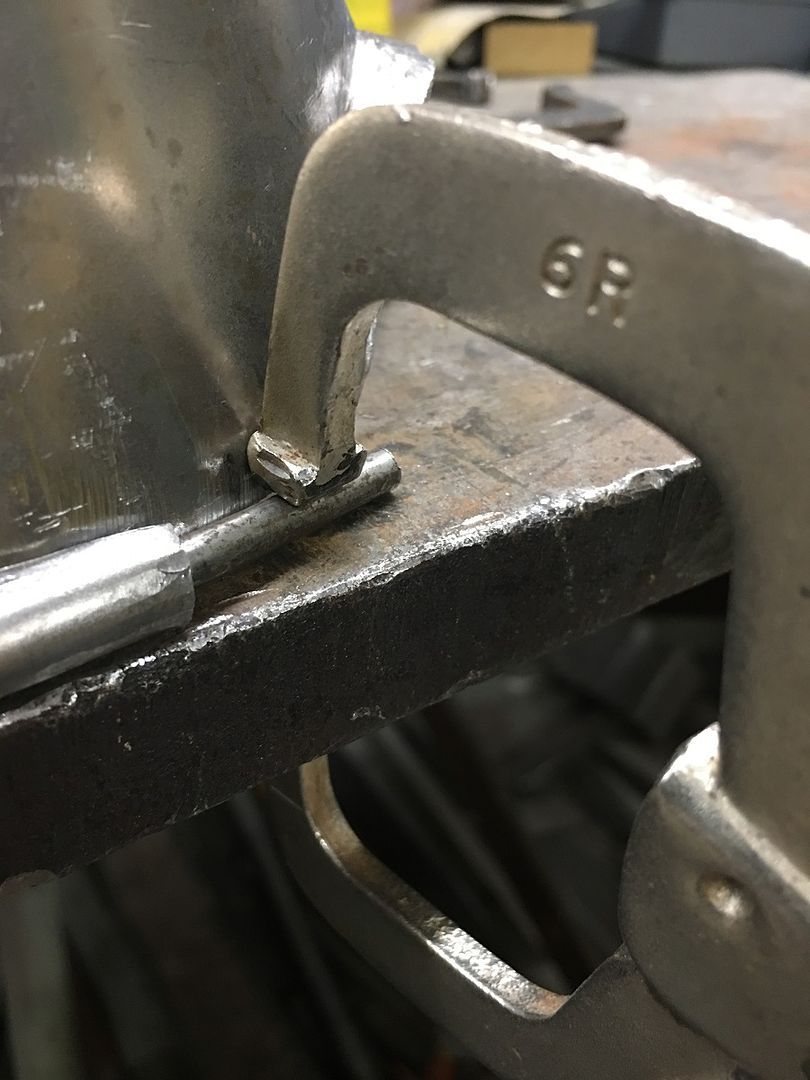 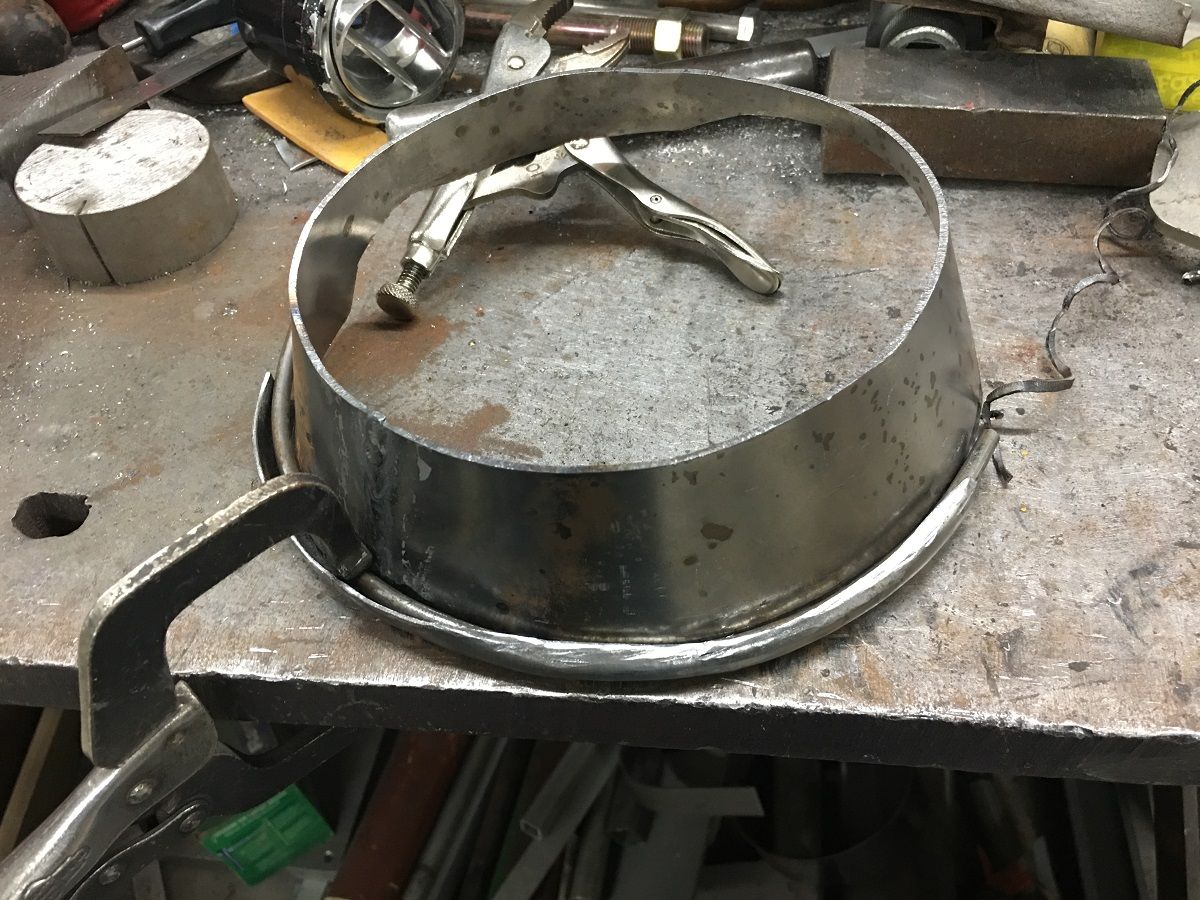 The wires were left long so they could better tie into the hinge structure, here the VEE relief is where the wire will weld to that structure. https://www.youtube.com/watch?v=mEVDpRCER54 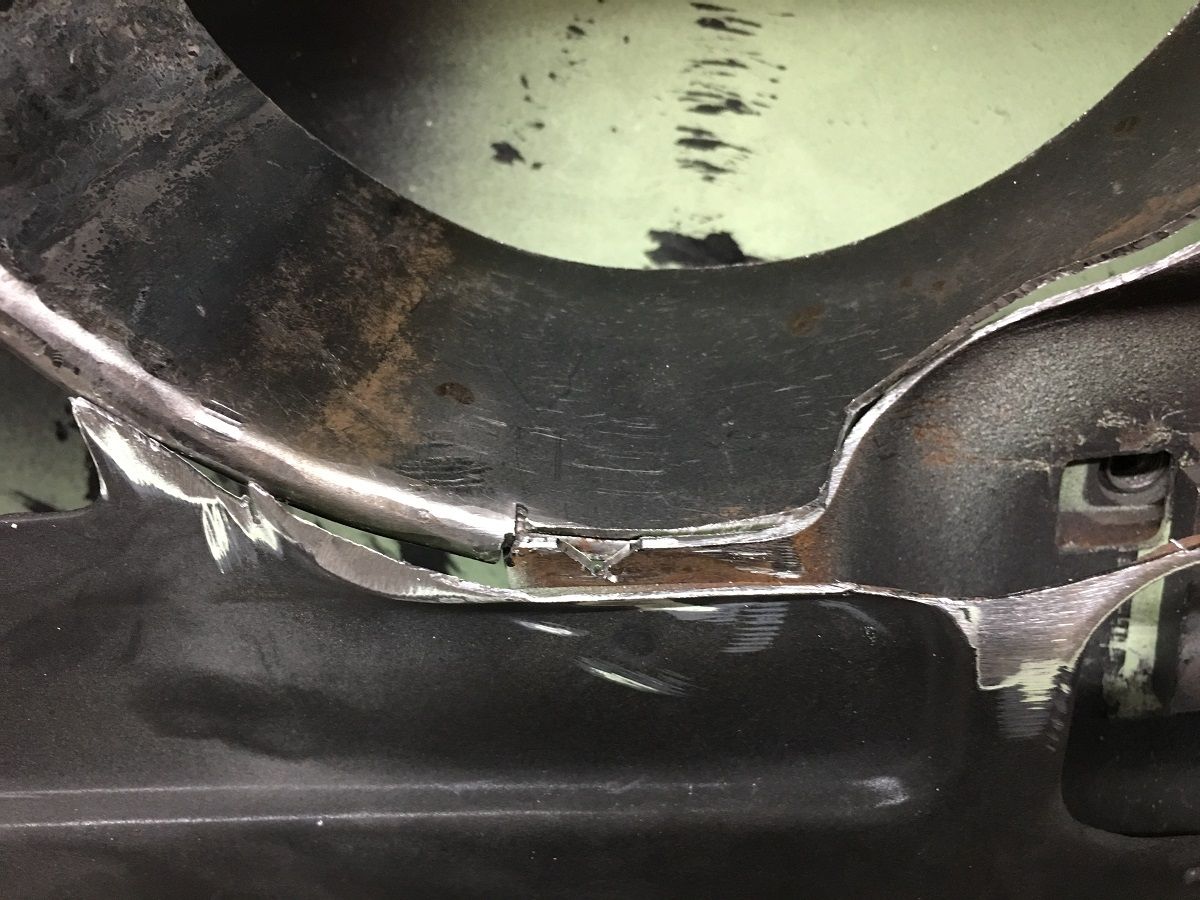 Tacked in place with the MIG, then TIG welded.... 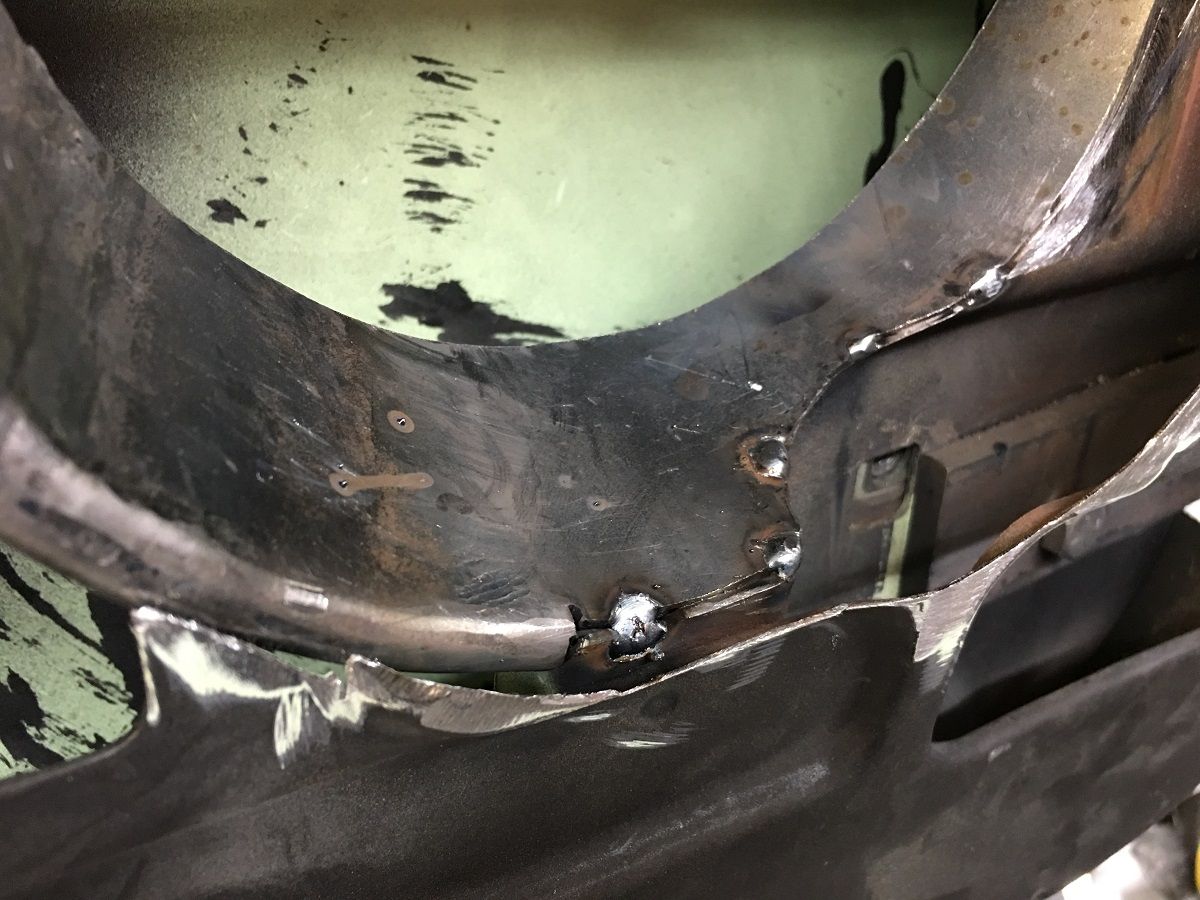 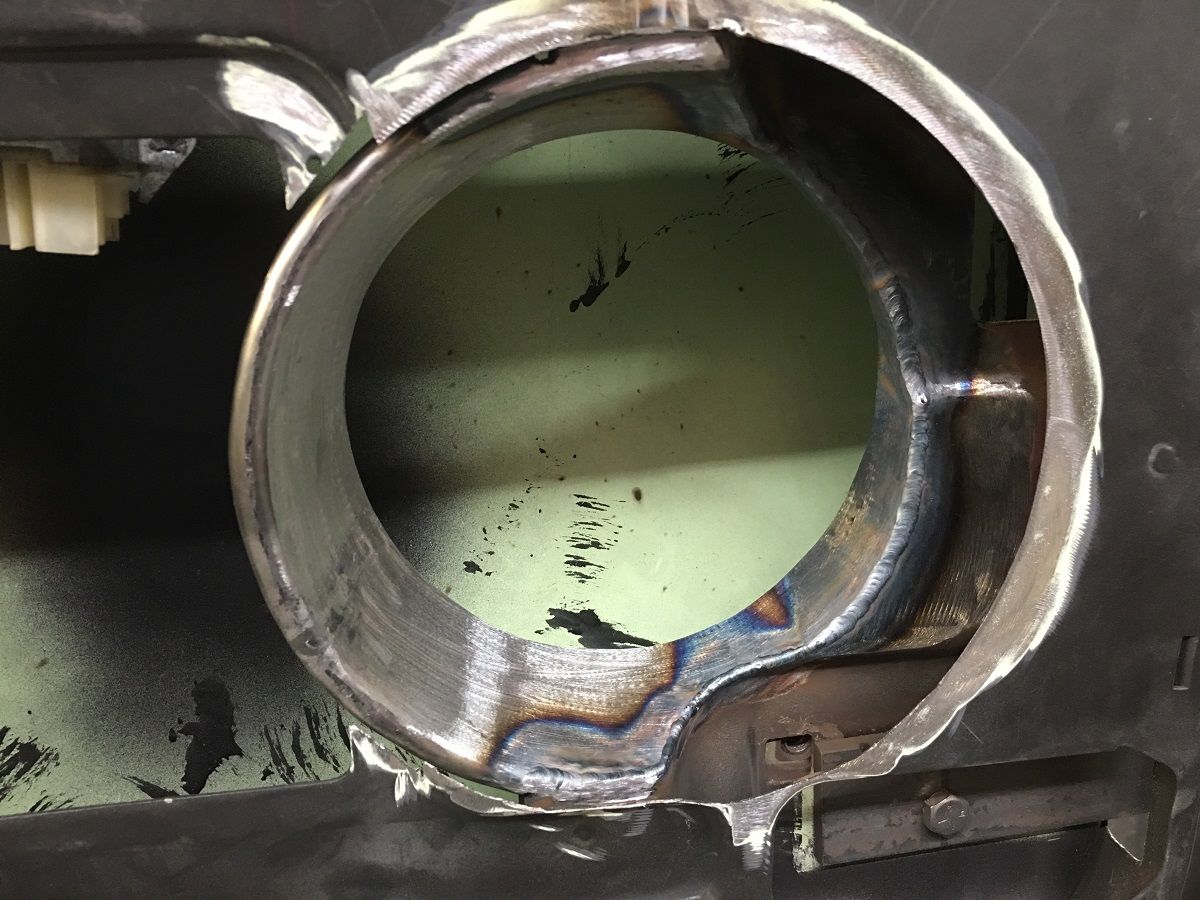 All cleaned up and then primed with some epoxy primer before we weld the speaker mounting ring in place. 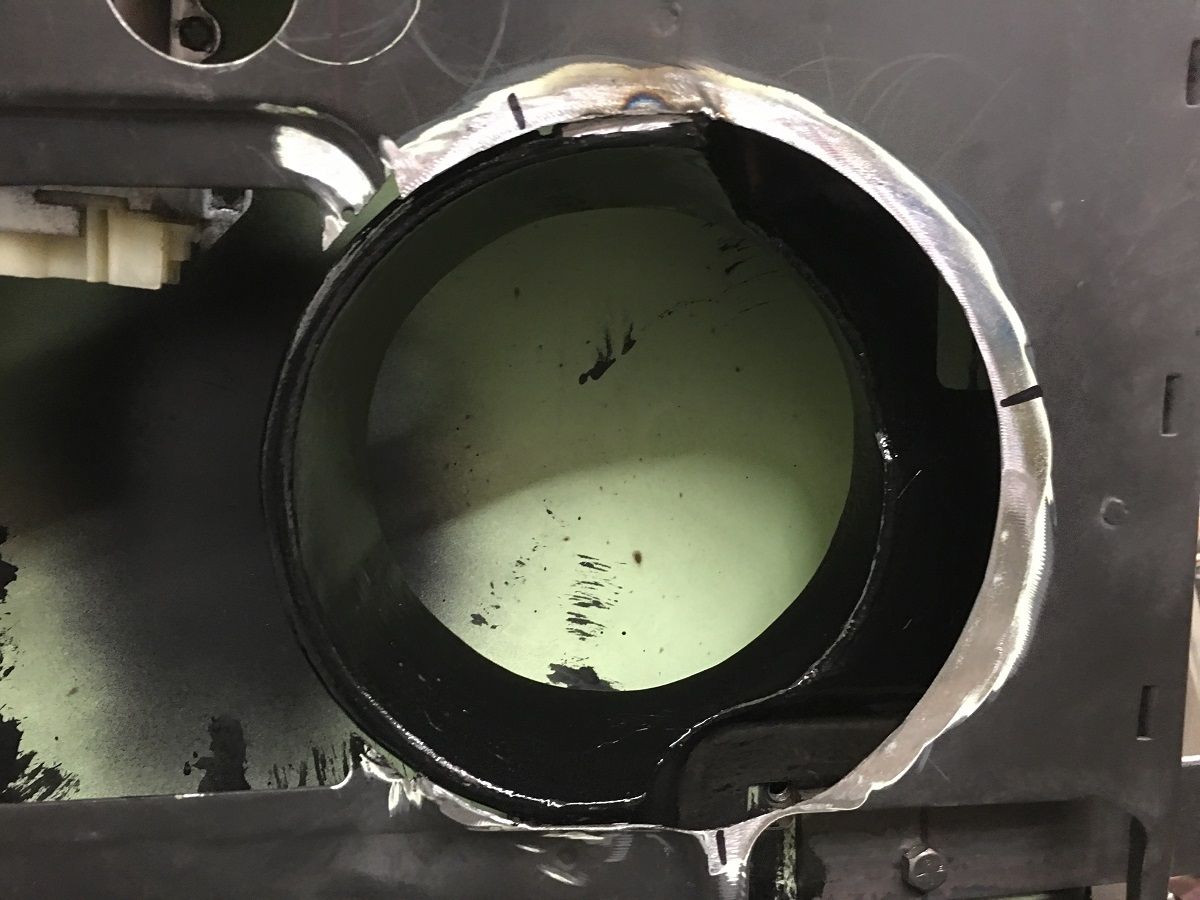
__________________
Robert Instagram @ mccartney_paint_and_custom McCartney Paint and Custom YouTube channel
|
|
#3
06-17-2019, 01:45 PM
|
||||
|
||||
|
Robert
Speaker holes look like they should work great! Could you please reduce the large pics Thanks steve
__________________
Steve Hamilton Hamilton Classics Auto Restoration & Metalshaping
|
|
#4
06-17-2019, 02:00 PM
|
||||
|
||||
|
I've resized but likely won't show until PB resets
.Thanks!
__________________
Robert Instagram @ mccartney_paint_and_custom McCartney Paint and Custom YouTube channel
|
|
#5
06-18-2019, 09:33 PM
|
||||
|
||||
|
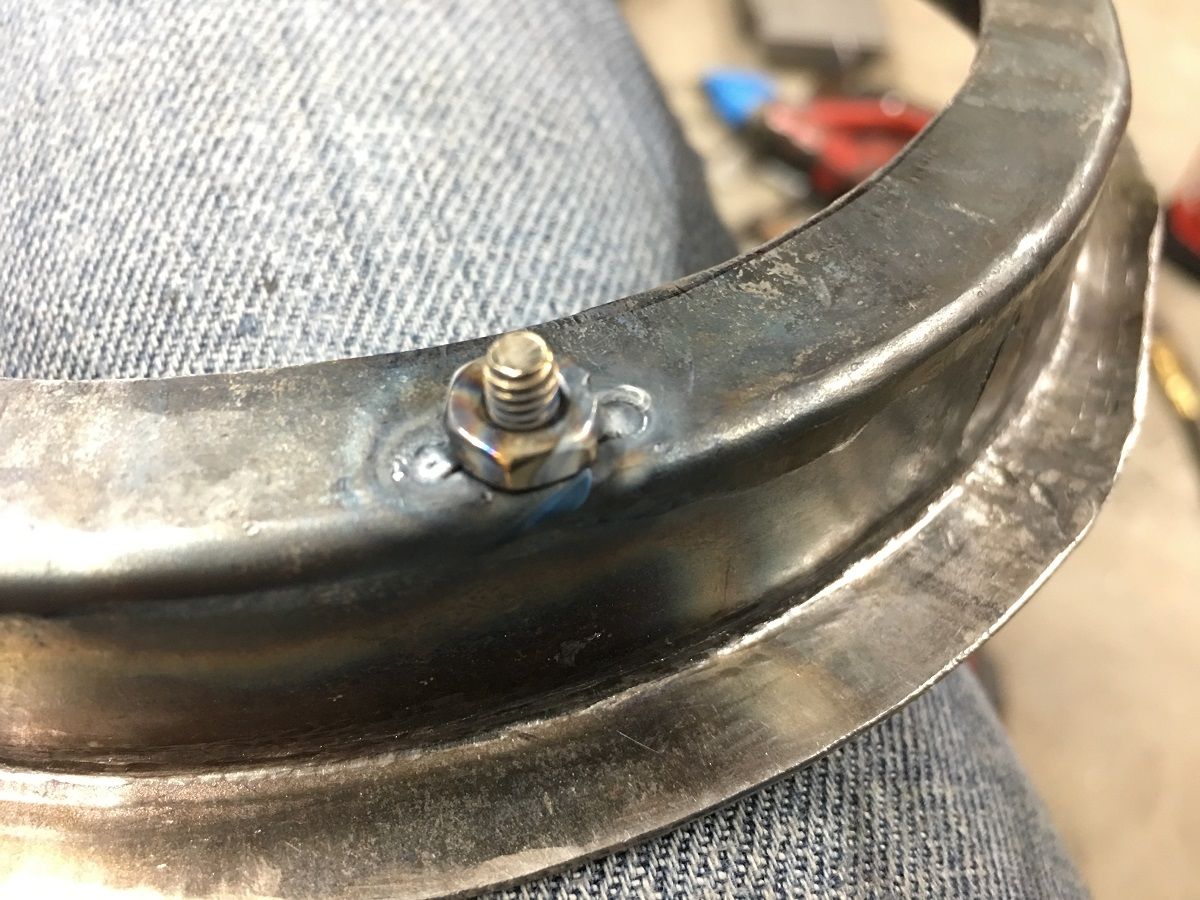
Back on our speaker mounting ring, we welded on some 8-32 hex nuts on the back side....
 Then the ring is TIG welded in the door... 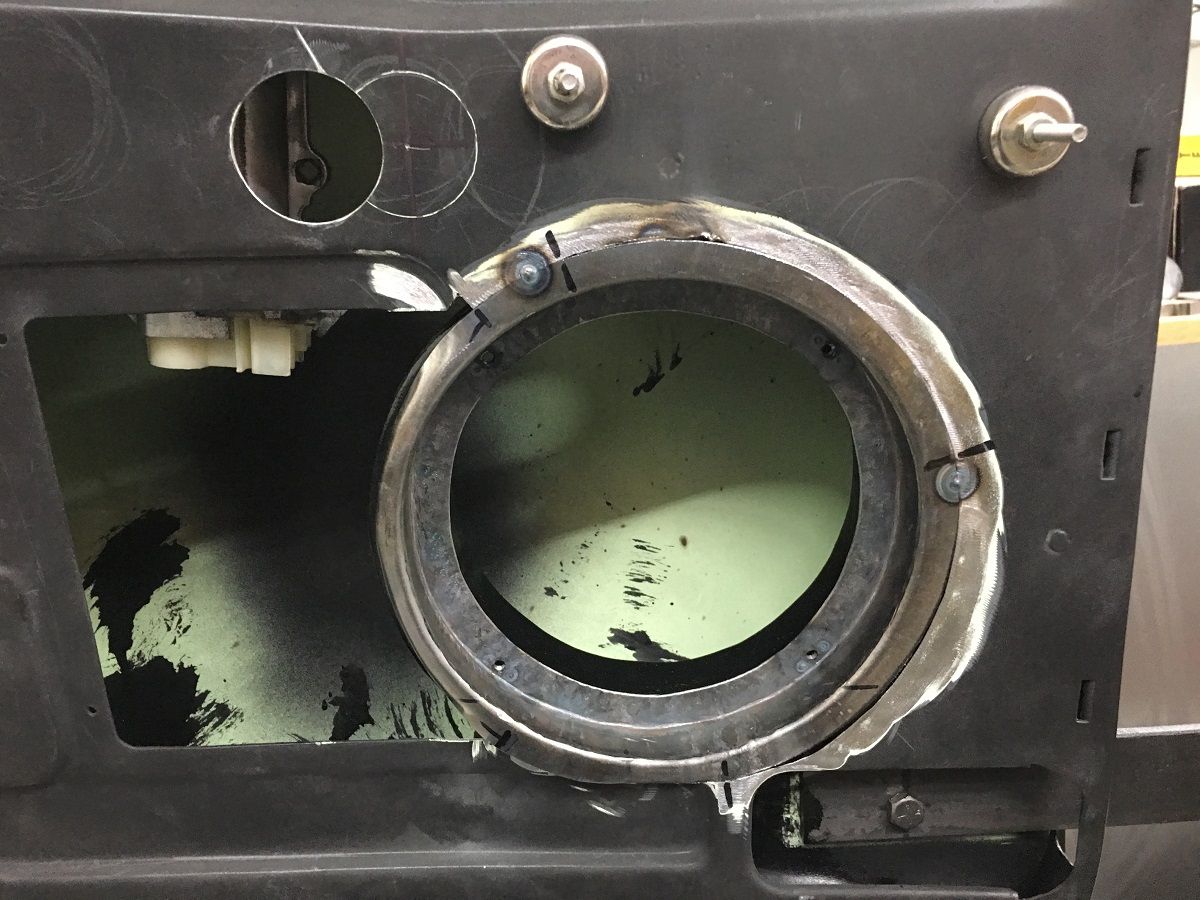 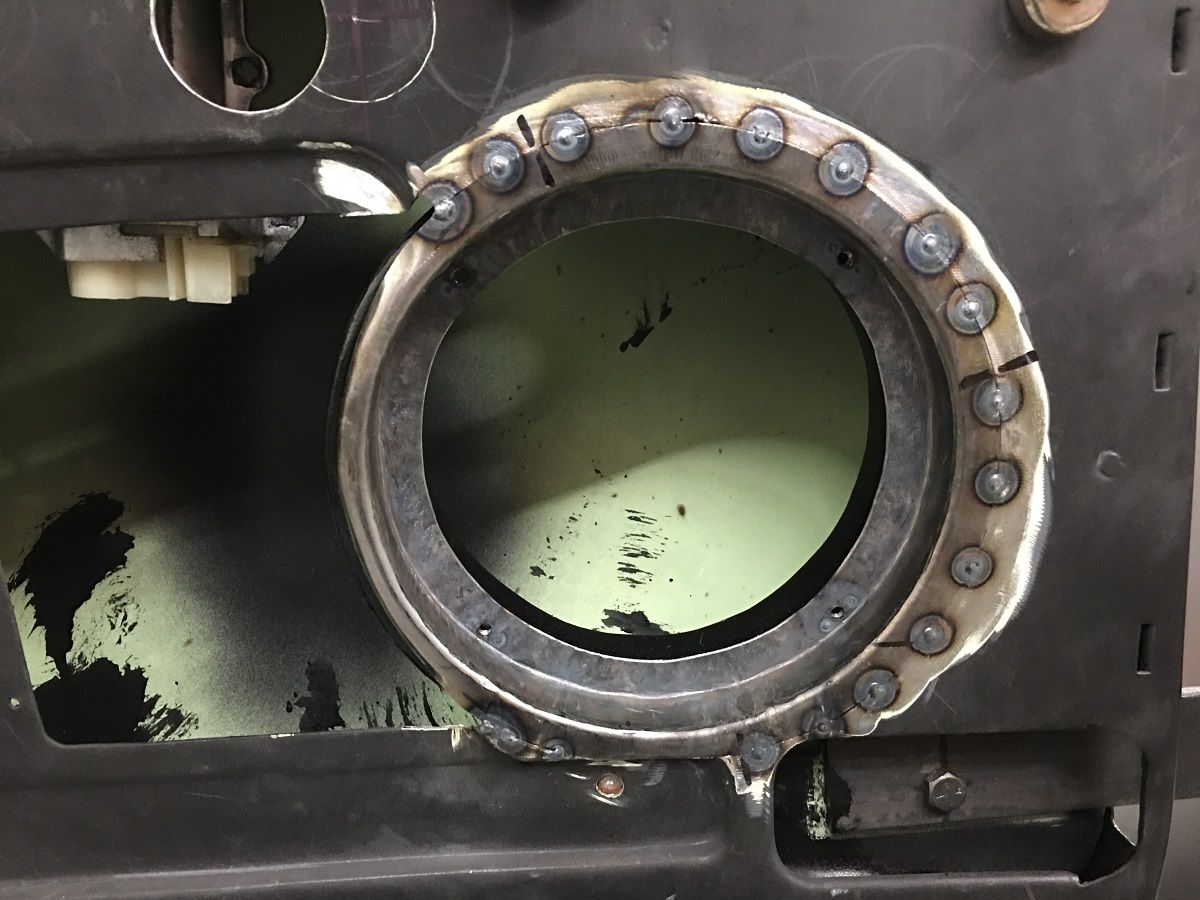 After welding, the area is scuffed and brush painted using SPI epoxy primer. 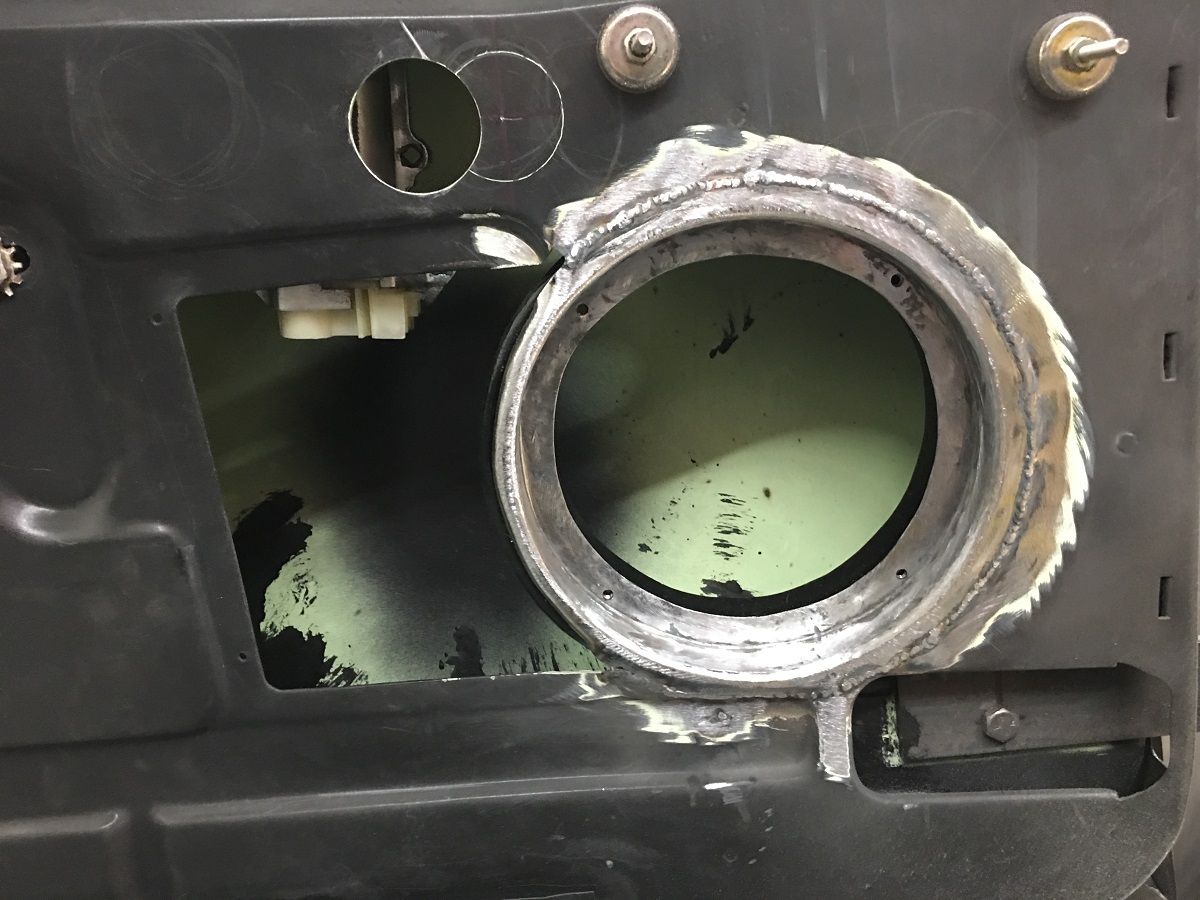 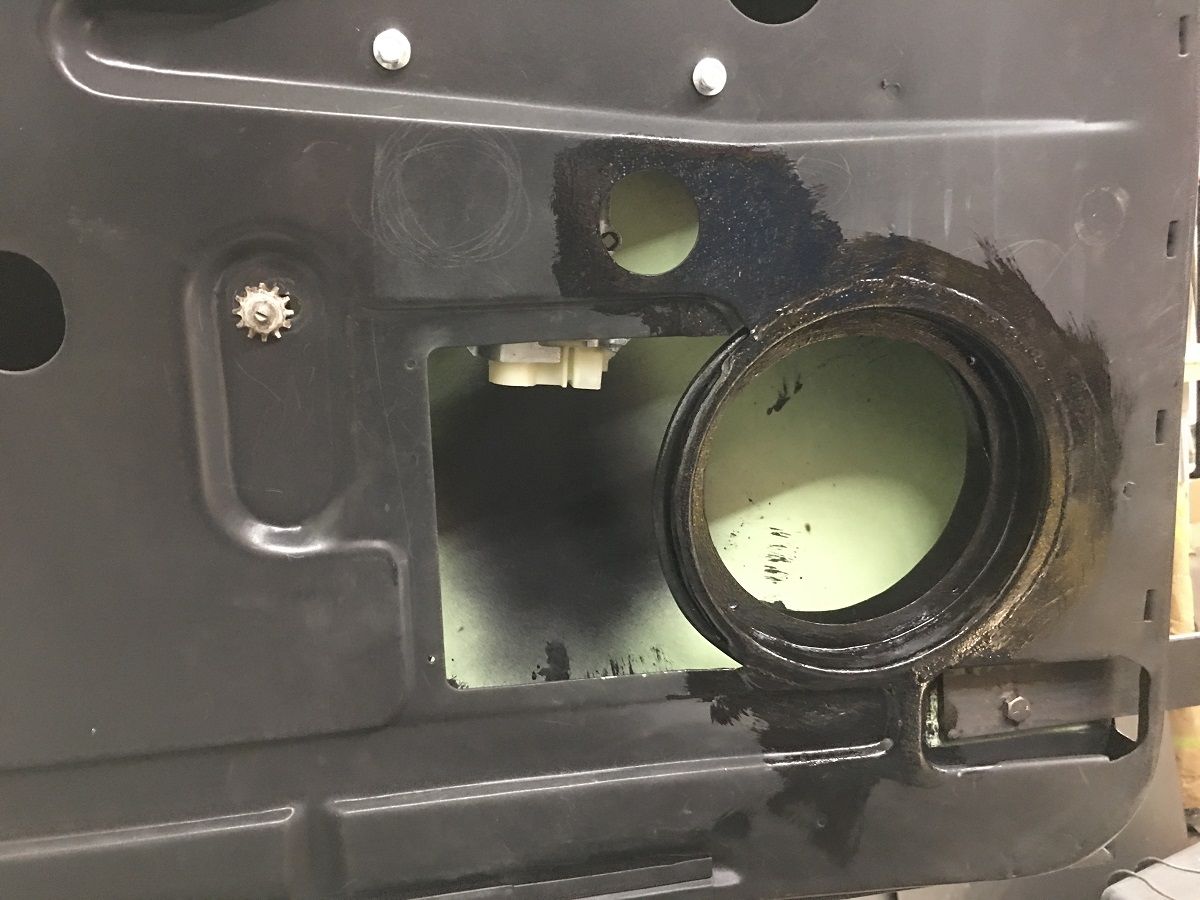 https://youtu.be/ywadRNLIywA 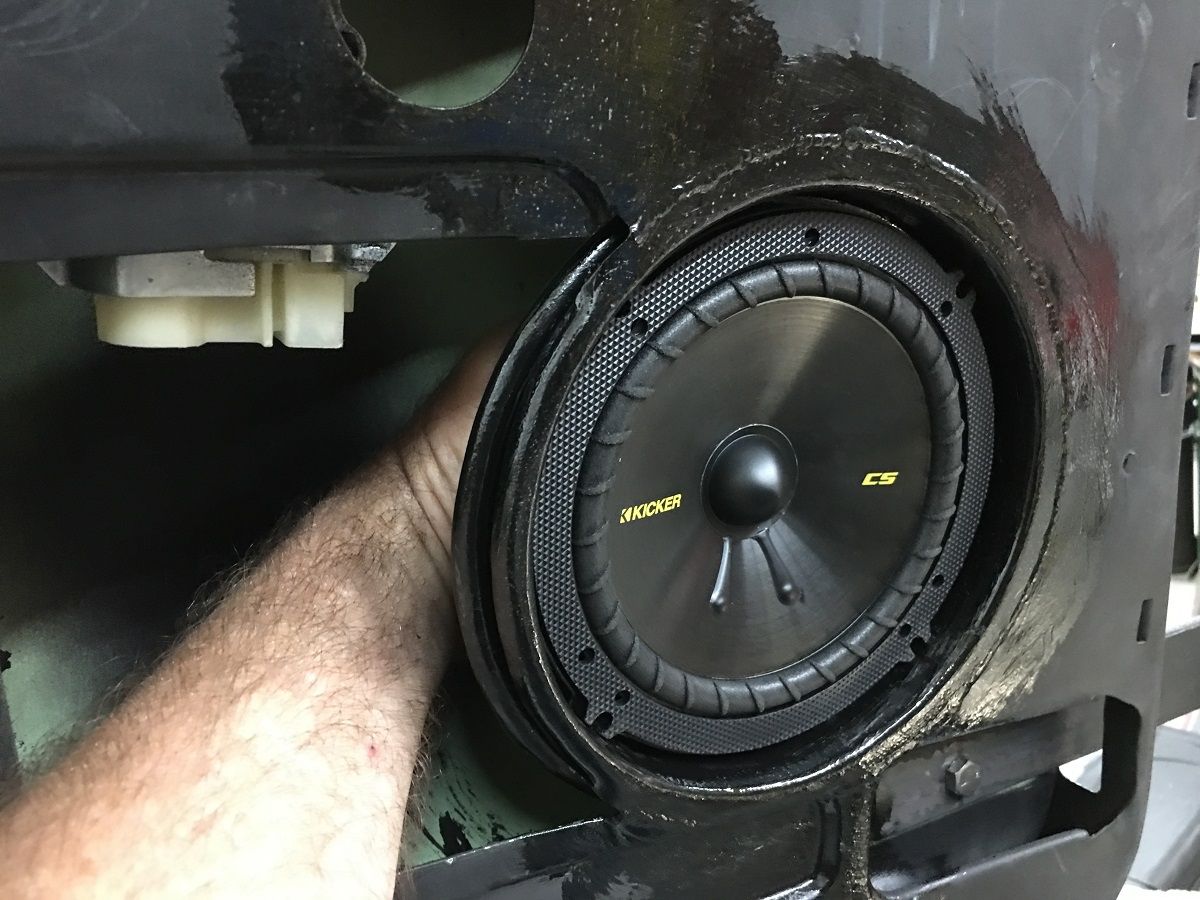 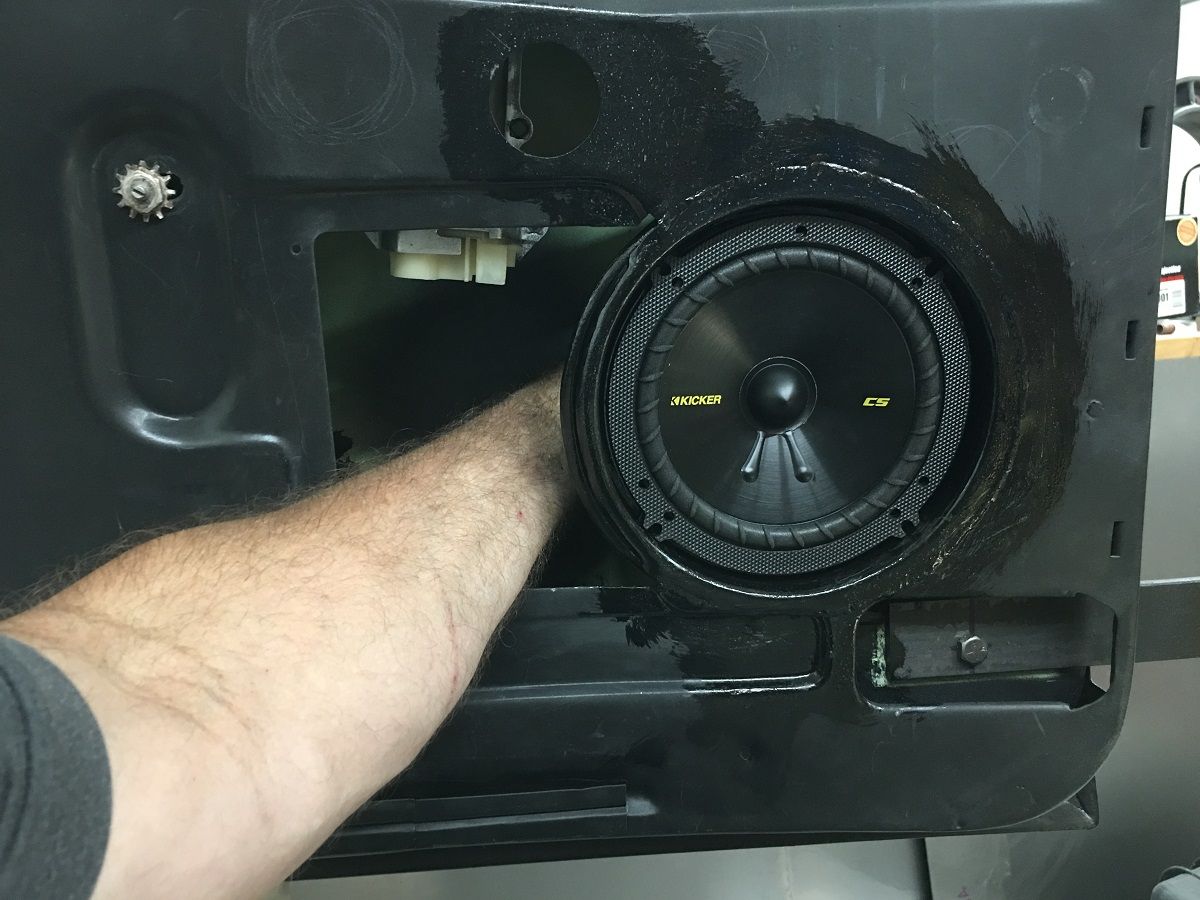
__________________
Robert Instagram @ mccartney_paint_and_custom McCartney Paint and Custom YouTube channel
|
 |
| Thread Tools | Search this Thread |
| Display Modes | |
|
|


 Linear Mode

