The flanges were TIG welded in place, welds dressed, and then worked to remove the remnants of the old filler panel. The old spot welds were removed using a cut off wheel in a die grinder. When the upper panel gets thin, the heat turns it blue. When you see shiny metal again, you have found the second layer, so stop grinding!

This video explains the process a bit better...
https://www.youtube.com/watch?v=nb49MgRPzvY
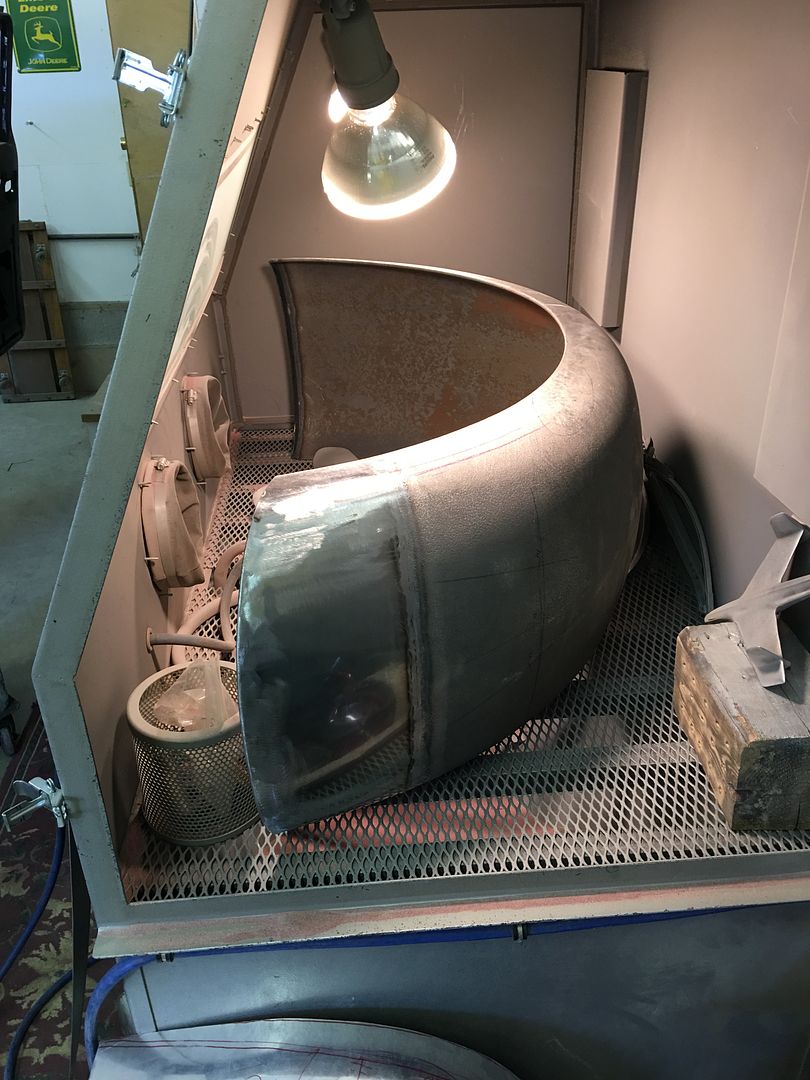
Next to clean all the rust that was hiding between the layers. A tight squeeze!
The filler panel we fabricated was positioned, and drilled for some 1/8" cleco's. Then another test fit:
https://www.youtube.com/watch?v=evBQvi5dsnw